In French cuisine it is well known that any meat or poultry that has a mustard and pepper coating followed by breadcrumbs, is called à la Diable, or in simple terms, Devilled. Take a simple hors d’oevres of boiled eggs, the yolk when mixed with something spicy, they then become devilled eggs! Hence anything that has a spicy coating can be called devilled.
I was wanting something different to make using simple chicken thighs. If you can buy them deboned so much the easier, but it simple to remove the bone, all you need is a sharp knife and maybe a bandaid/ plaster or two. And for this dish DO NOT remove the skin ! I know that, we all know that the skin is calorific but when crispy it is the tastiest bit. So don’t remove the skin ! ( and when I want some spicy chicken I will use this mixture on chicken breasts)
I like to make this dish with a combination of Dijon mustard, English mustard powder and some hot chilli powder. You will also need some fine dry breadcrumbs , homemade is best but a bit of a pain really so use shop bought ( non coloured) breadcrumbs, or panko crumbs, but these will have to be smushed some as they tend to be rather chunky. ( do this by putting the crumbs into a polythene bag and rolling with a rolling pin.)
Serves about 3
heat oven 180 C
6 chicken legs or thighs, deboned
2-3 tablespoons of Dijon mustard
1-2 teaspoons of English mustard powder
1/2 teaspoon chilli powder
2 eggs beaten
4 Oz / 120 grms breadcrumbs
2 Oz butter
Mix together the mustards and chilli powder. Pour the eggs into a shallow dish. Put the breadcrumbs into another dish. Smooth the mustard mixture over the chicken ( it does gets a bit messy), dip into the egg and then the breadcrumbs.
Place the chicken into an ovenproof dish. Dot each bit with a knob of butter and bake for about 30 mins. Put the chicken onto a cooling rack for a few minutes before serving. Can be eaten hot or cold.
Having spent the past 18 months or so being confined to quarters, it all changed this last week. We seemed to have dined out on a more or less continuous basis. And not just a trip to the local hangout ( some have closed anyway) but to some really good places. Himself said, there goes our dining budget for the next 6 months !
We started off at a Mexican restaurant, here in Marylebone. Mexican food often gets a bad rap, because the average person associates it with TexMex, which it certainly is not. TexMex obviously has its roots deep in Mexican cuisine, and in the UK we have our own version of Tex Mex in a chain called Wahaca. There is absolutely nothing wrong with Wahaca, and the founder fell in love with Mexican food, but eldest daughter who lived in Mexico City for 5 years would probably dispute its authenticity.
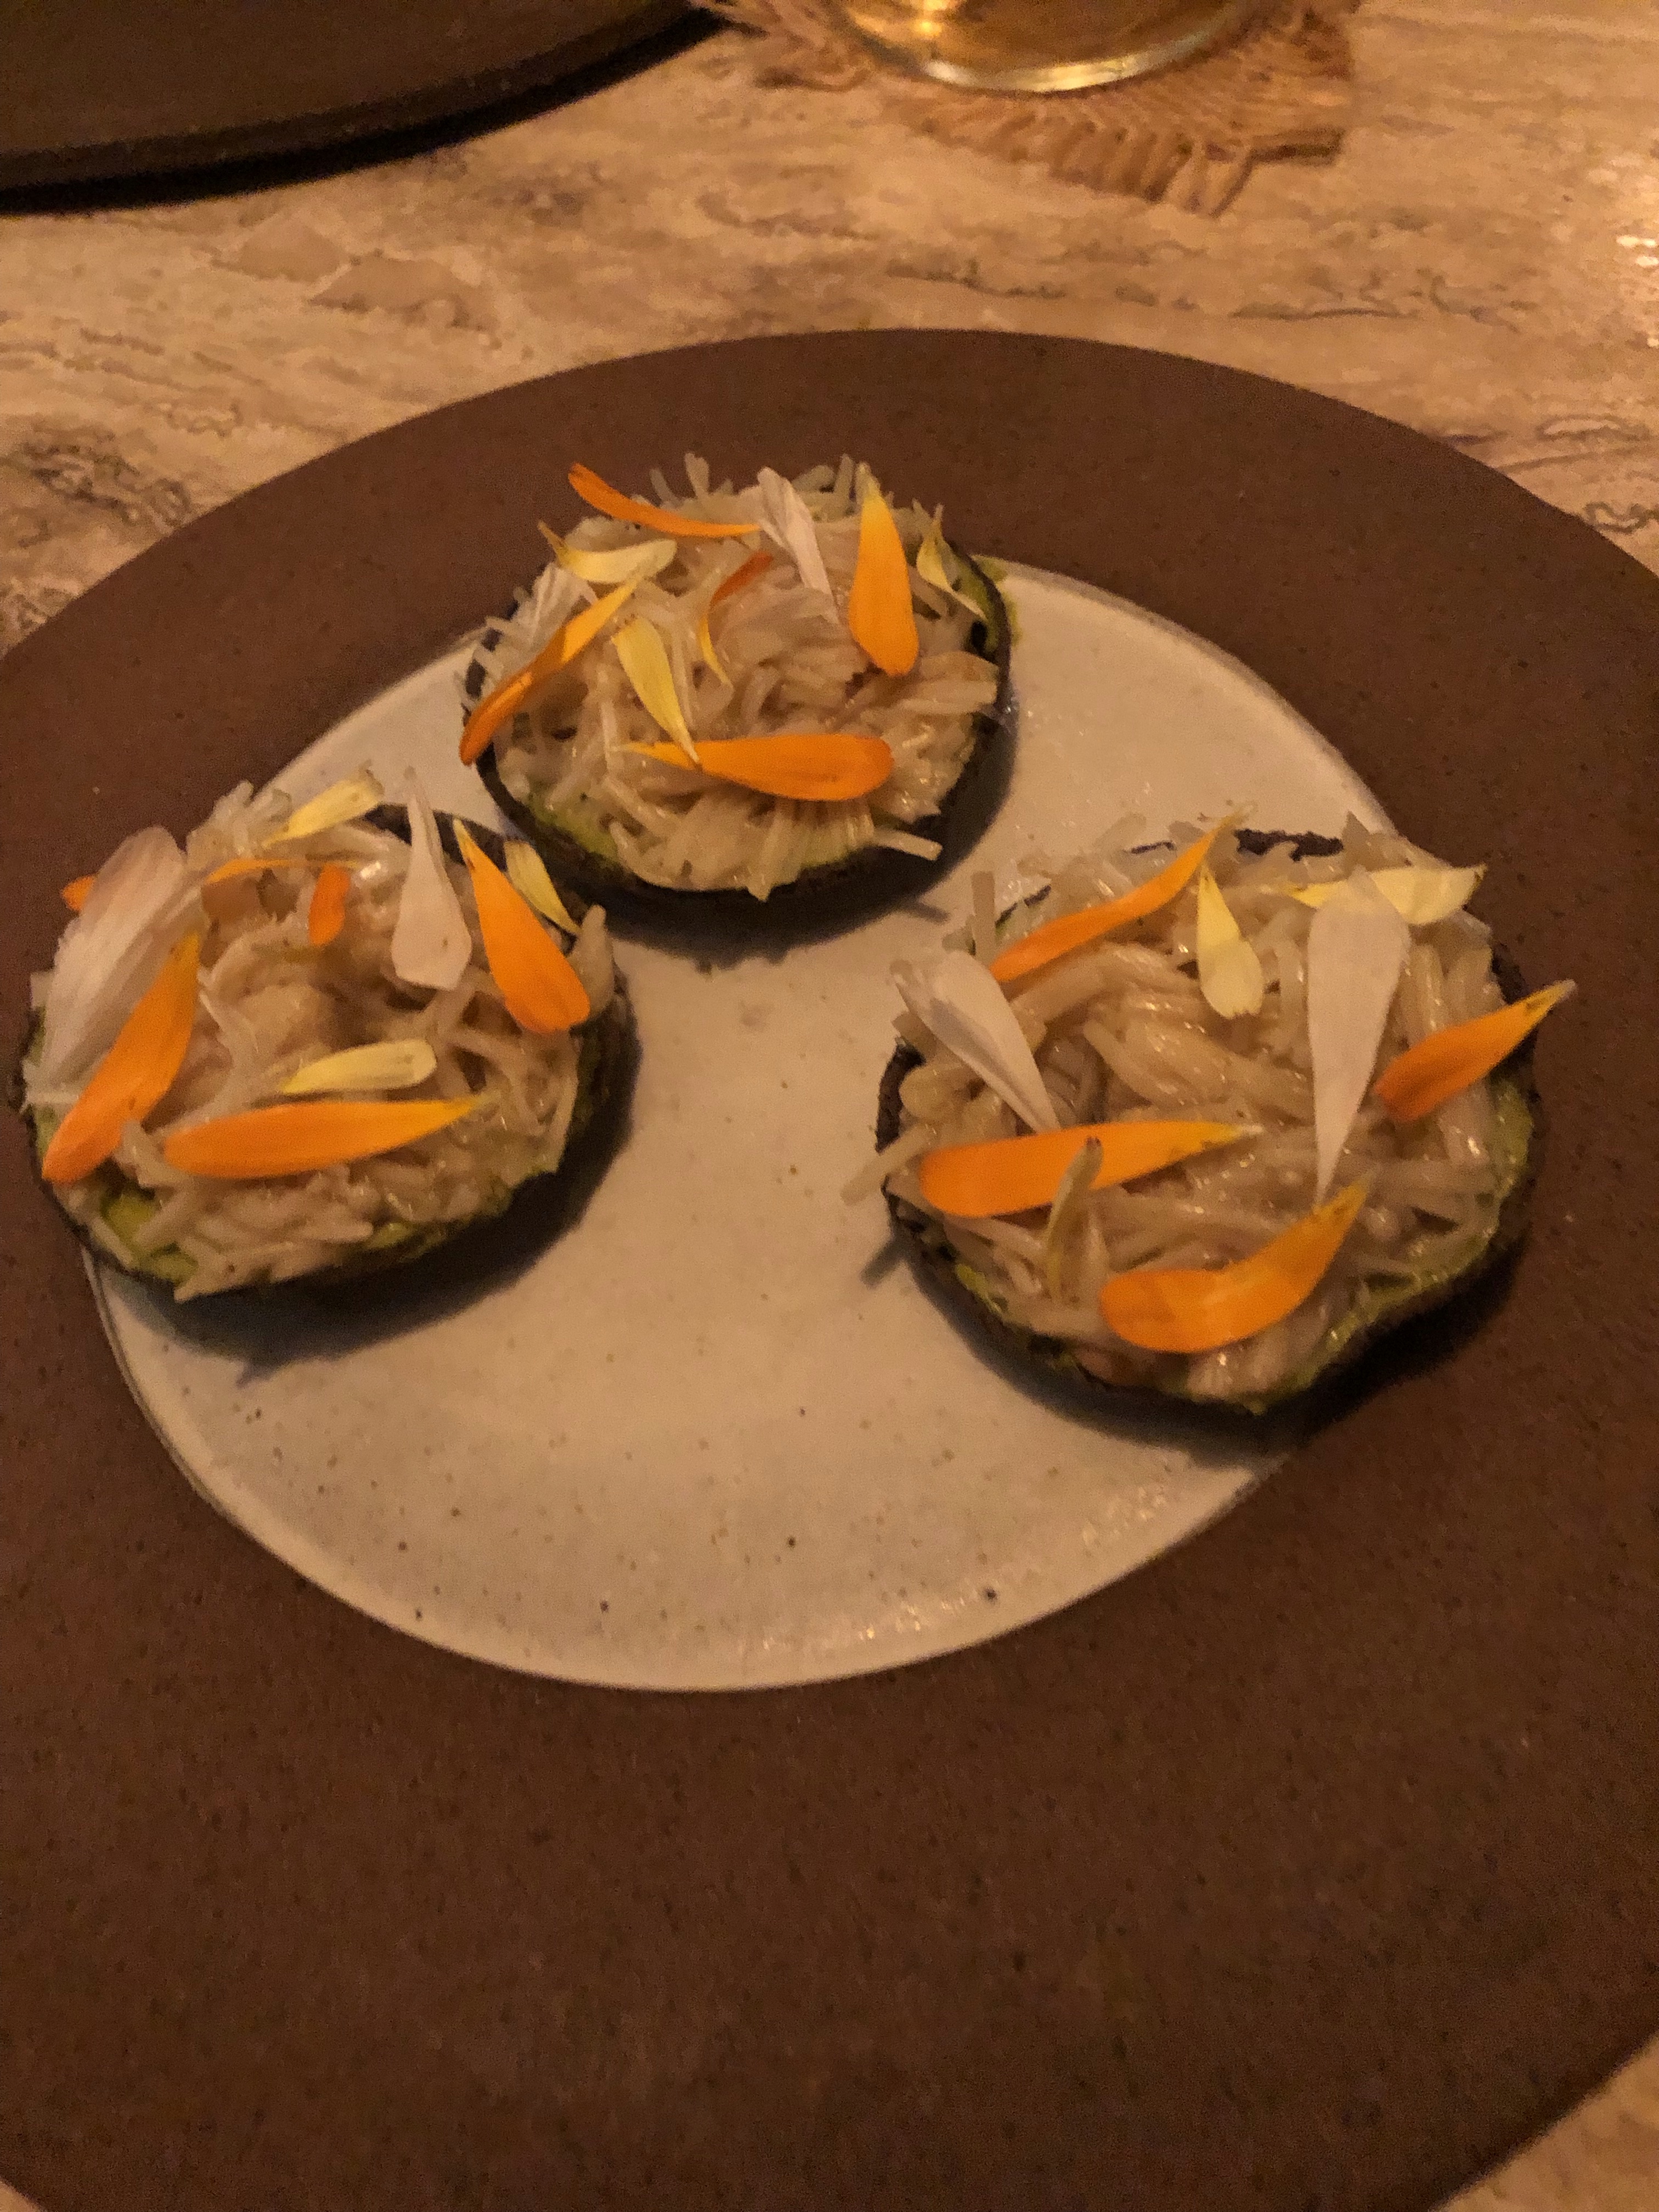
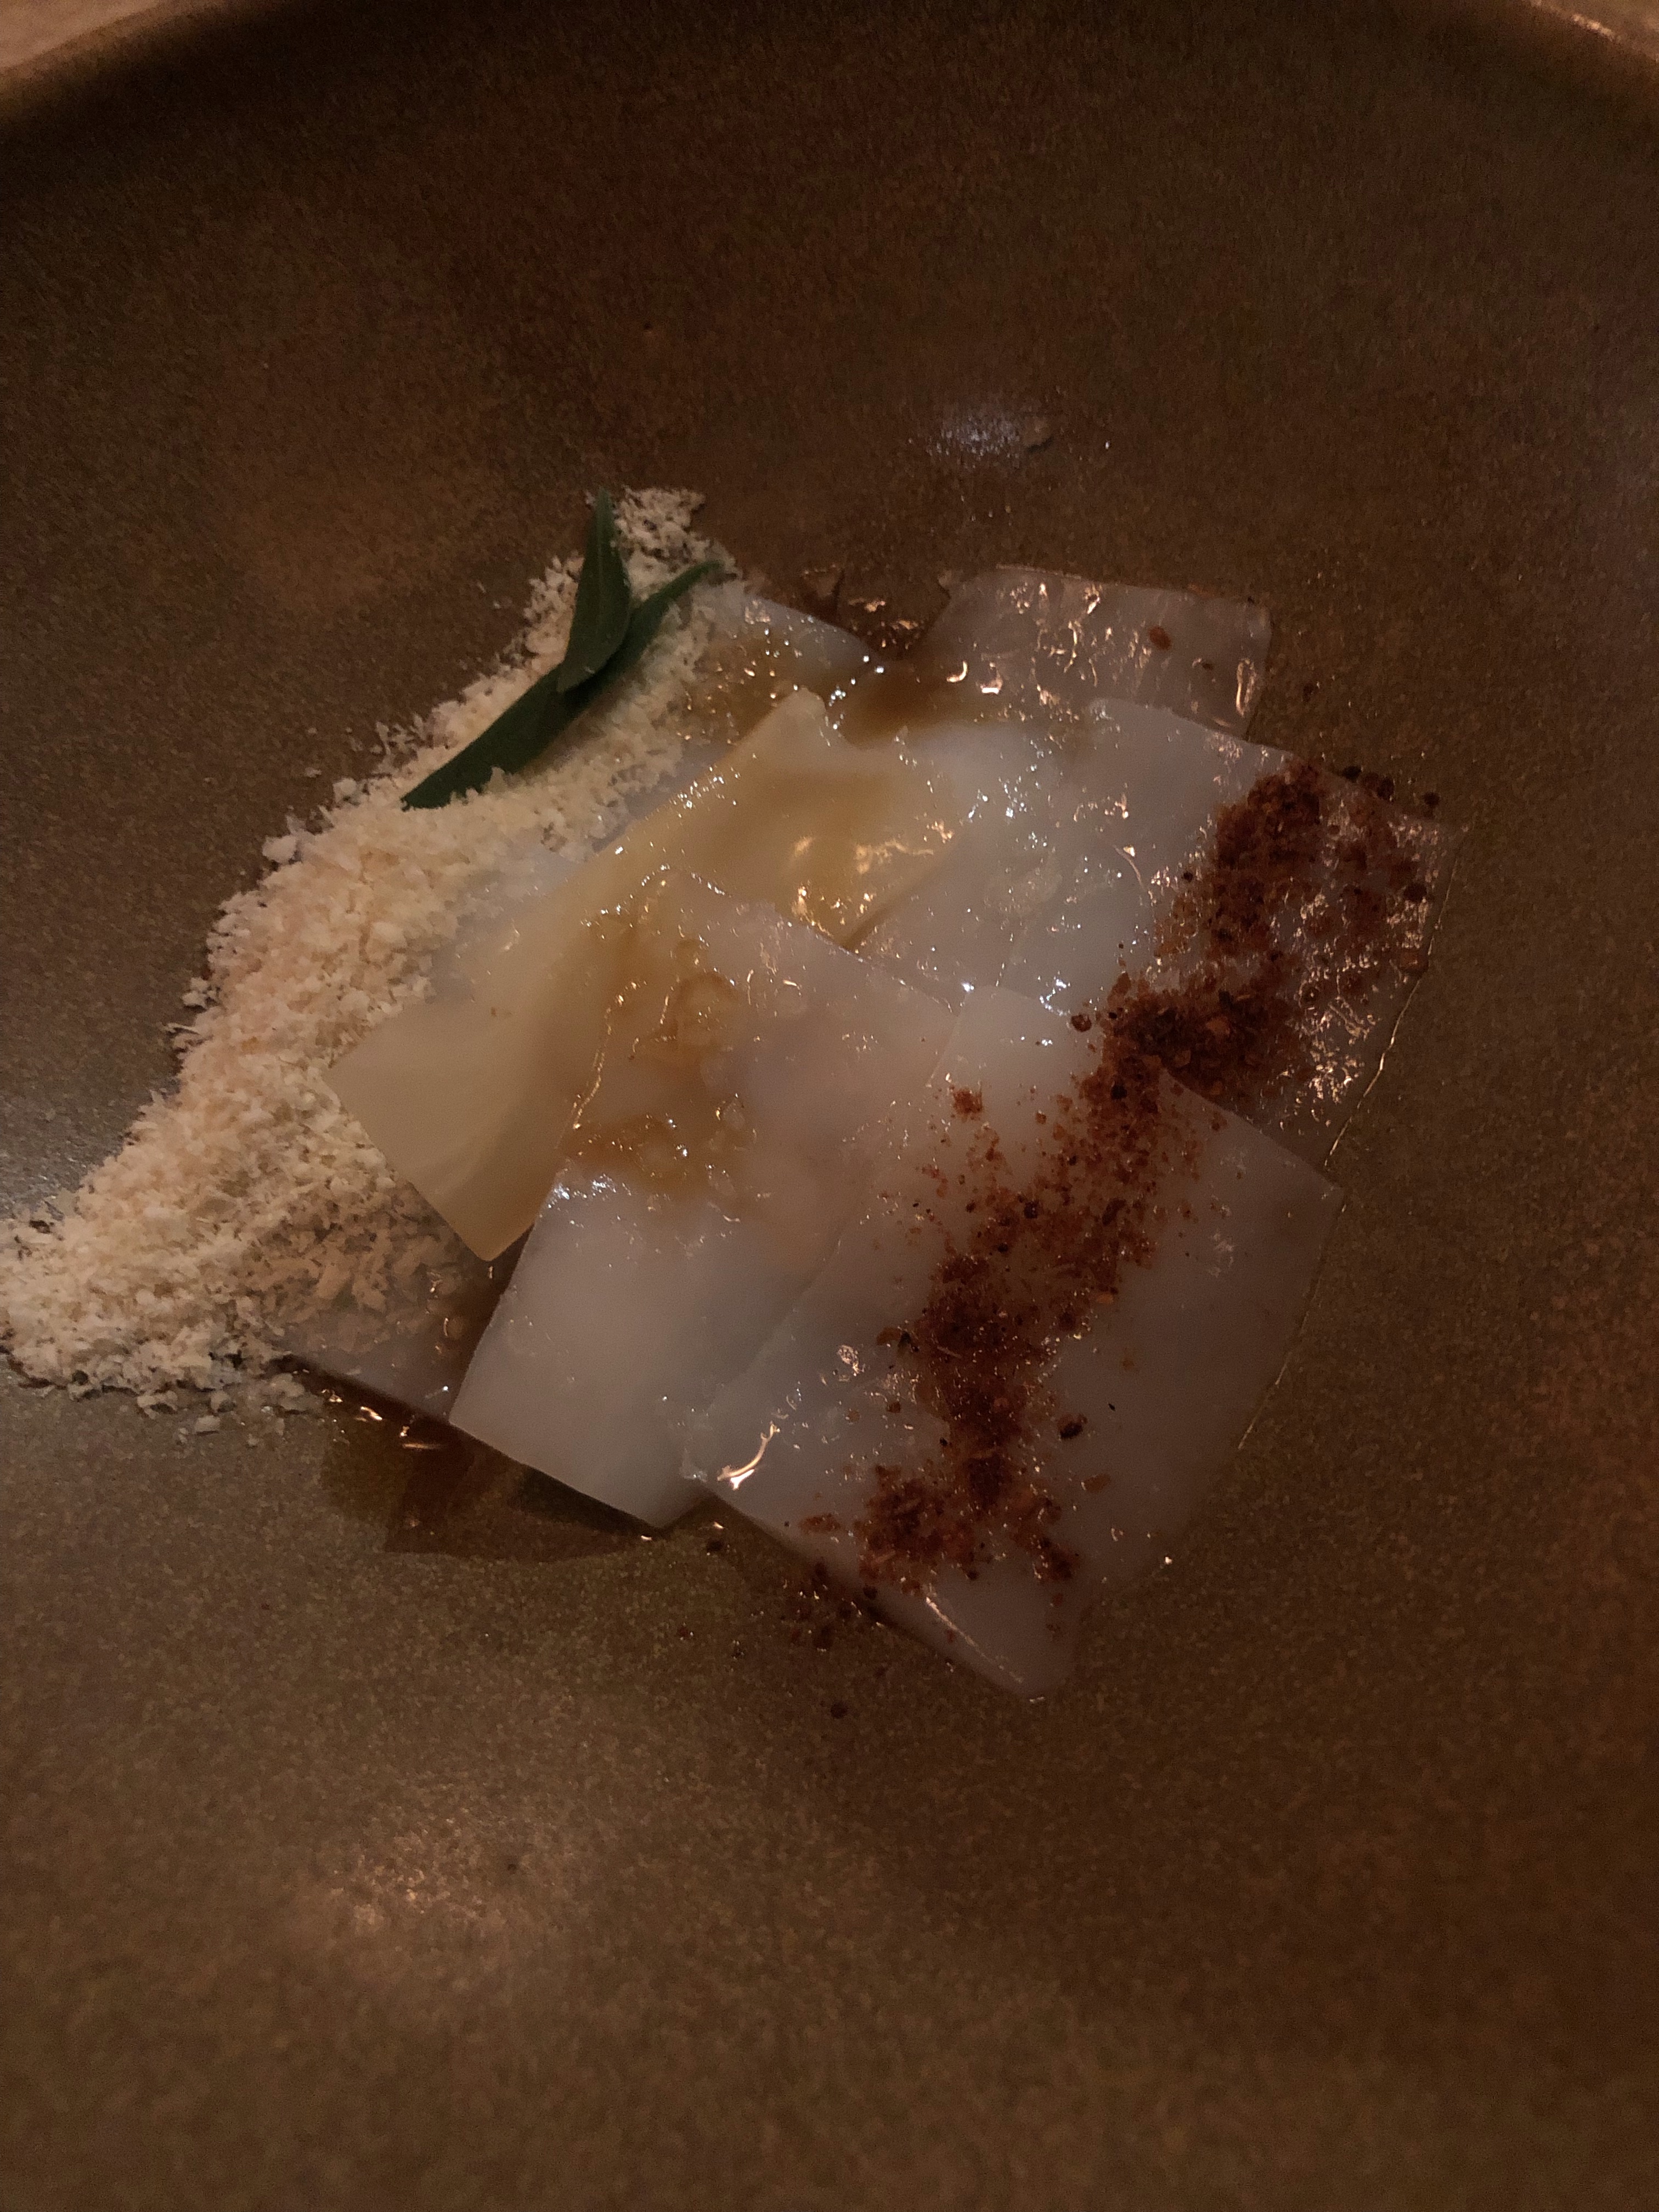
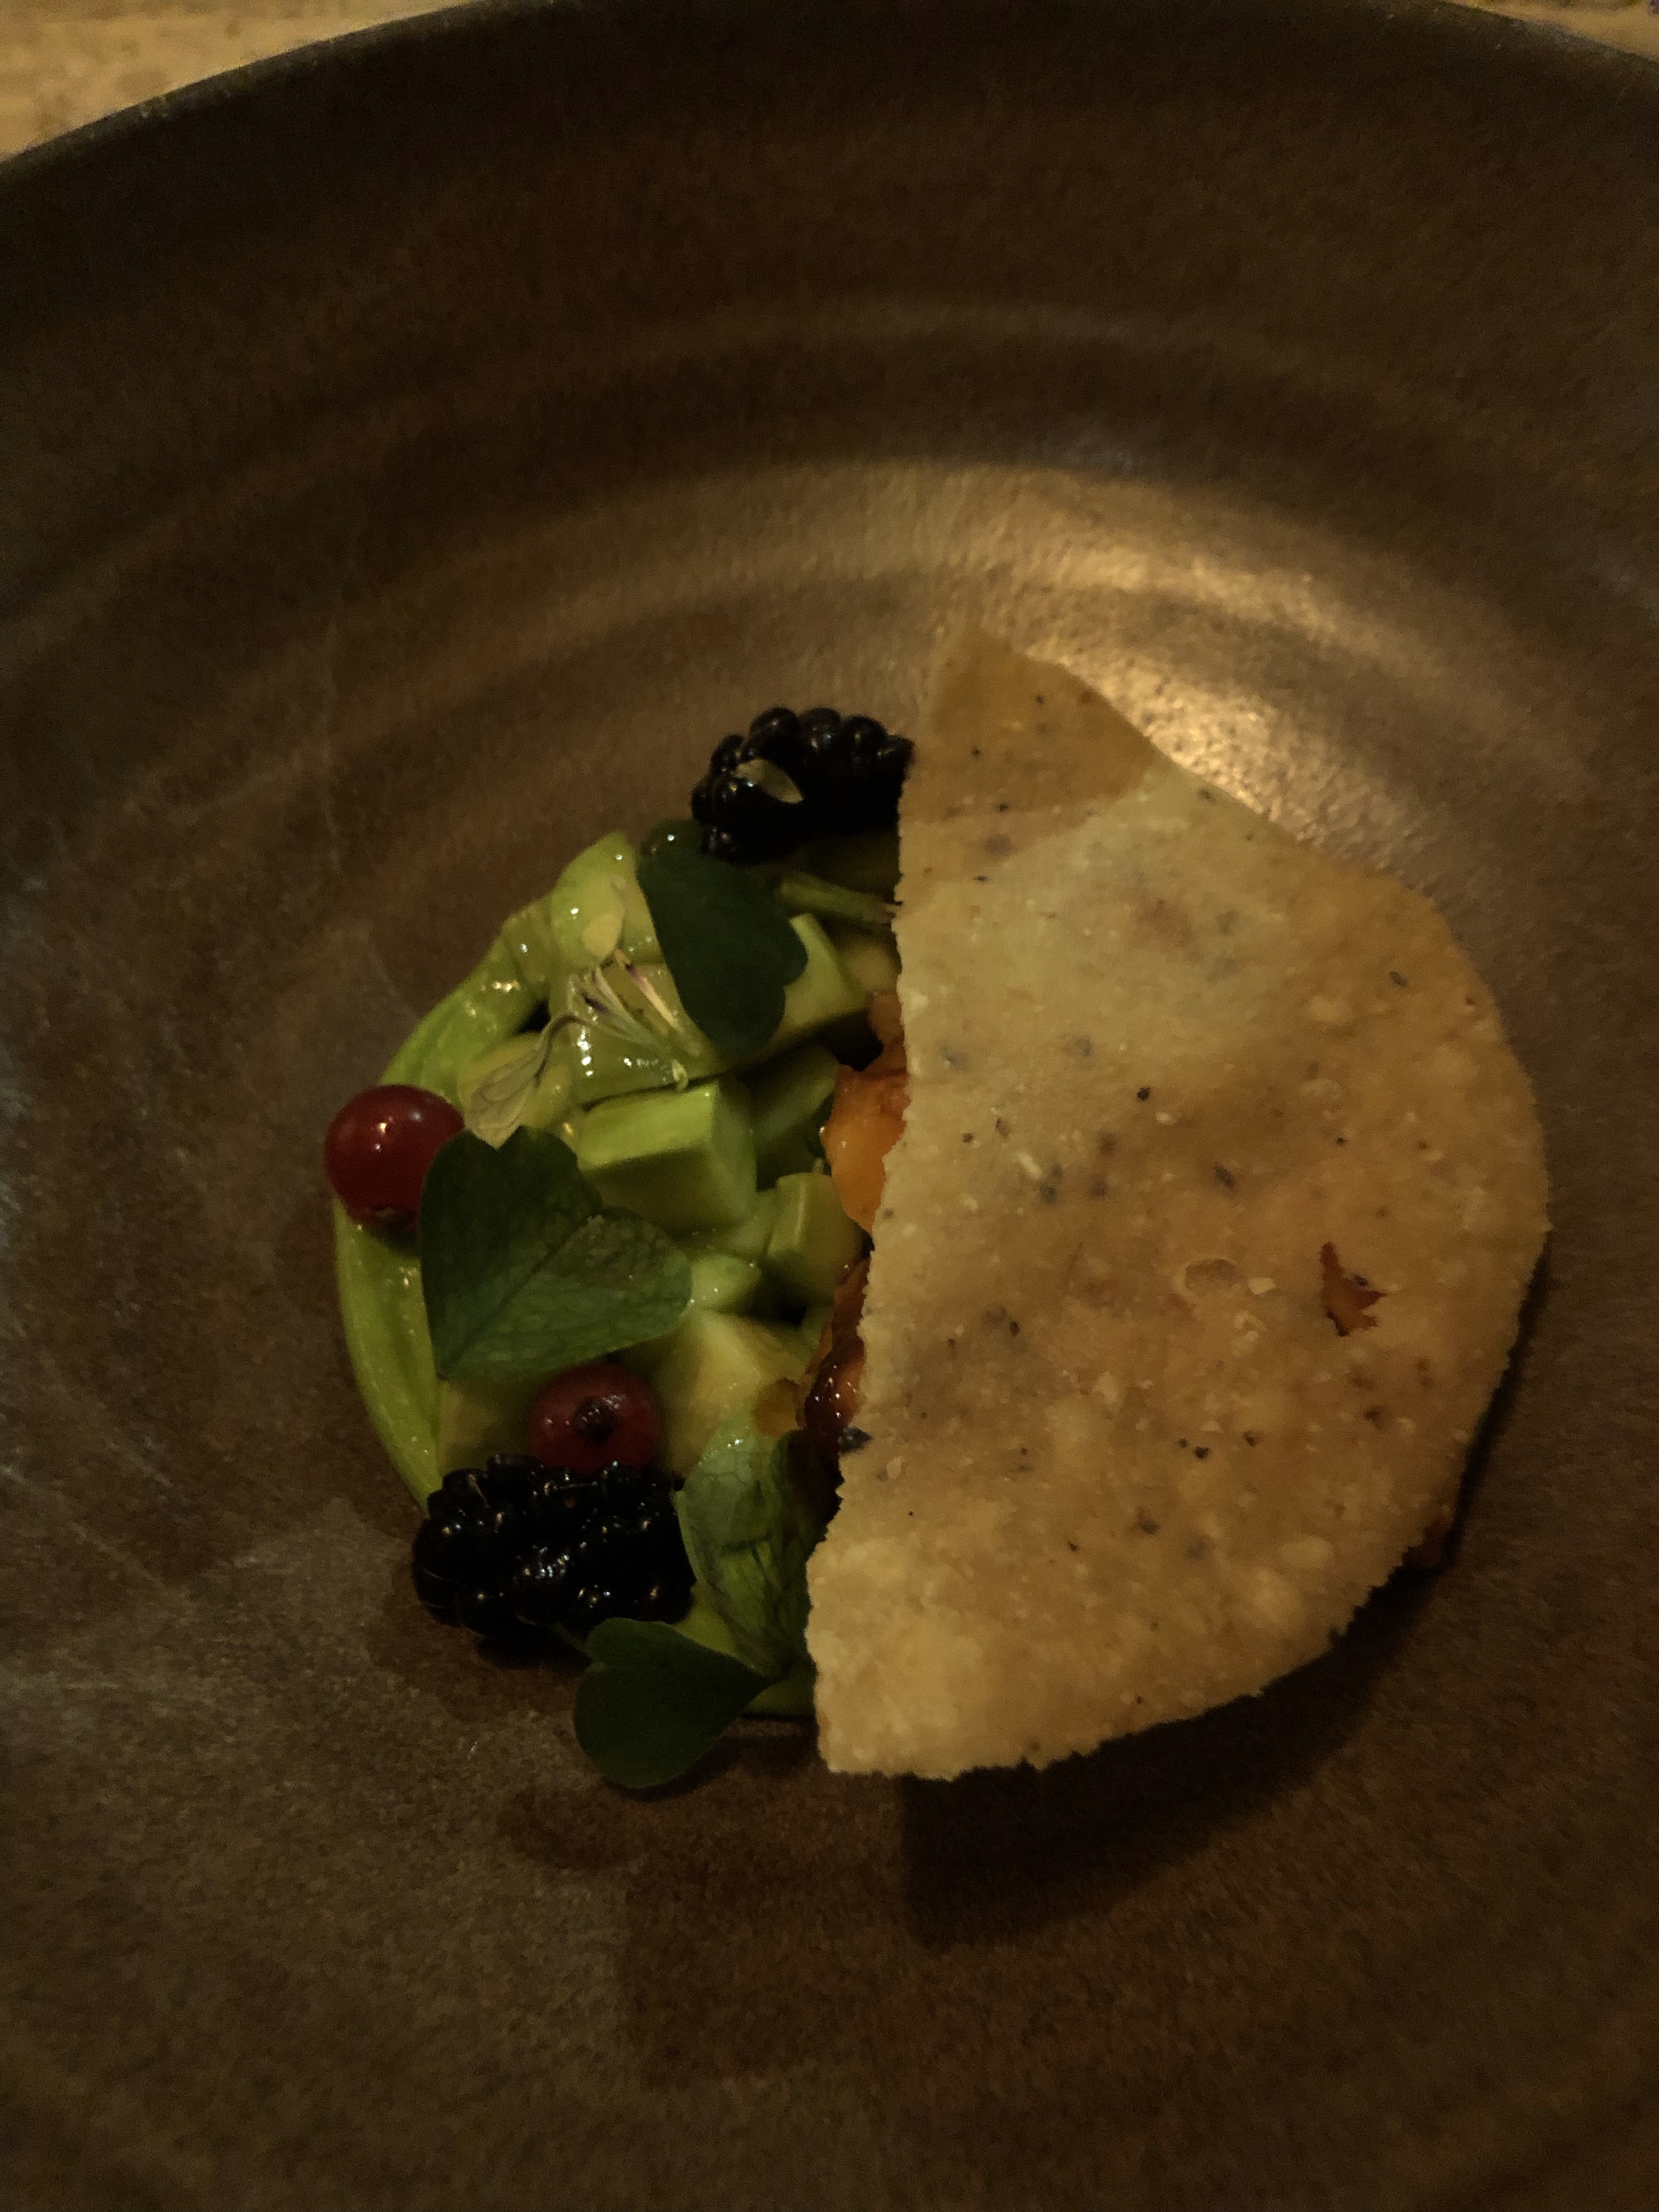
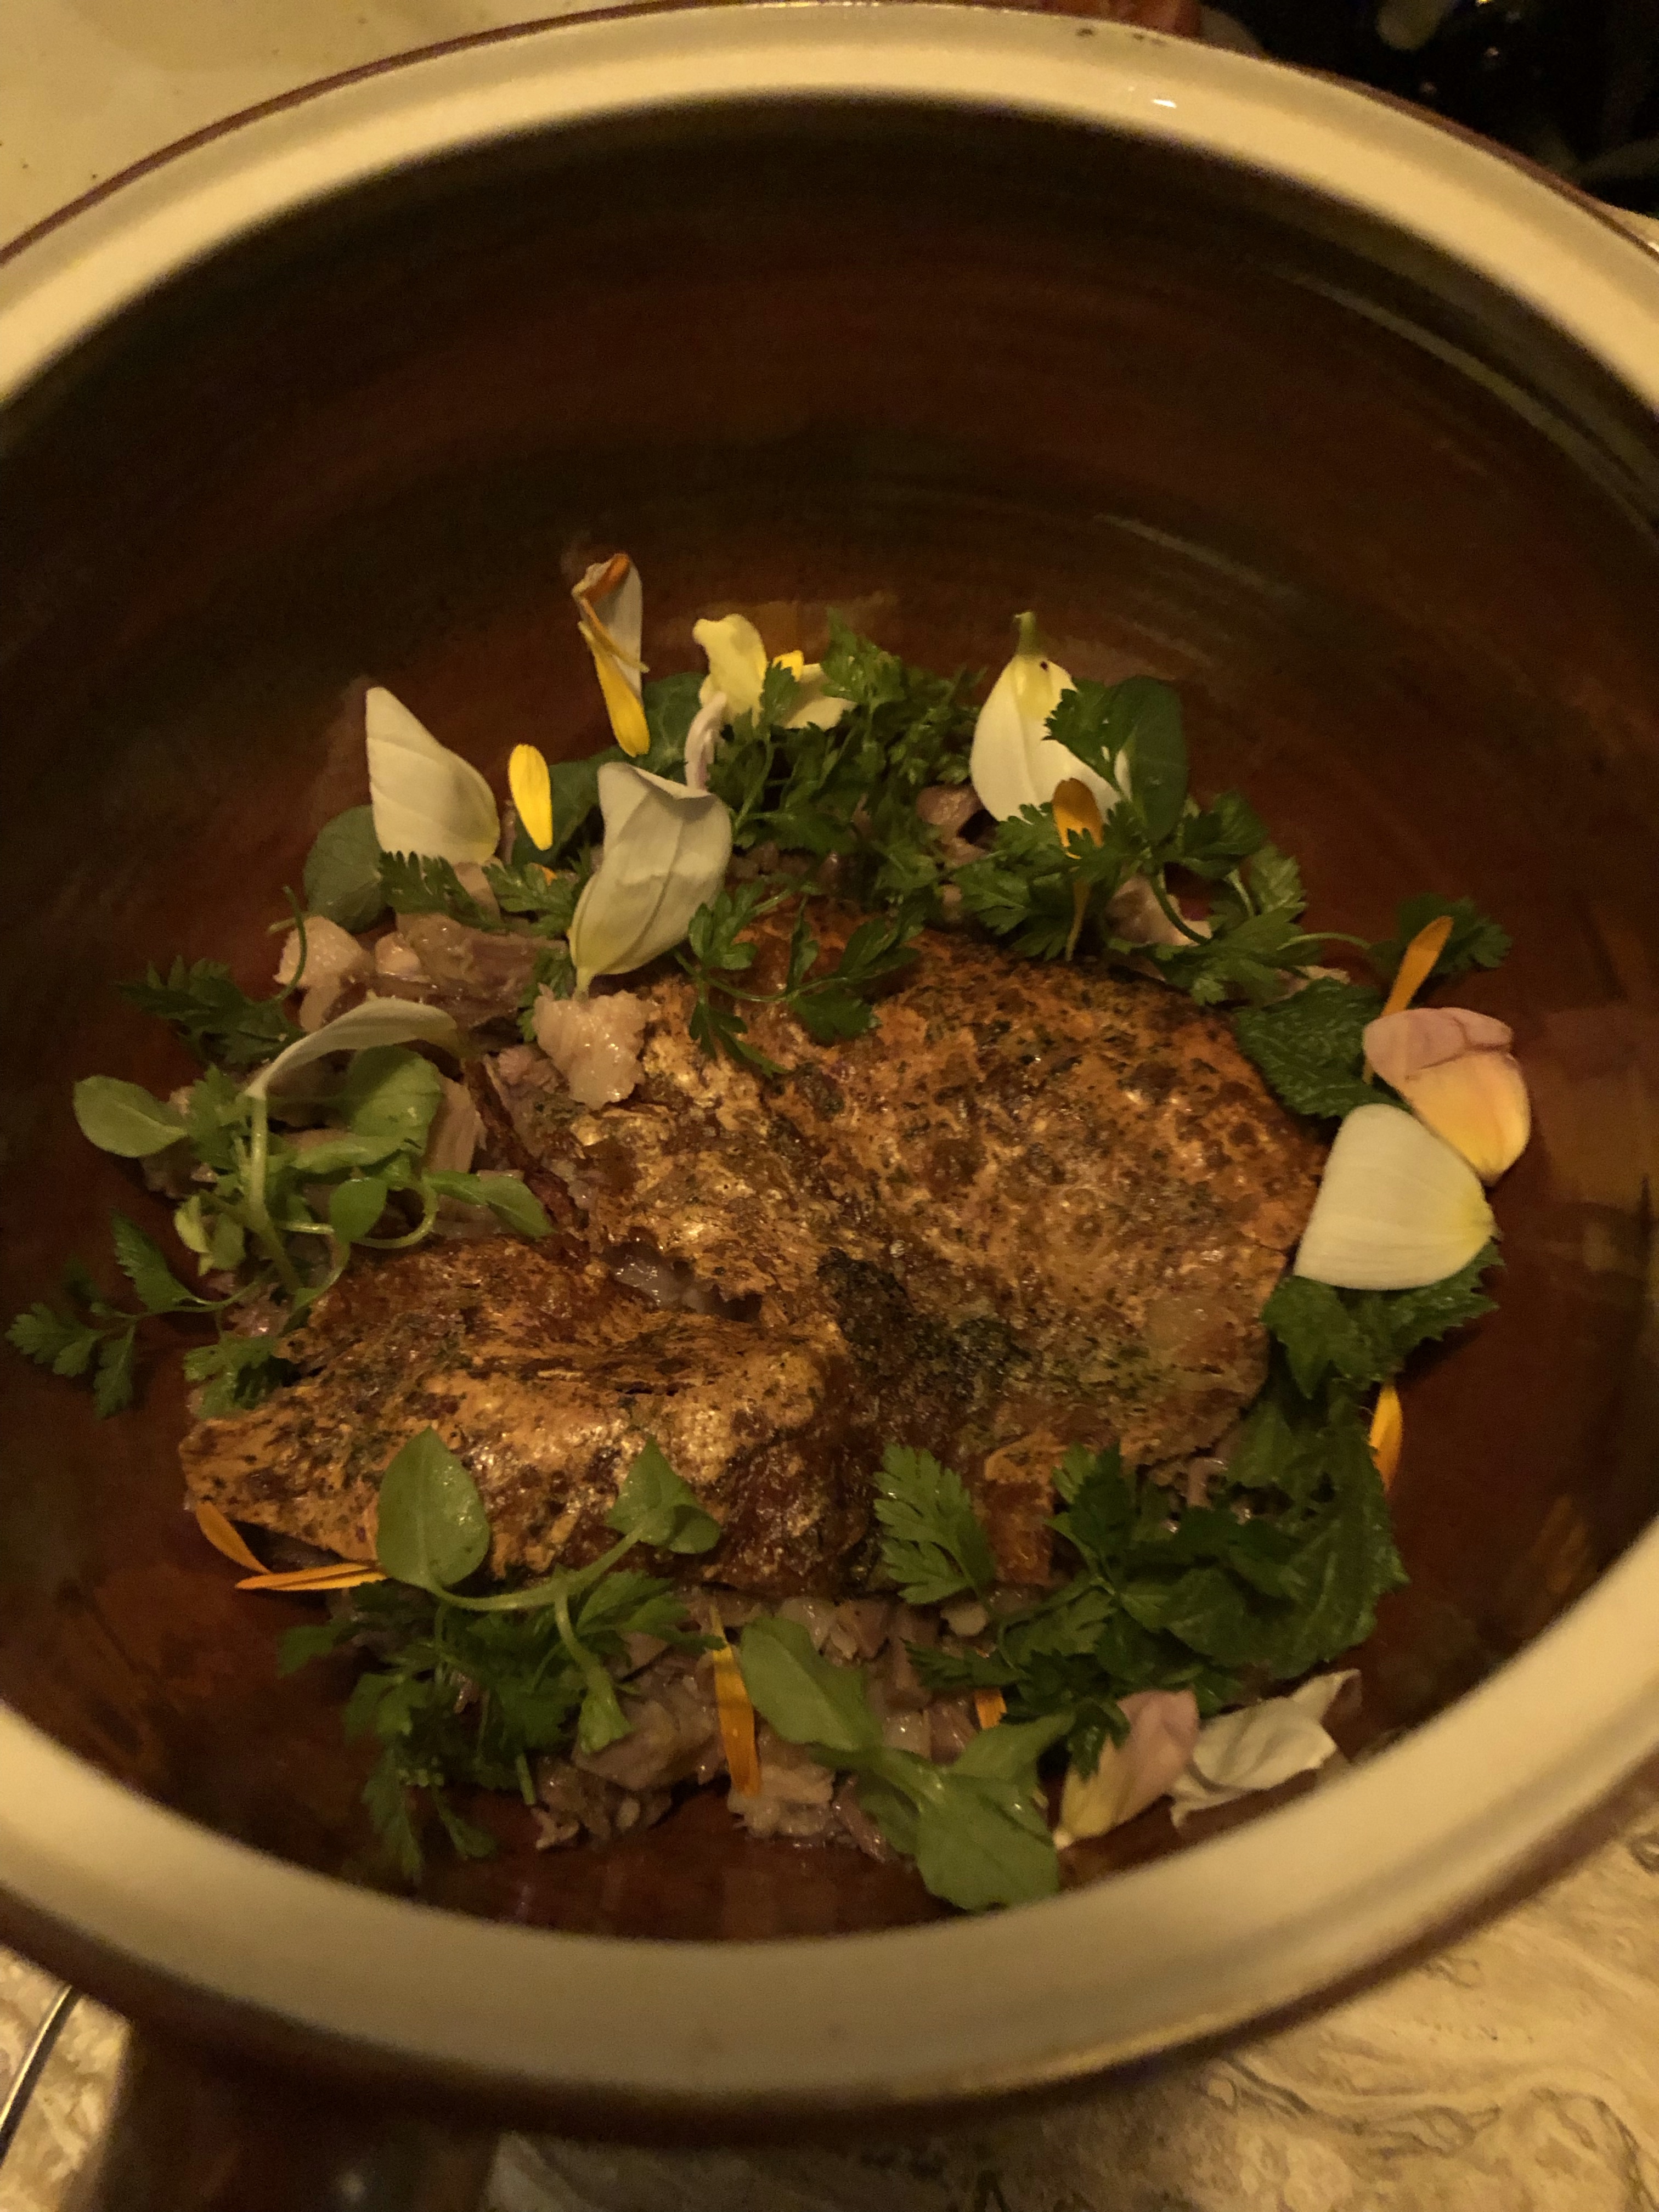
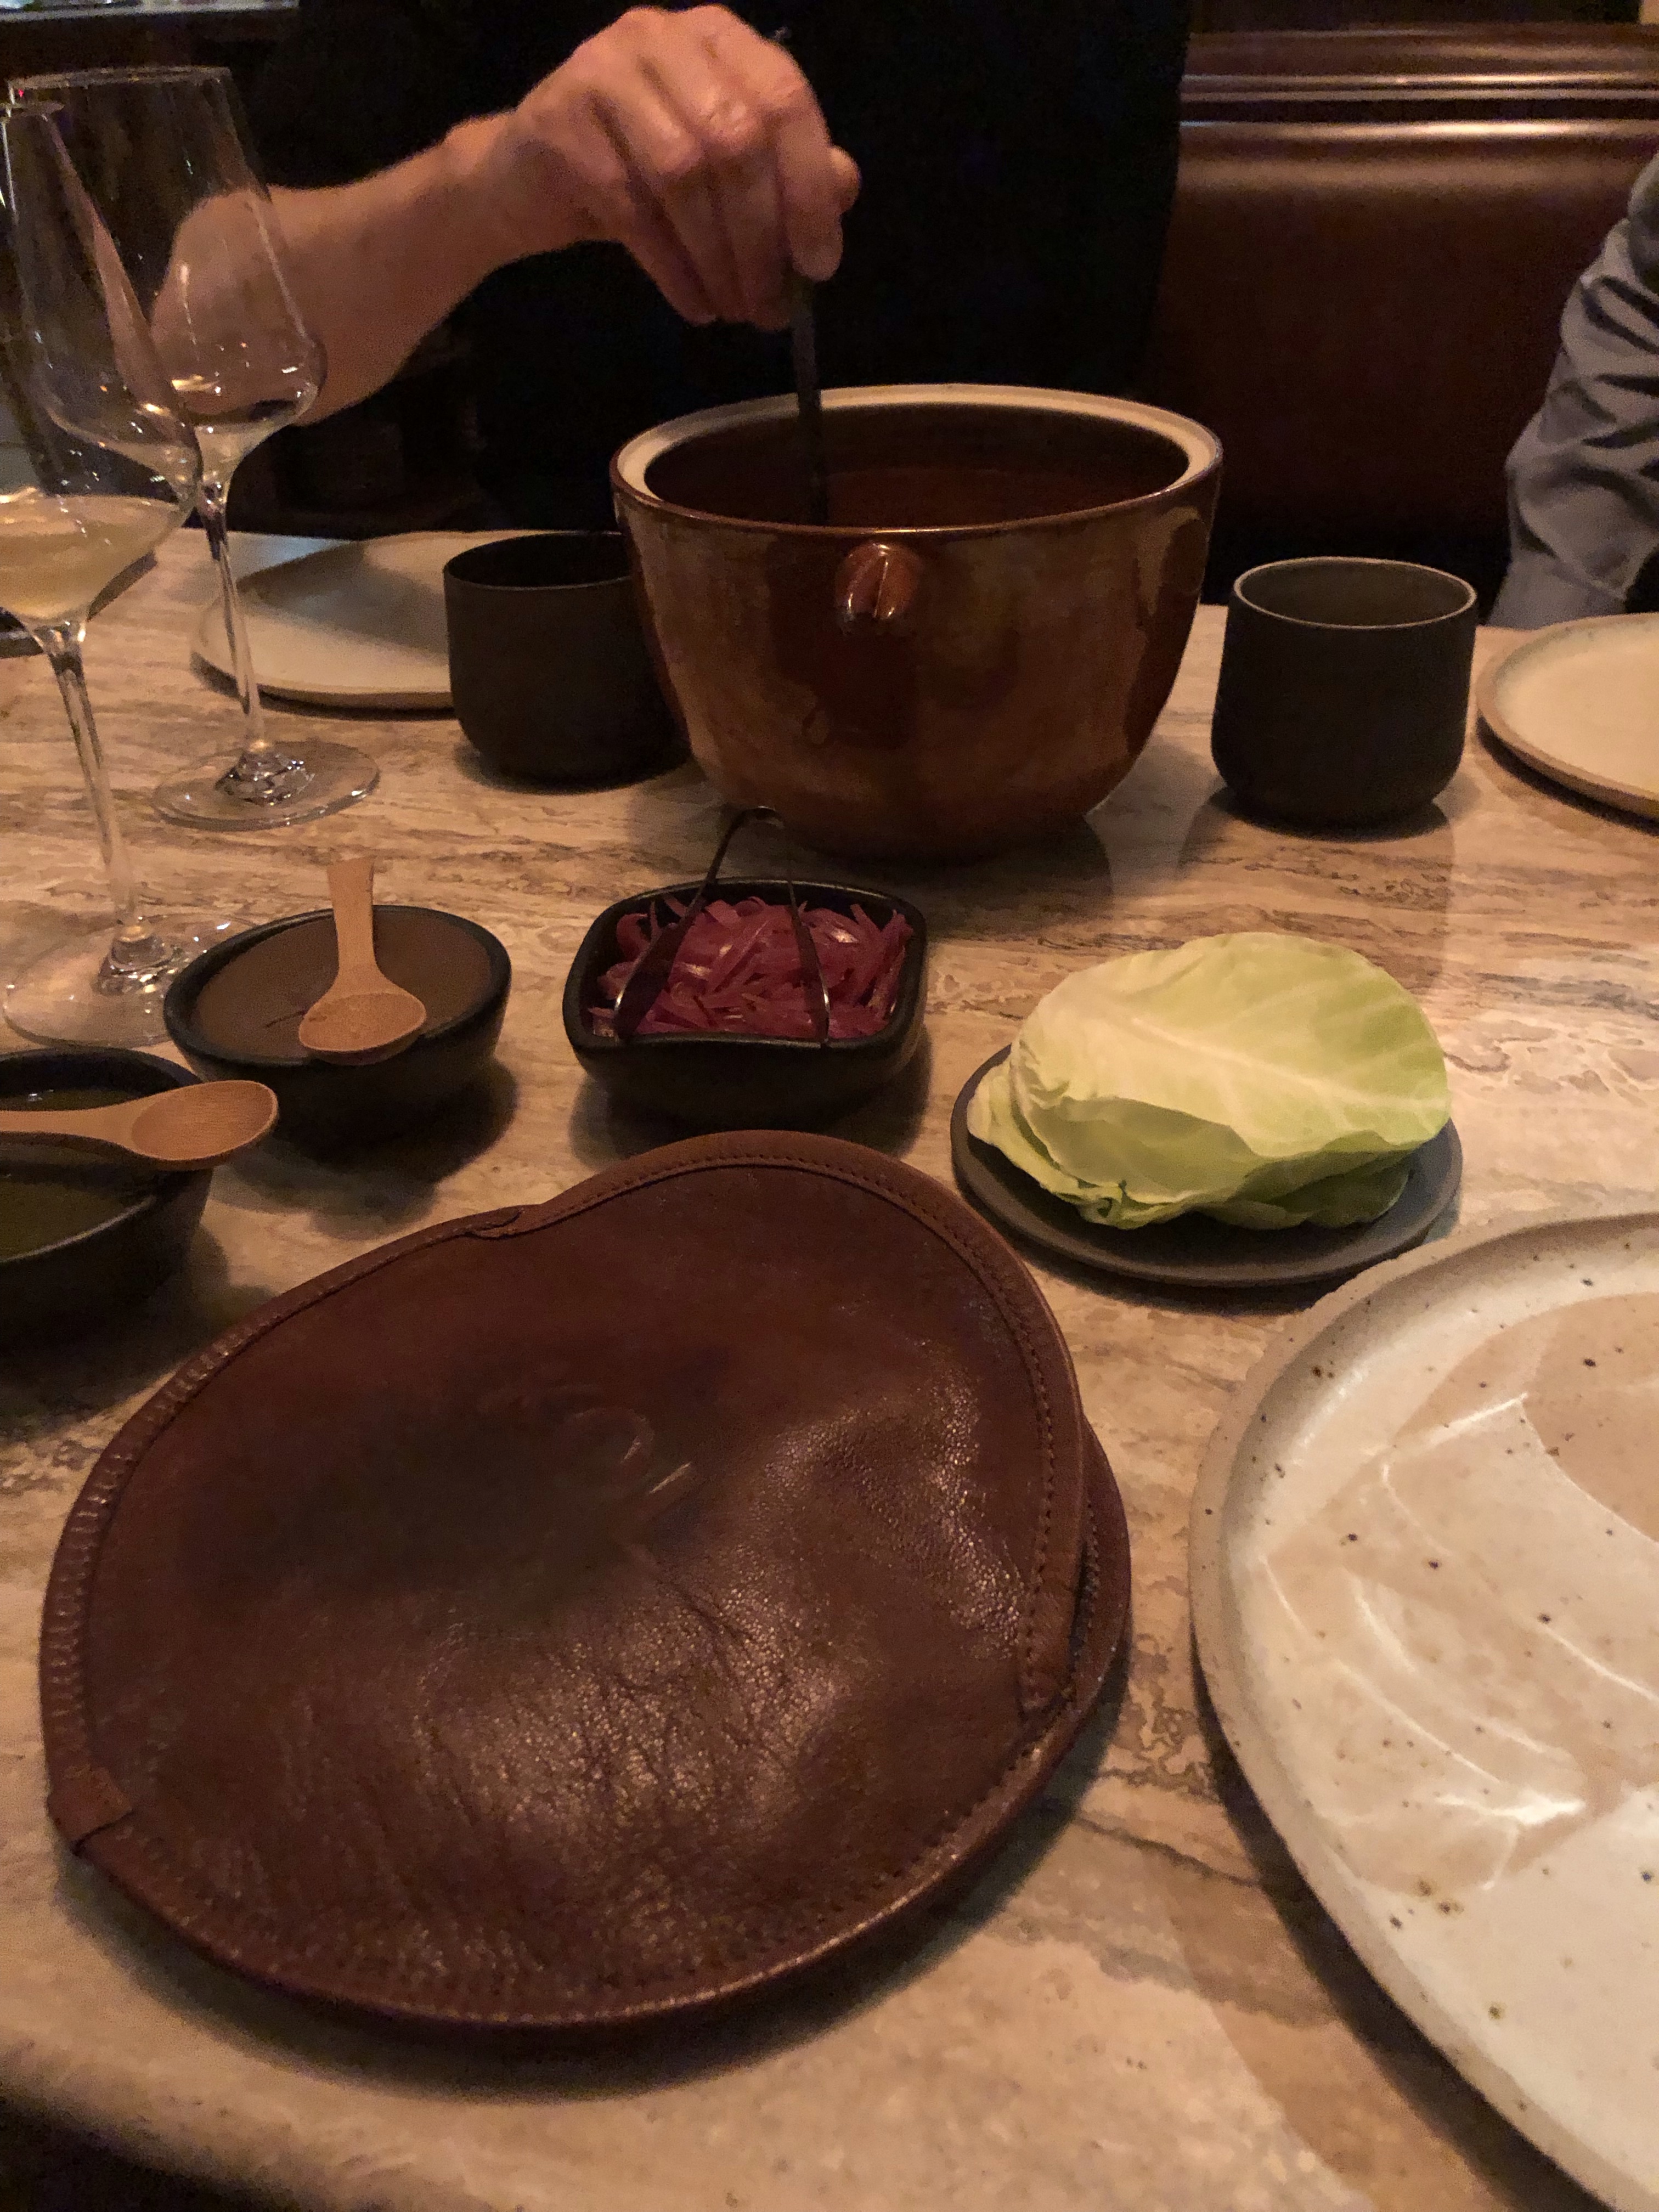
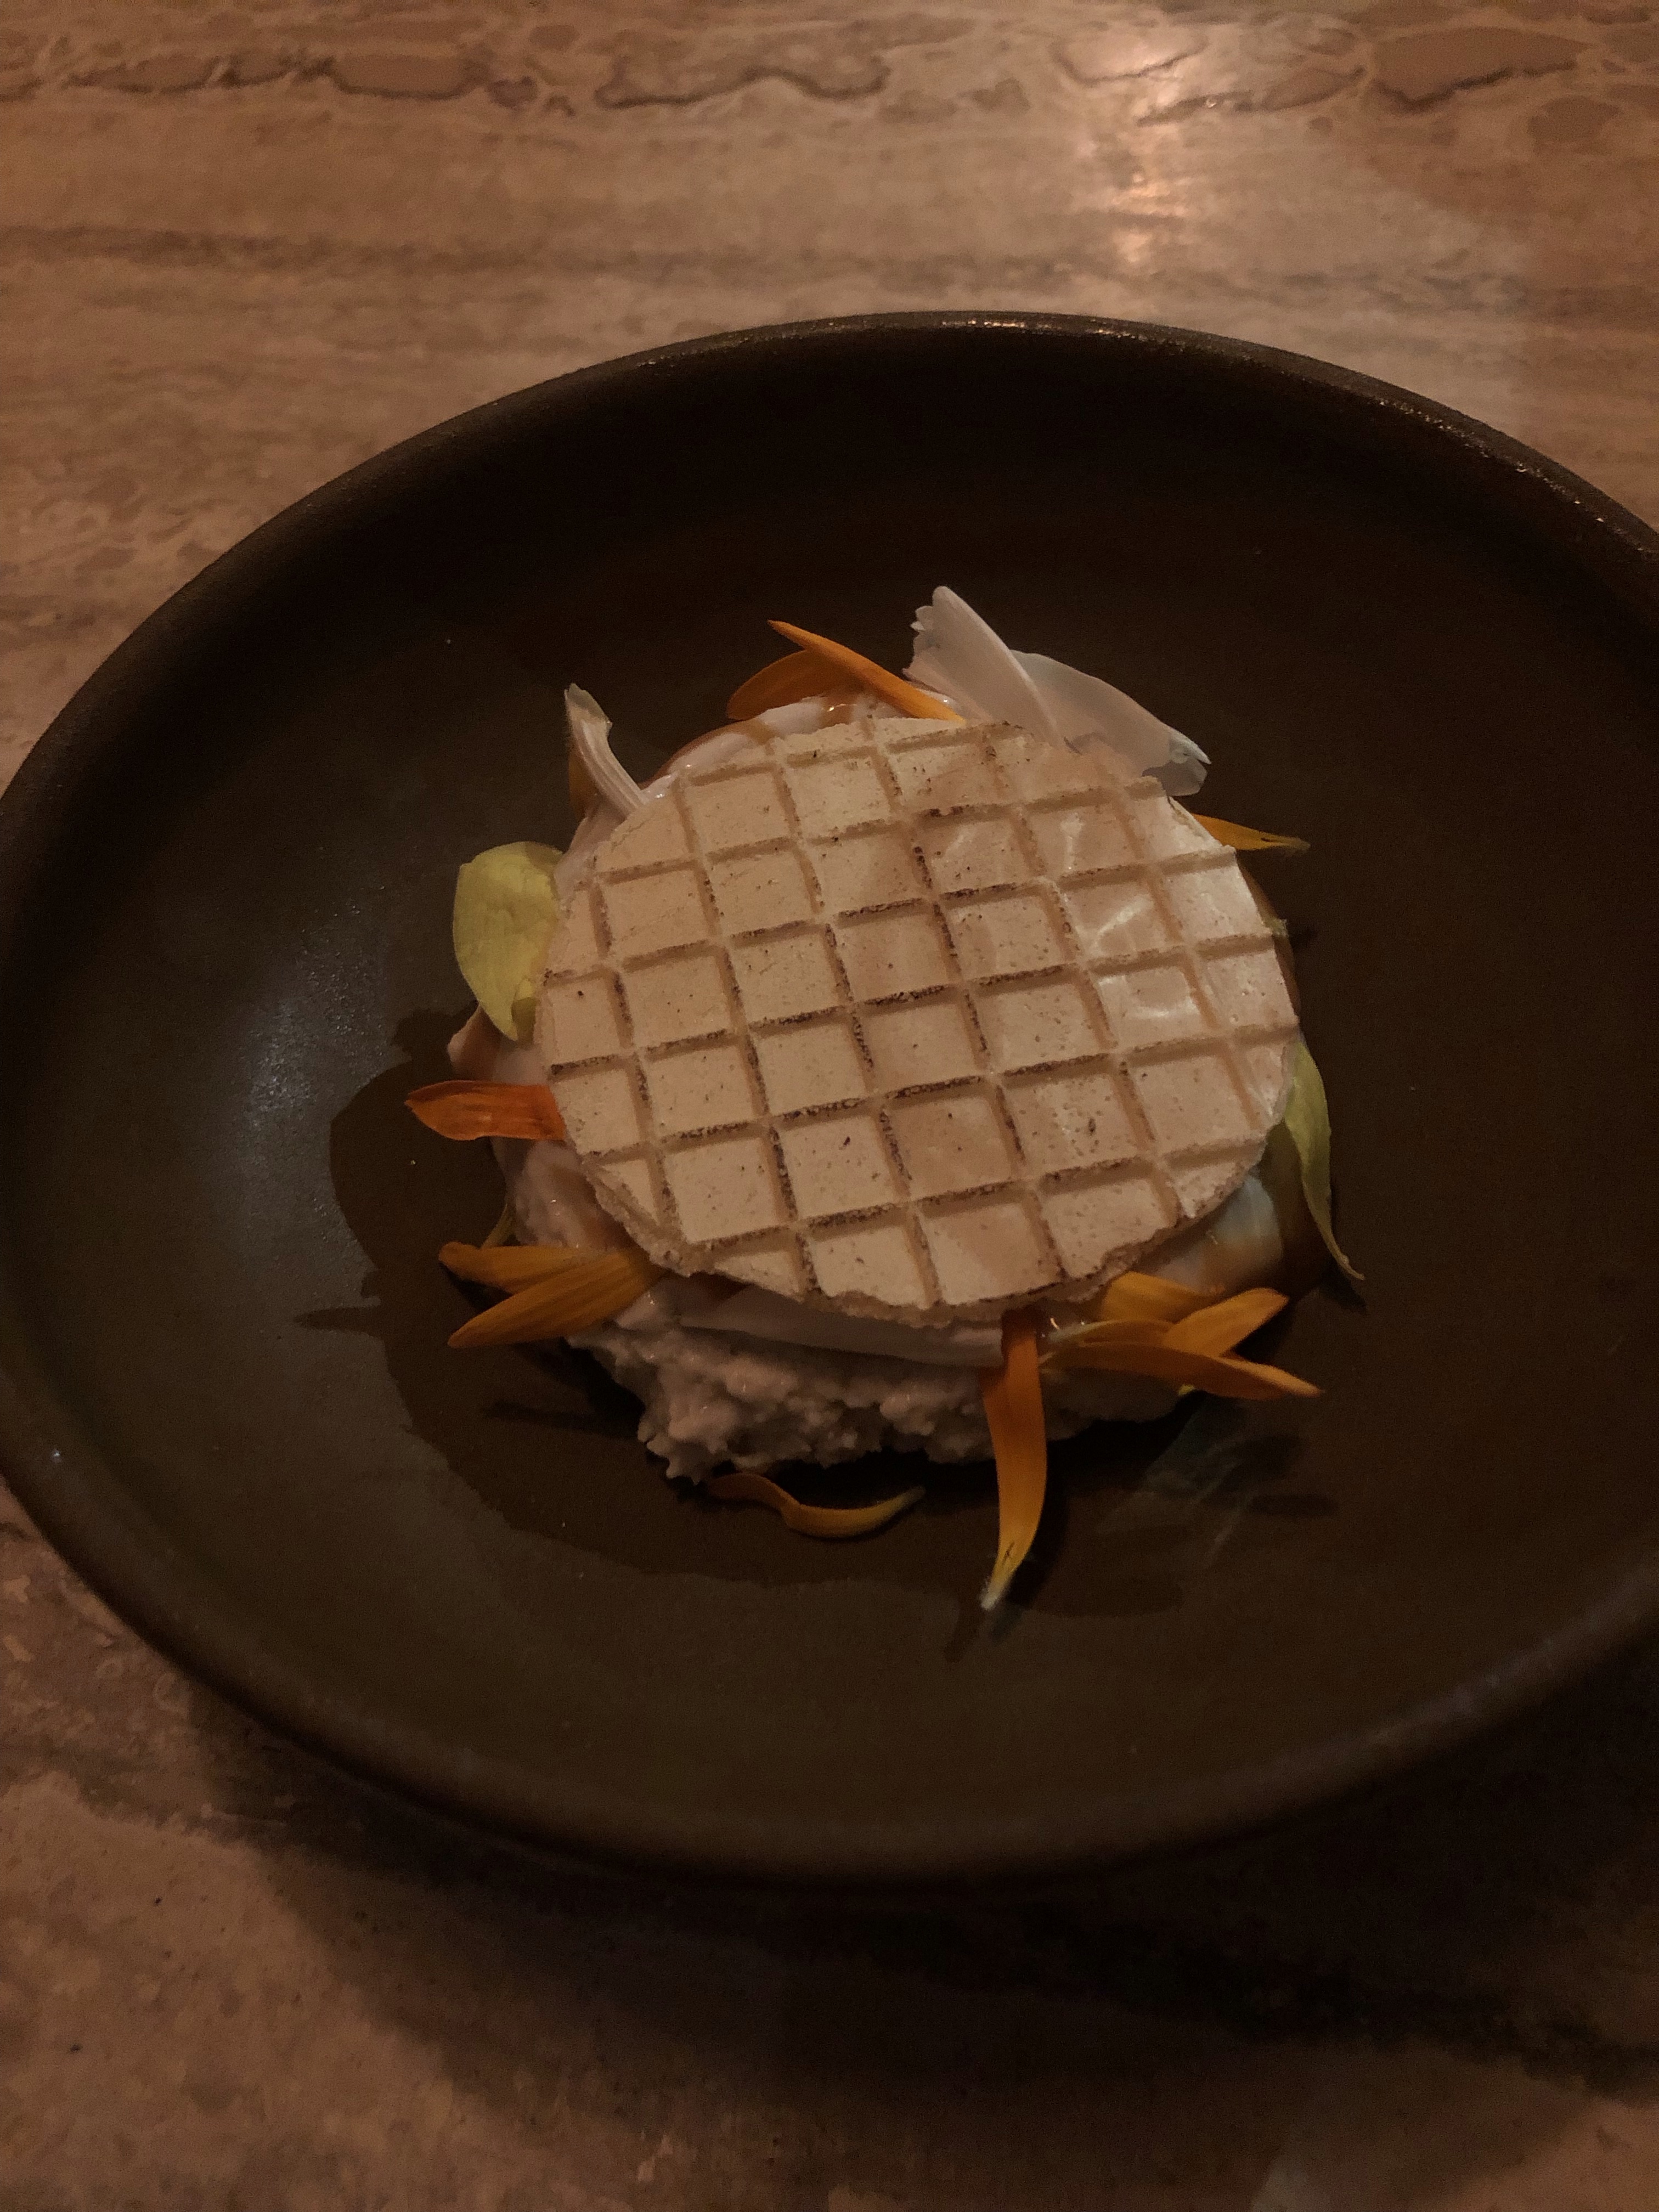
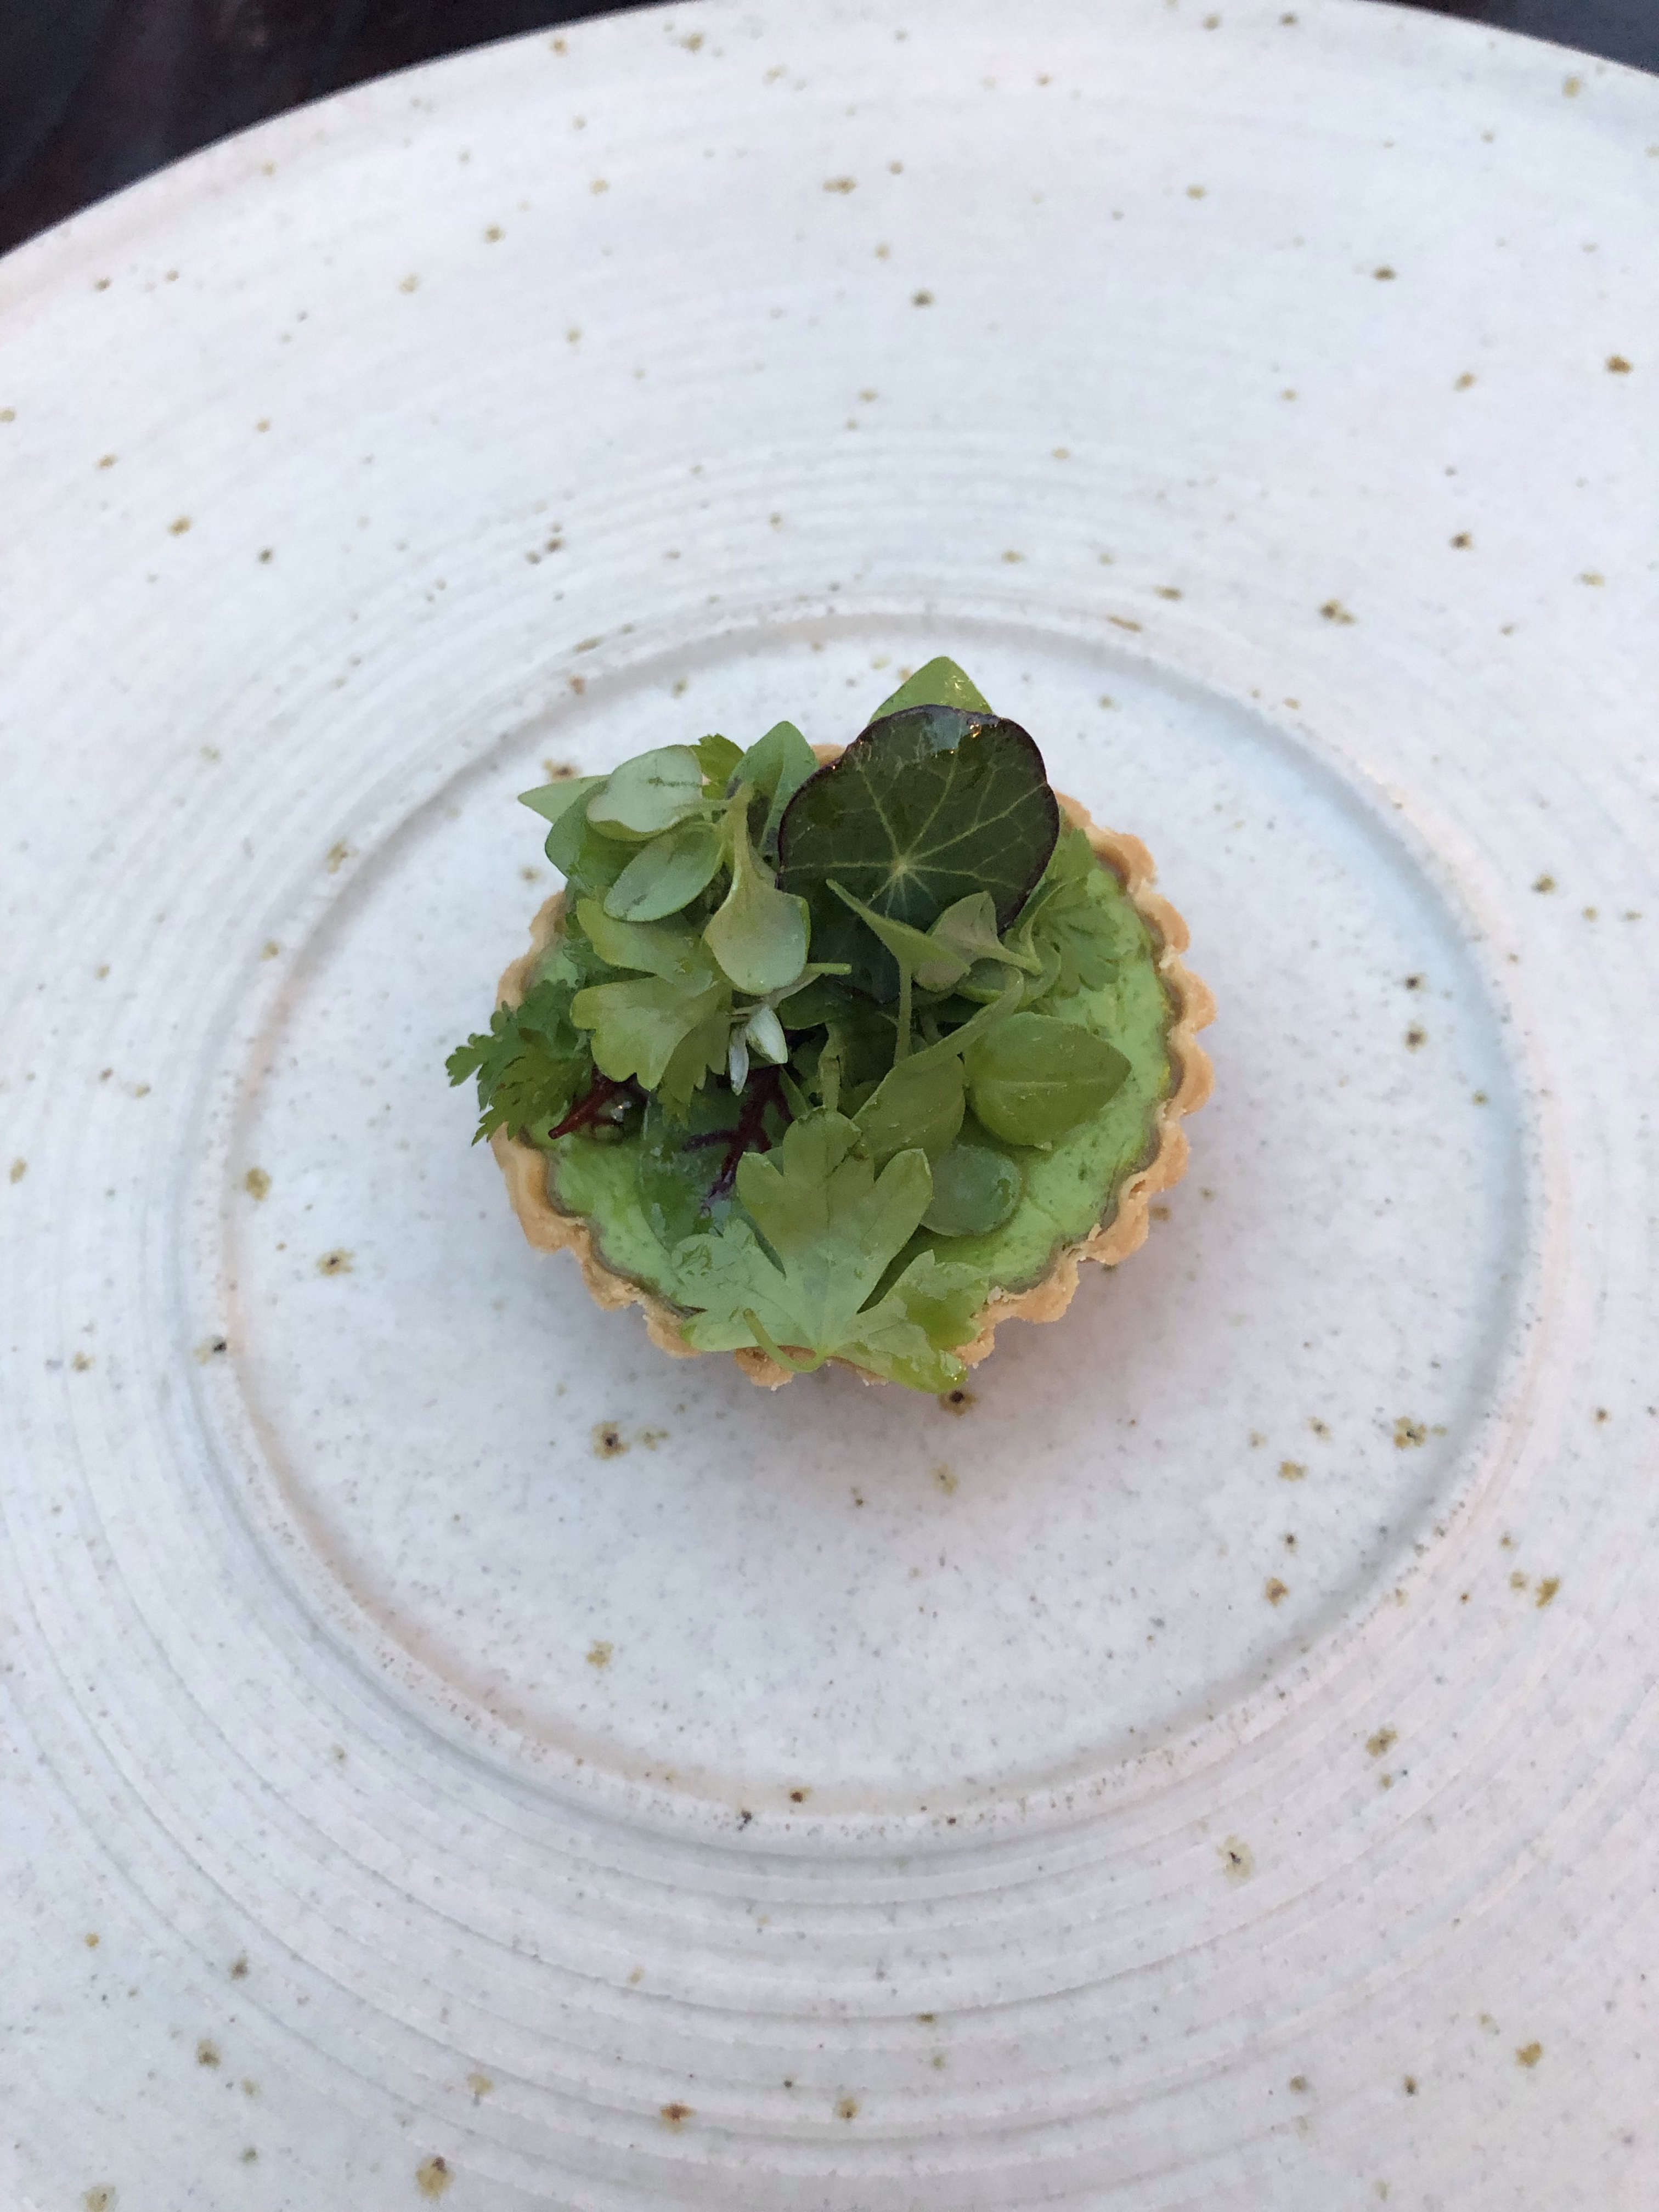
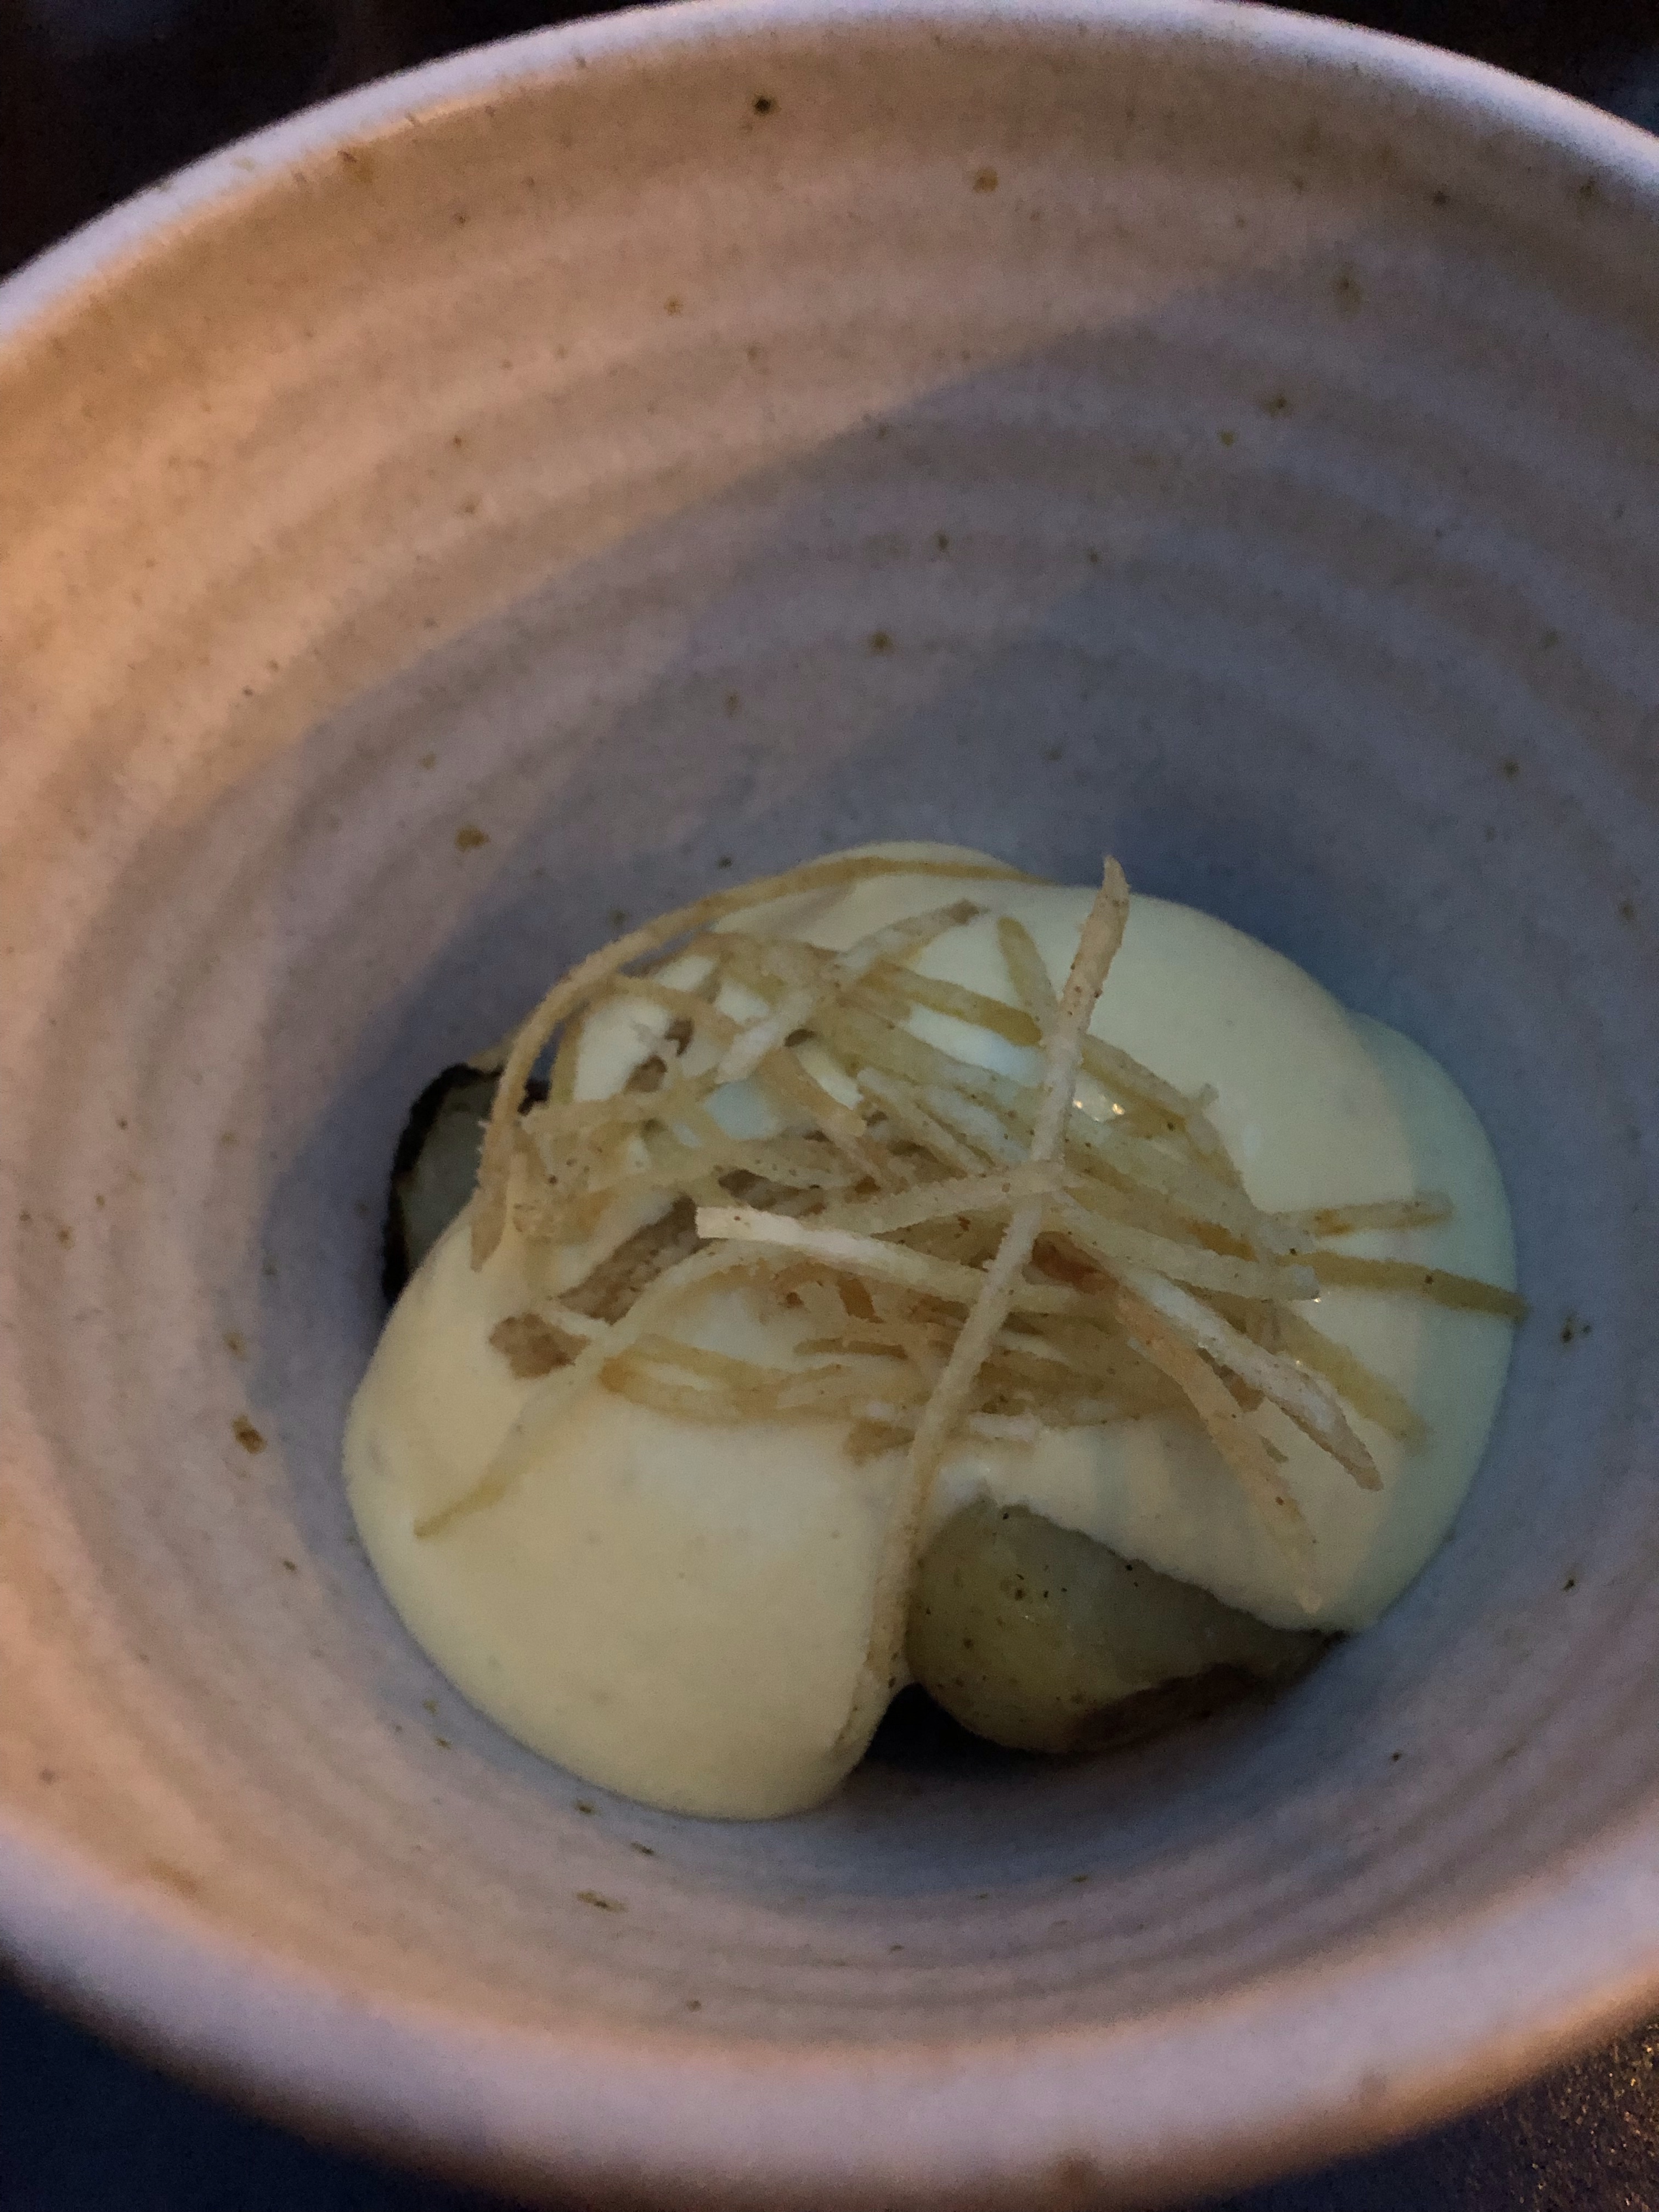
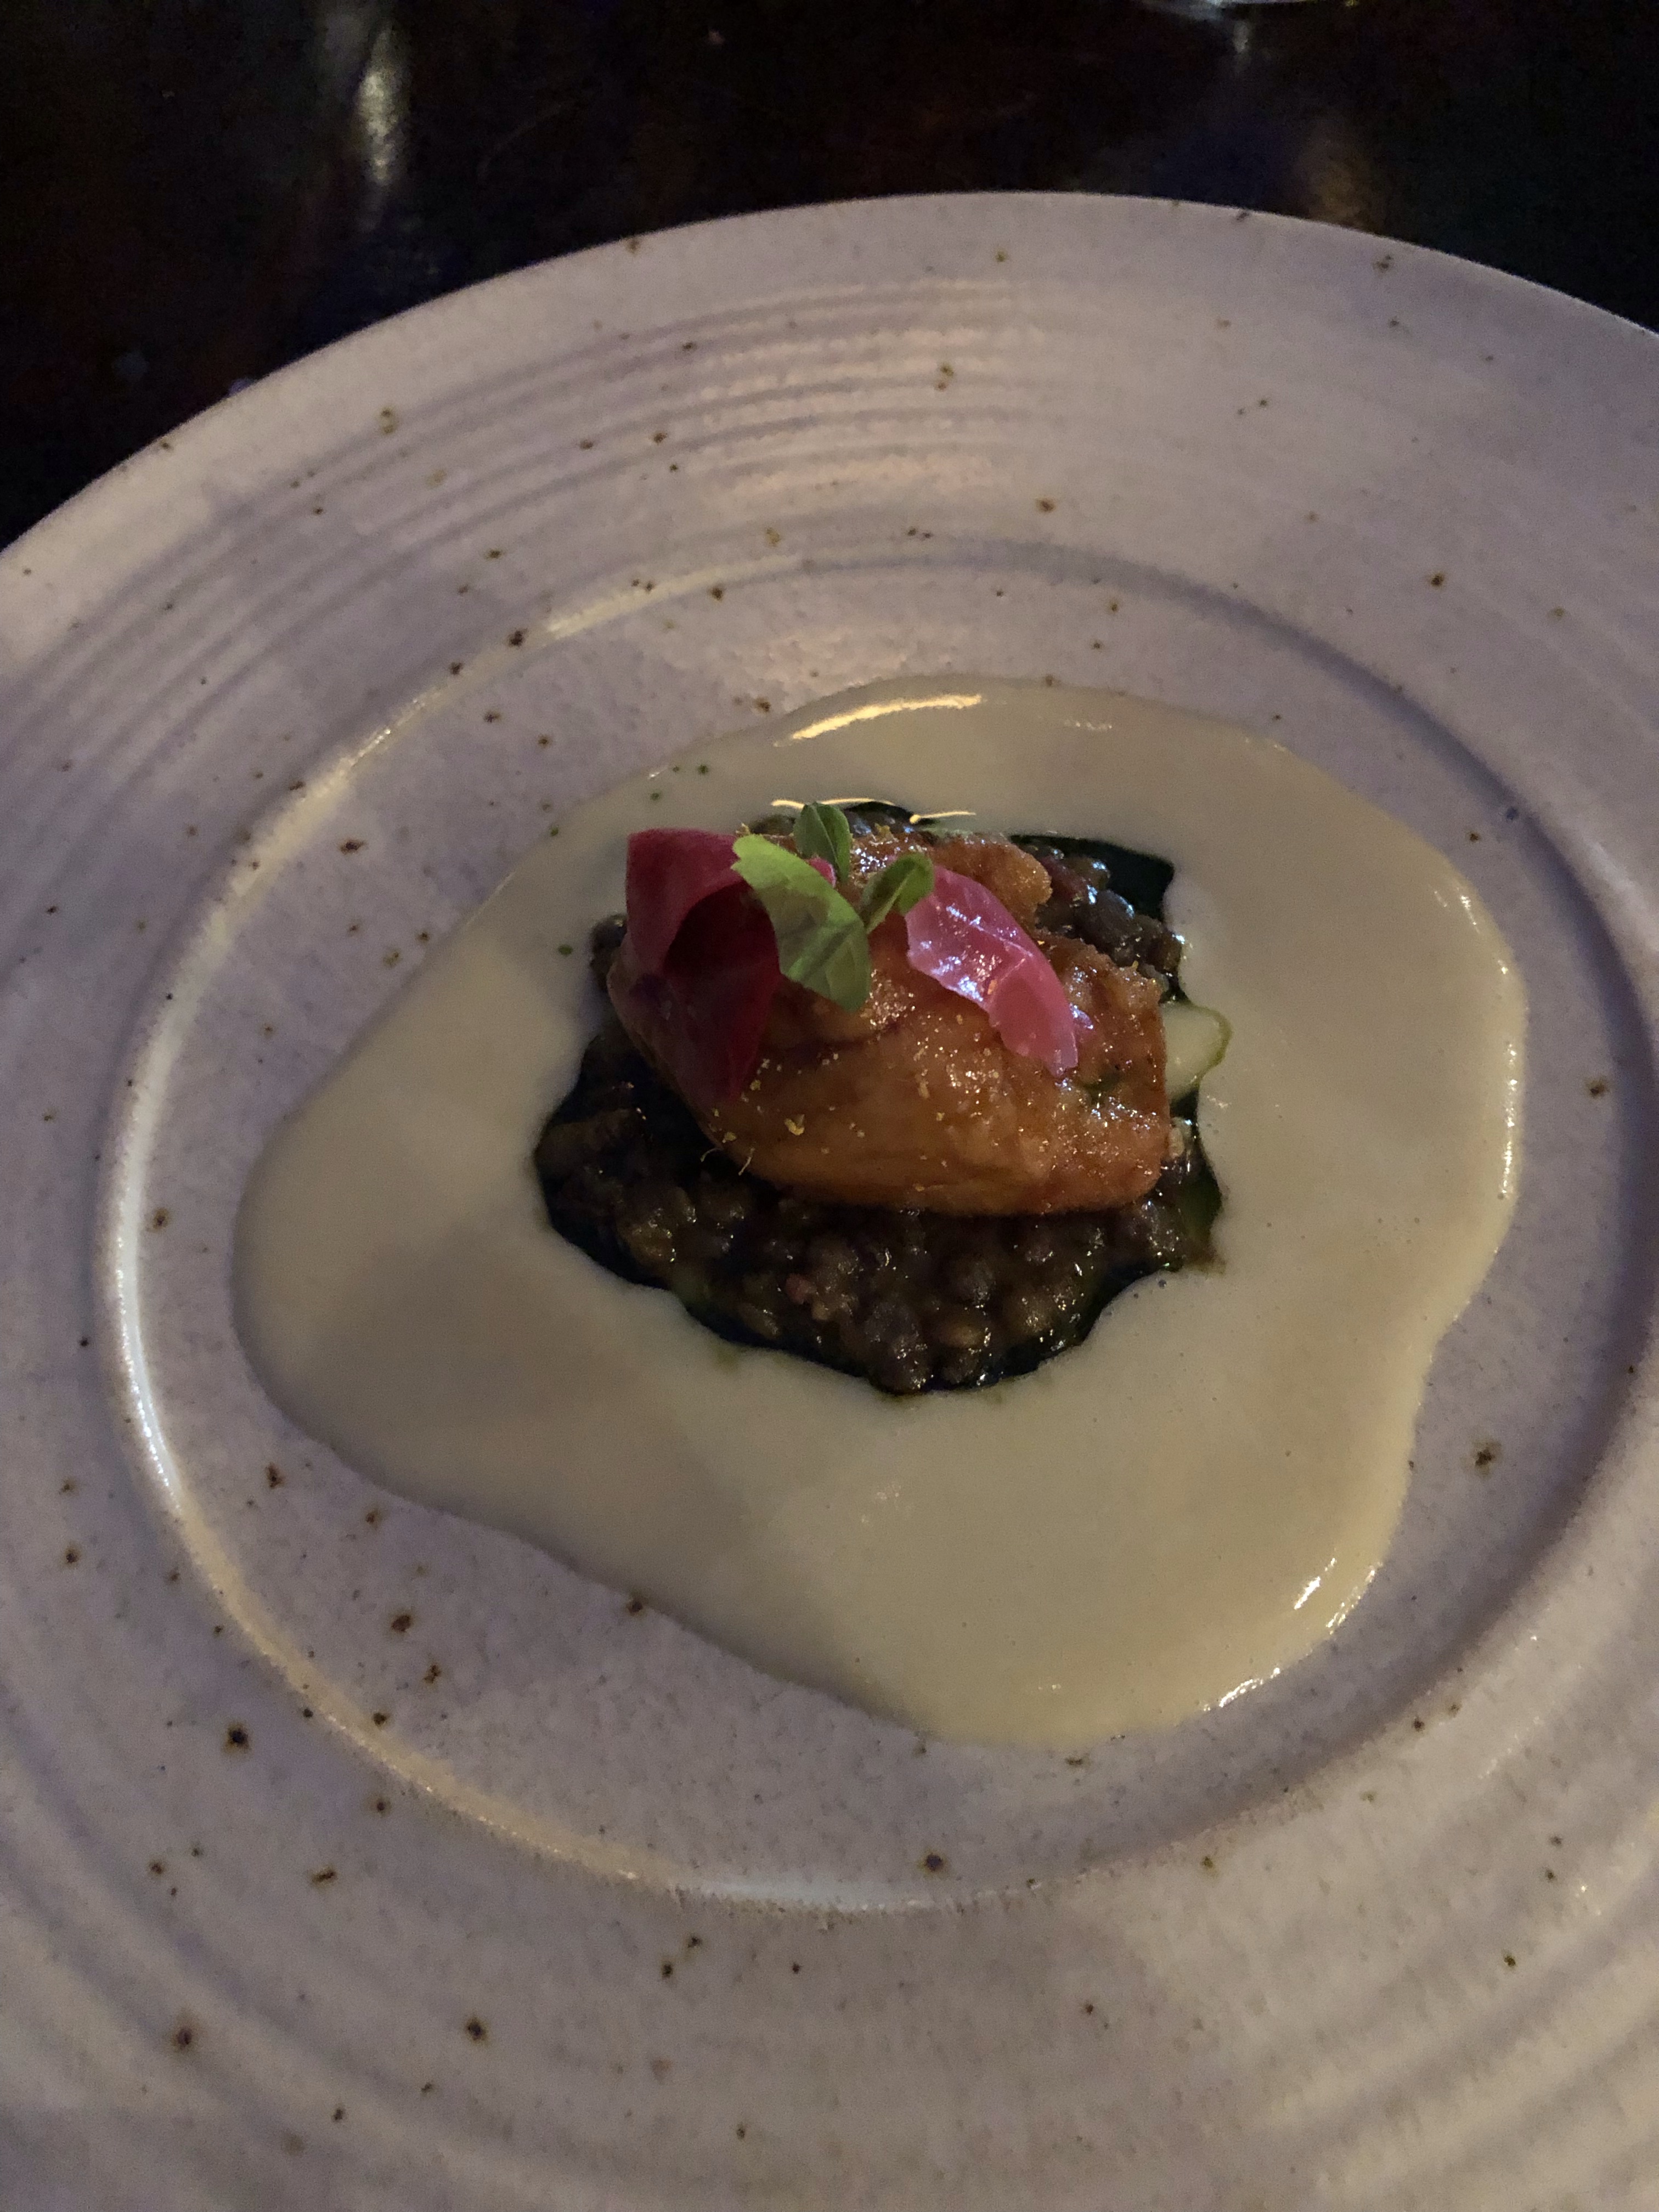
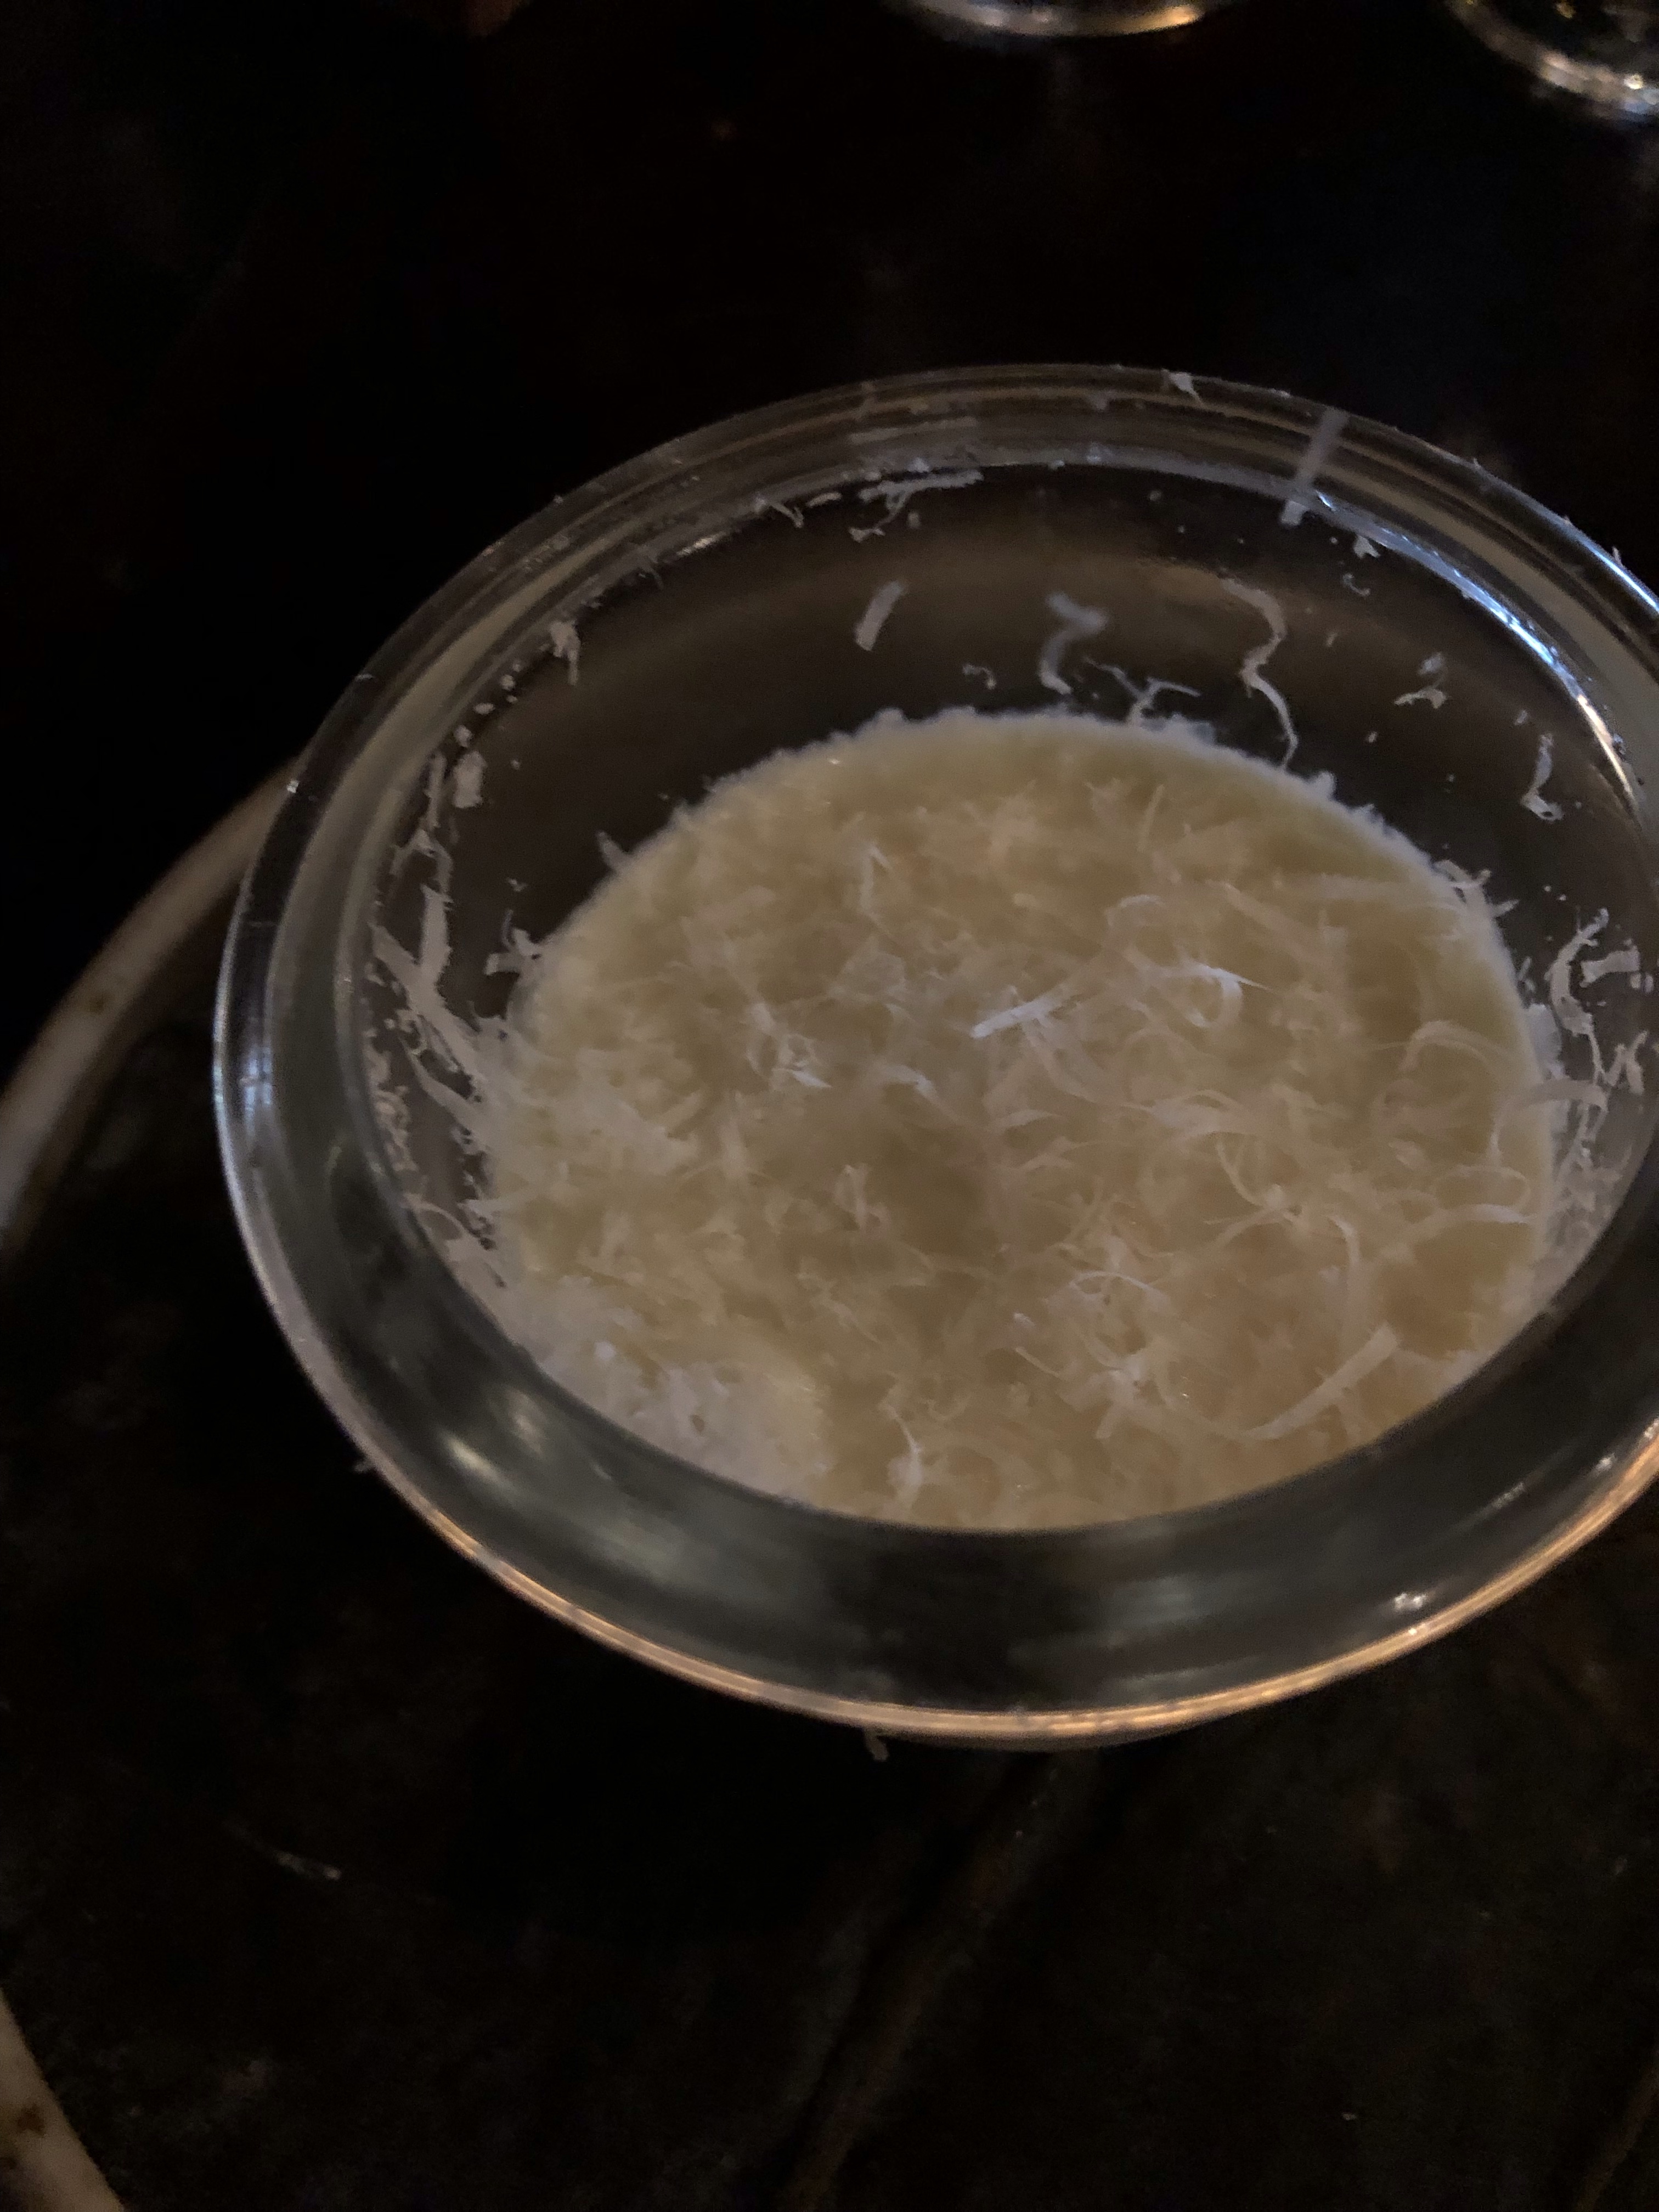
Our visit to KOL was superb ( except maybe the ££££) the basic menu of 6 courses was not over the top expensive, it was just the add ons or more likely the Mescal which Himself and son-in-law drank. ( they could have had the Mescal pairing, but did not!)
SEIS CHILPACHOLE Fermented beetroot, arbol chilli and mezcal broth Enoki and Cornish crab chalupa, pistachio, fermented gooseberries CALAMAR Squid, cashew mole, cauliflower, beach herbs TACO Lobster, smoked chilli, cucumber limes MOLE (supplement course) Purple carrot cecina, fermented blackcurrant truffle – black +£25 white +£65 TOSTADA Chalk stream trout, pasilla Oaxaca, courgette, berries, pine MAINS Served with condiments and fresh tortillas to share for the table Carnitas – Confit pork cheek, cabbage leaves, gooseberry and pear salsa, black beans or NIEVE Sunflower seed ice cream, flowers, mezcal cajeta Pulpo – Whole grilled octopus, bone marrow, potato, seaweed macha Menu 70. Drinks pairing 55. Mezcal pairing 85
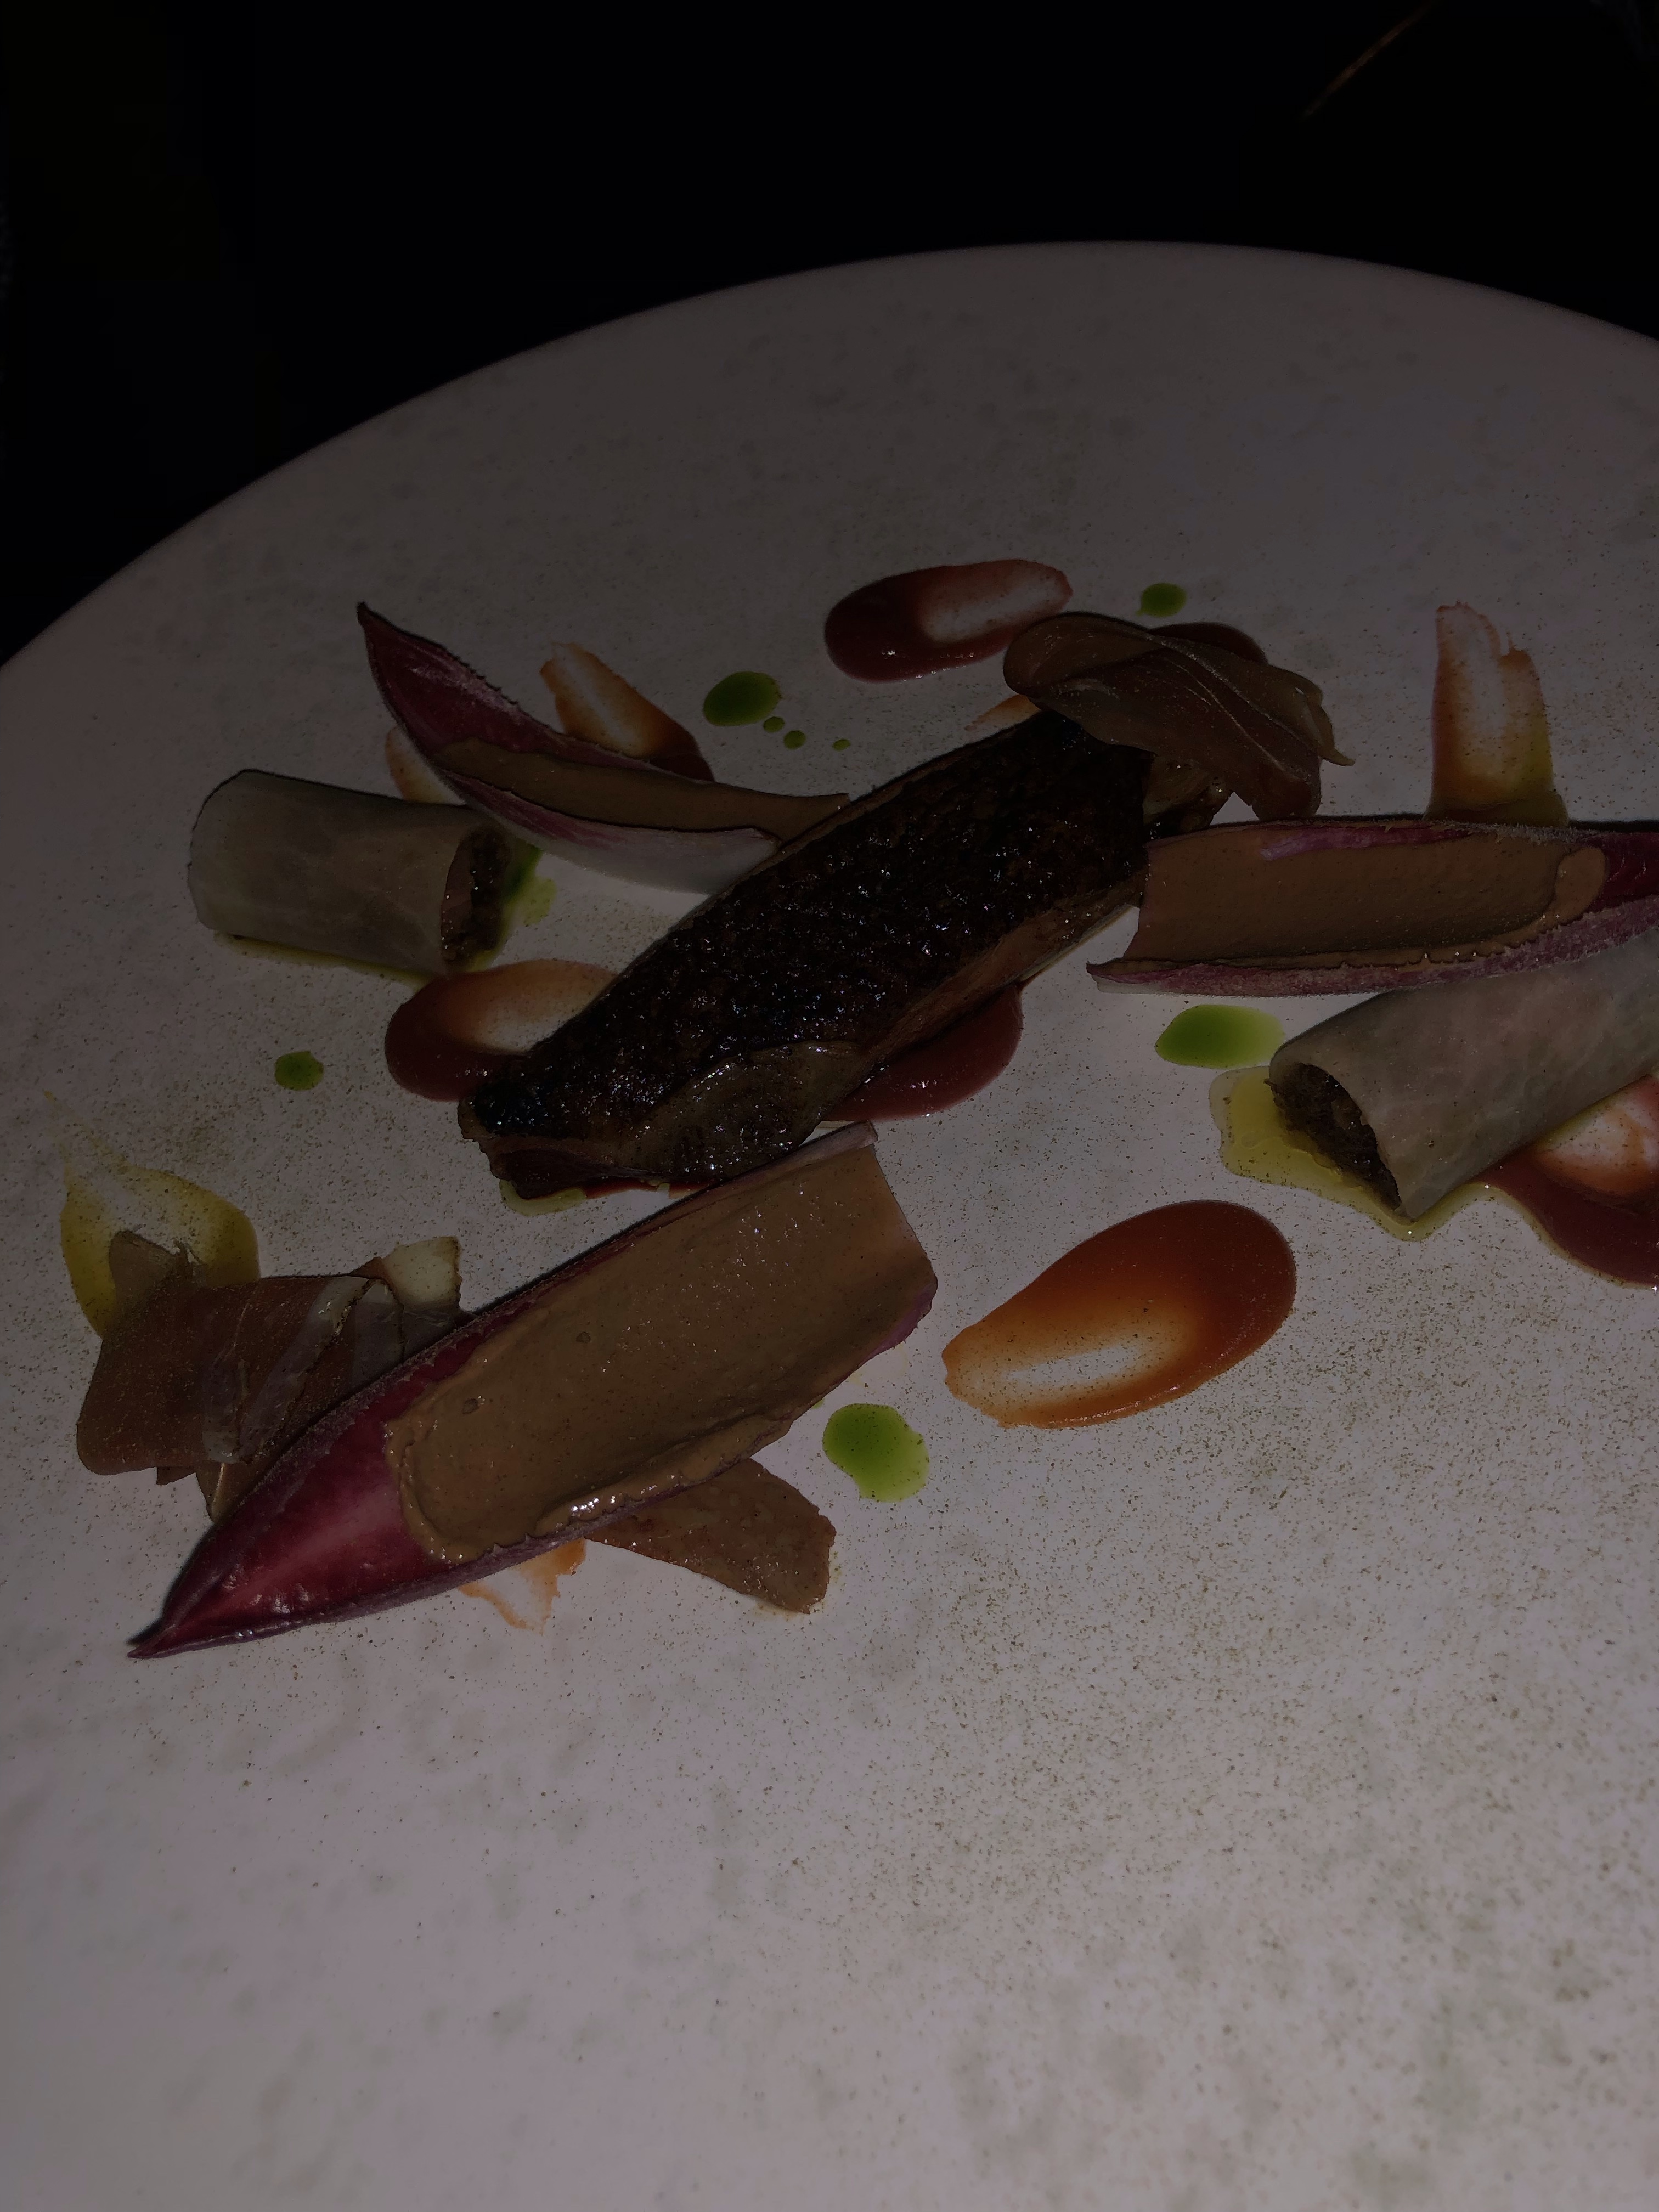
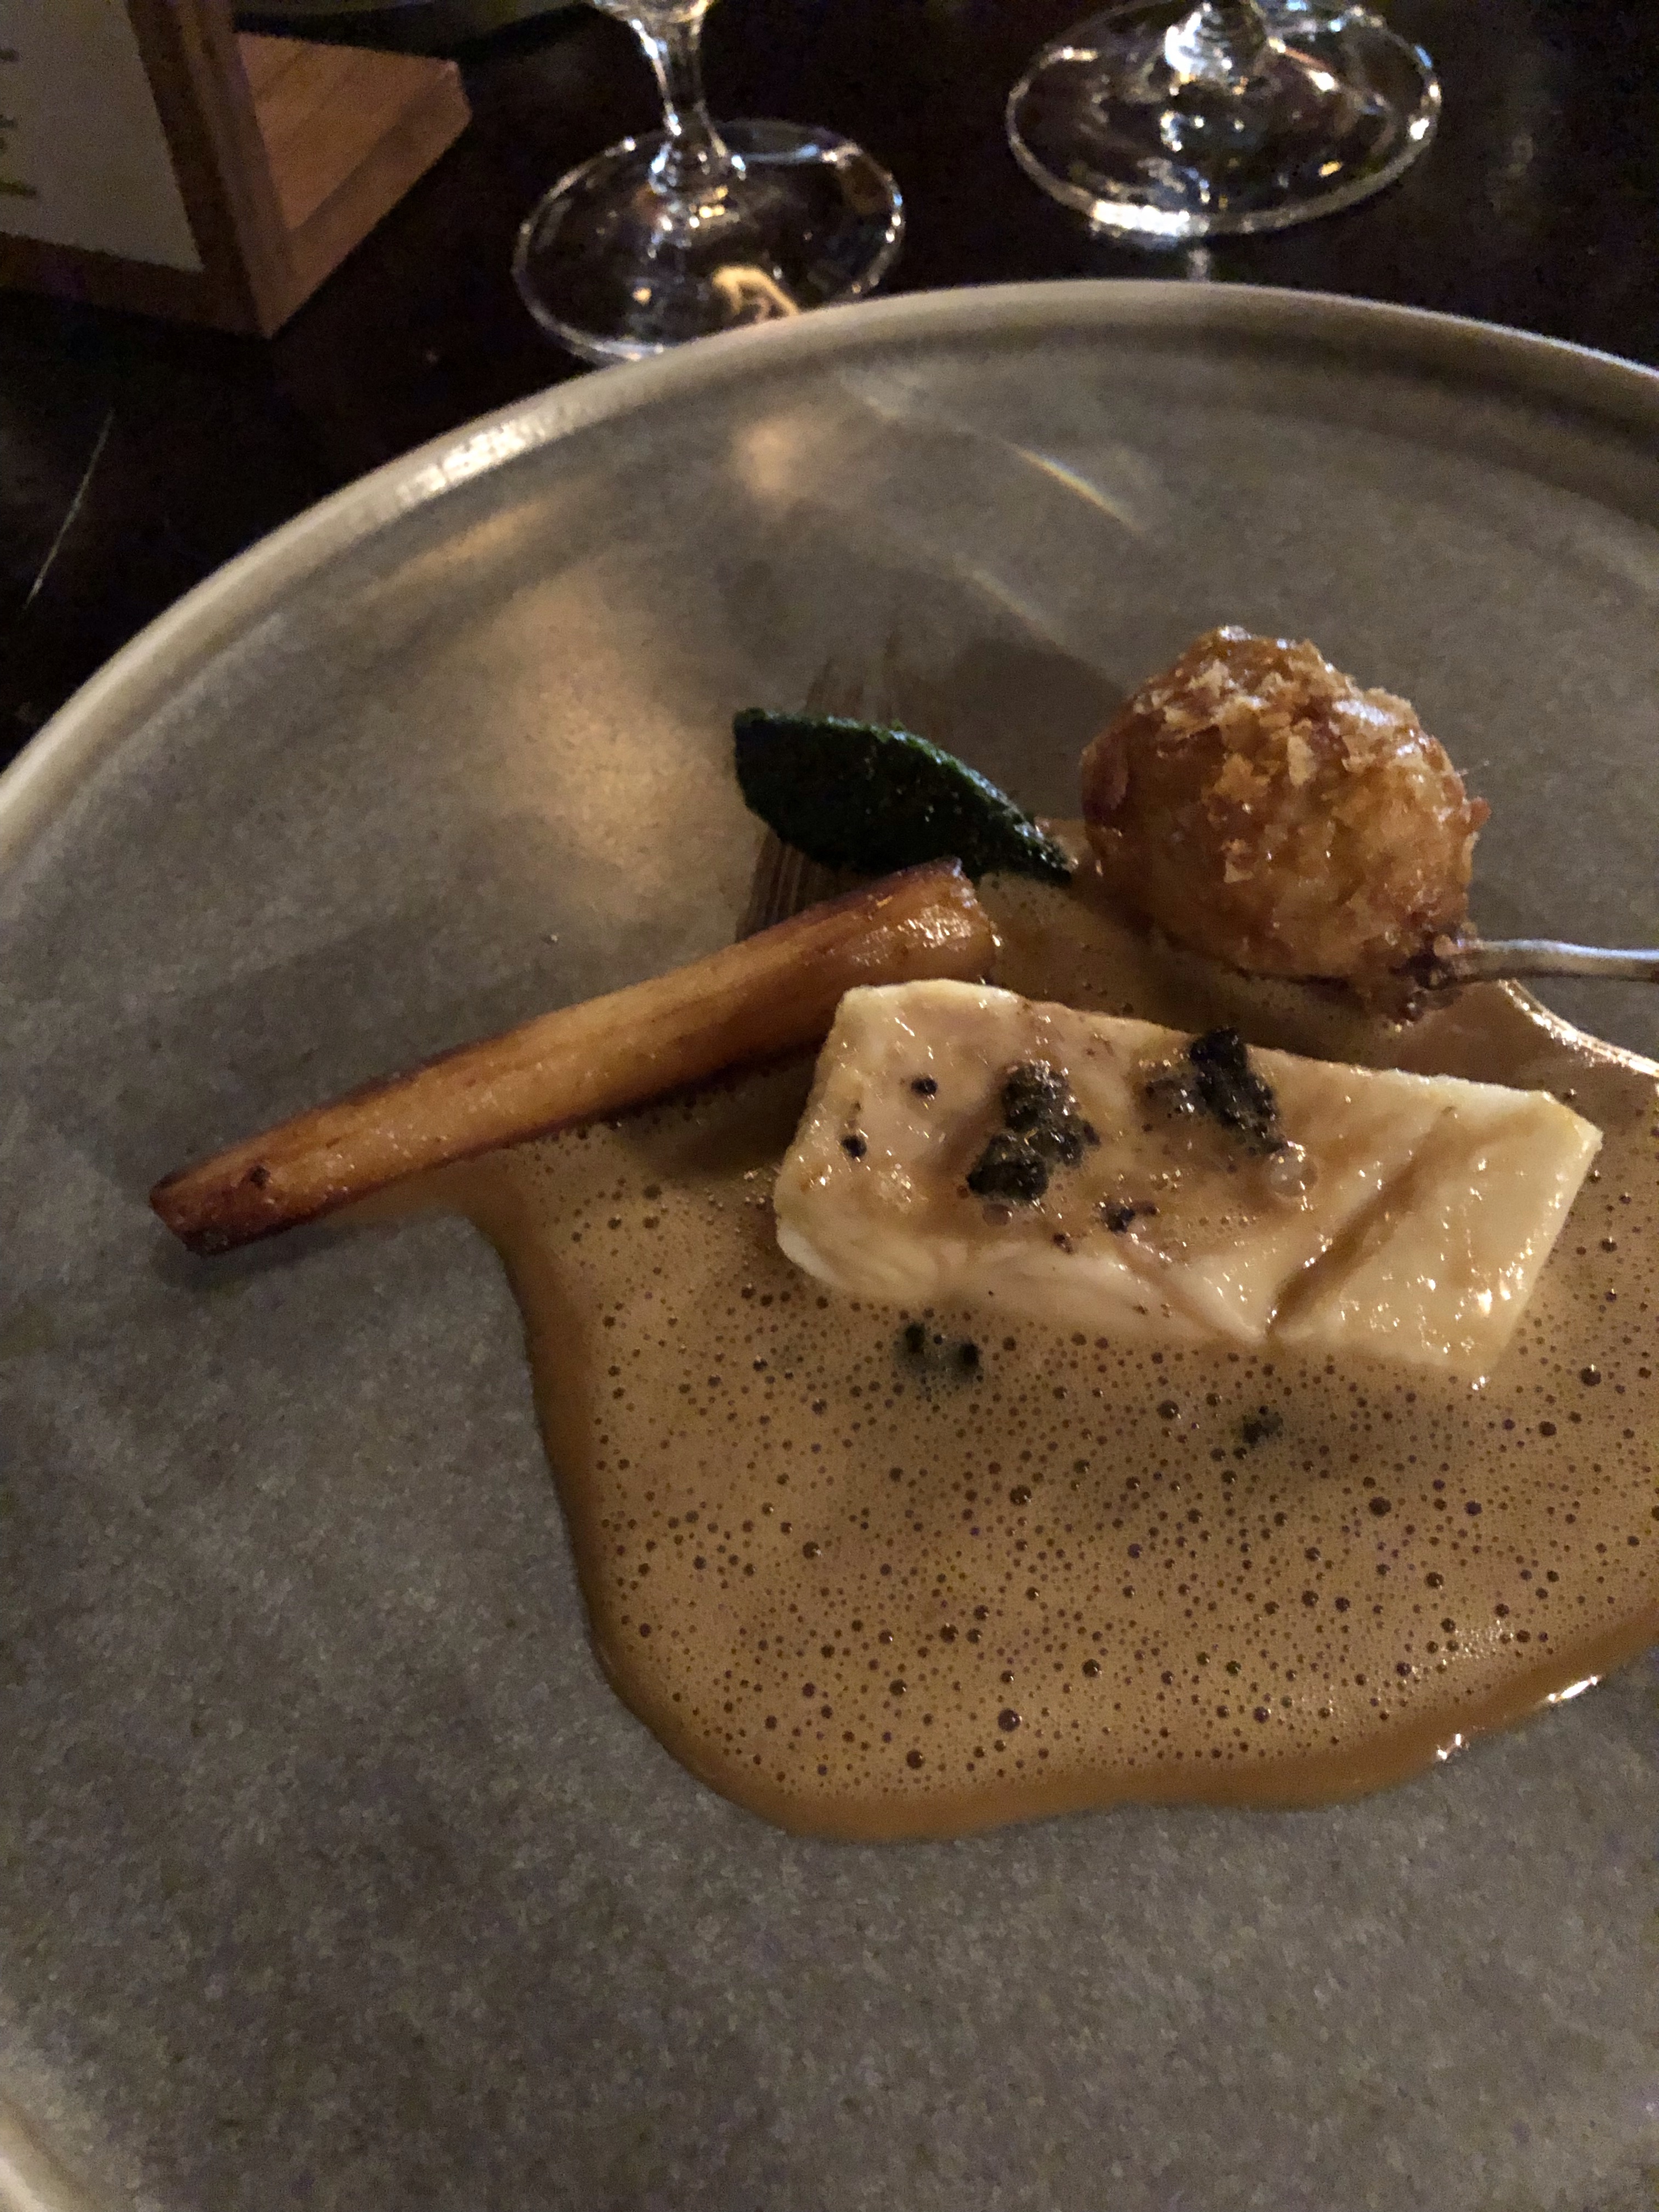
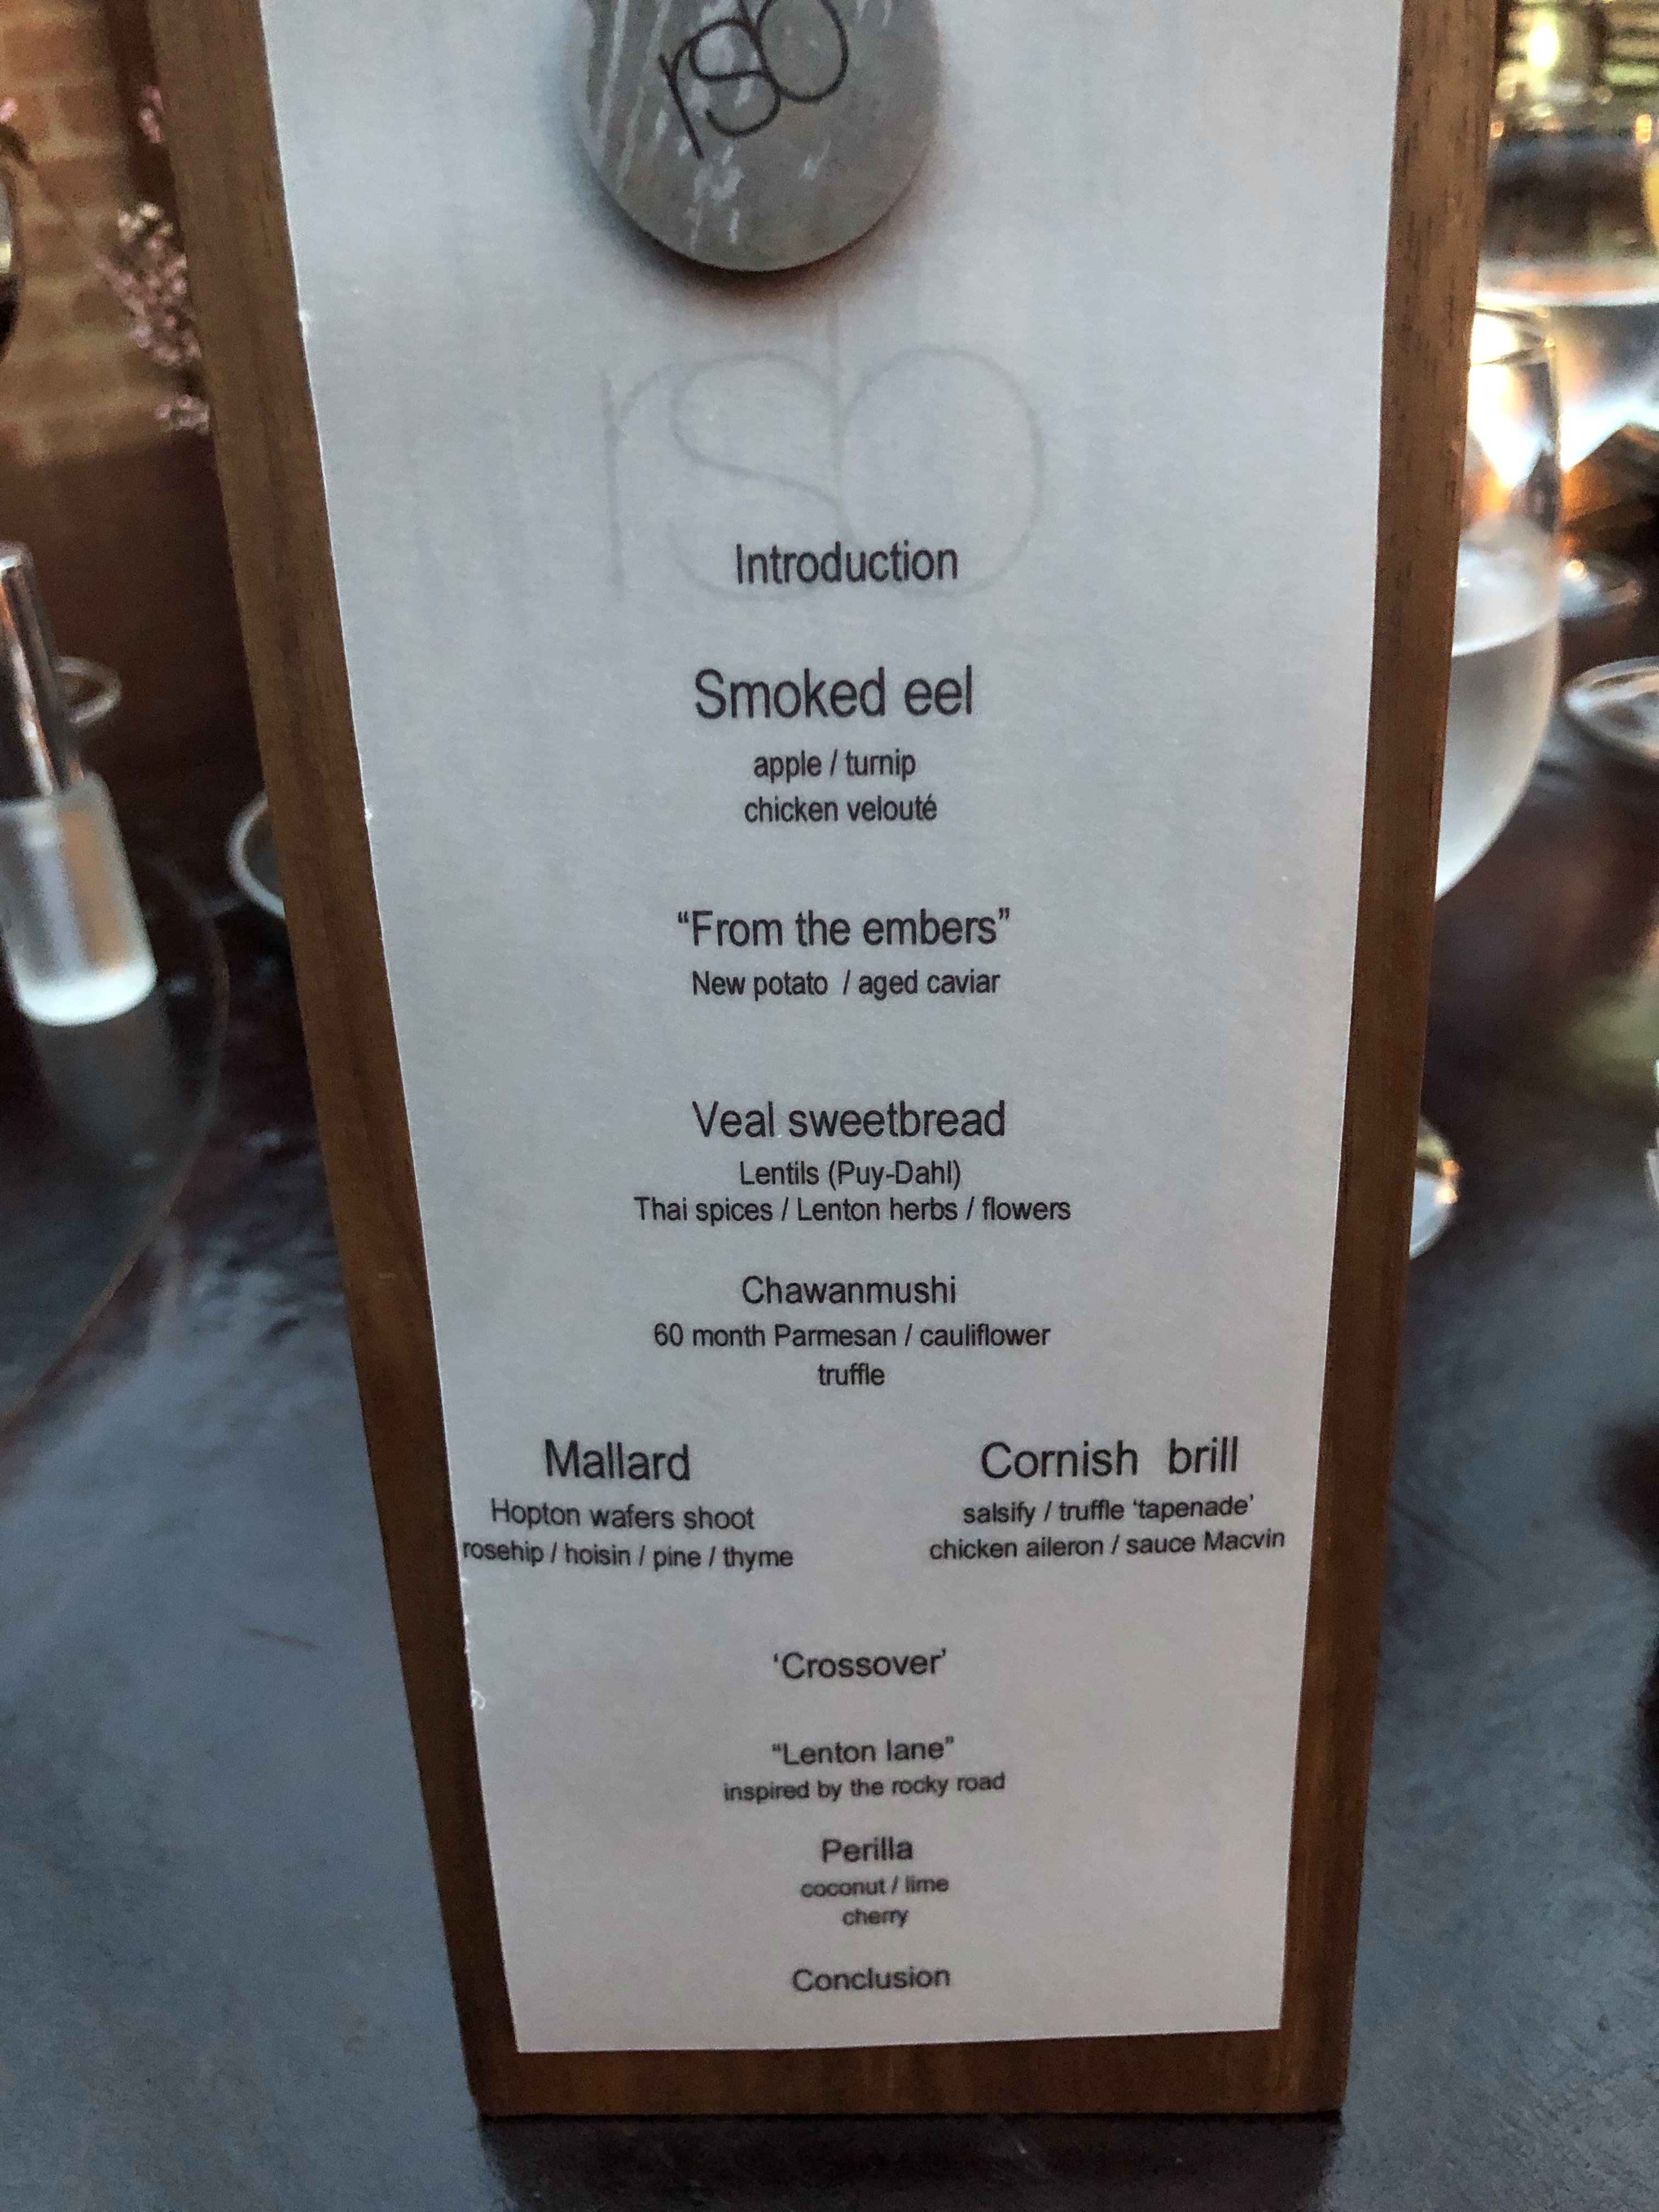
This wonderful meal was quickly followed by another in Nottingham ! Nottingham is the home of Sat Bains ( Satwant Bains, whose parents were Sikhs who had recently migrated to the UK)
He has won two Michelin Stars with his restaurant RSB which is housed in an old farm house on the edge of a small industrial estate on the outskirts of Nottingham. On our first visit several years ago we did wonder where we were going, but after eating at the chefs table in the kitchen we have rated the whole thing highly. It has 8 rooms and although obviously not necessary to stay over, if dining at night it is well worthwhile as the breakfast is equally good as the dinner. More recently one of his chefs won the Master Chefs the professionals and his during the pandemic, he teamed up with his mother to cook Vegan Indian takeaways !
And if you decided to visit, be it for lunch or an overnighter, take the train! ( travelling from London that is!)
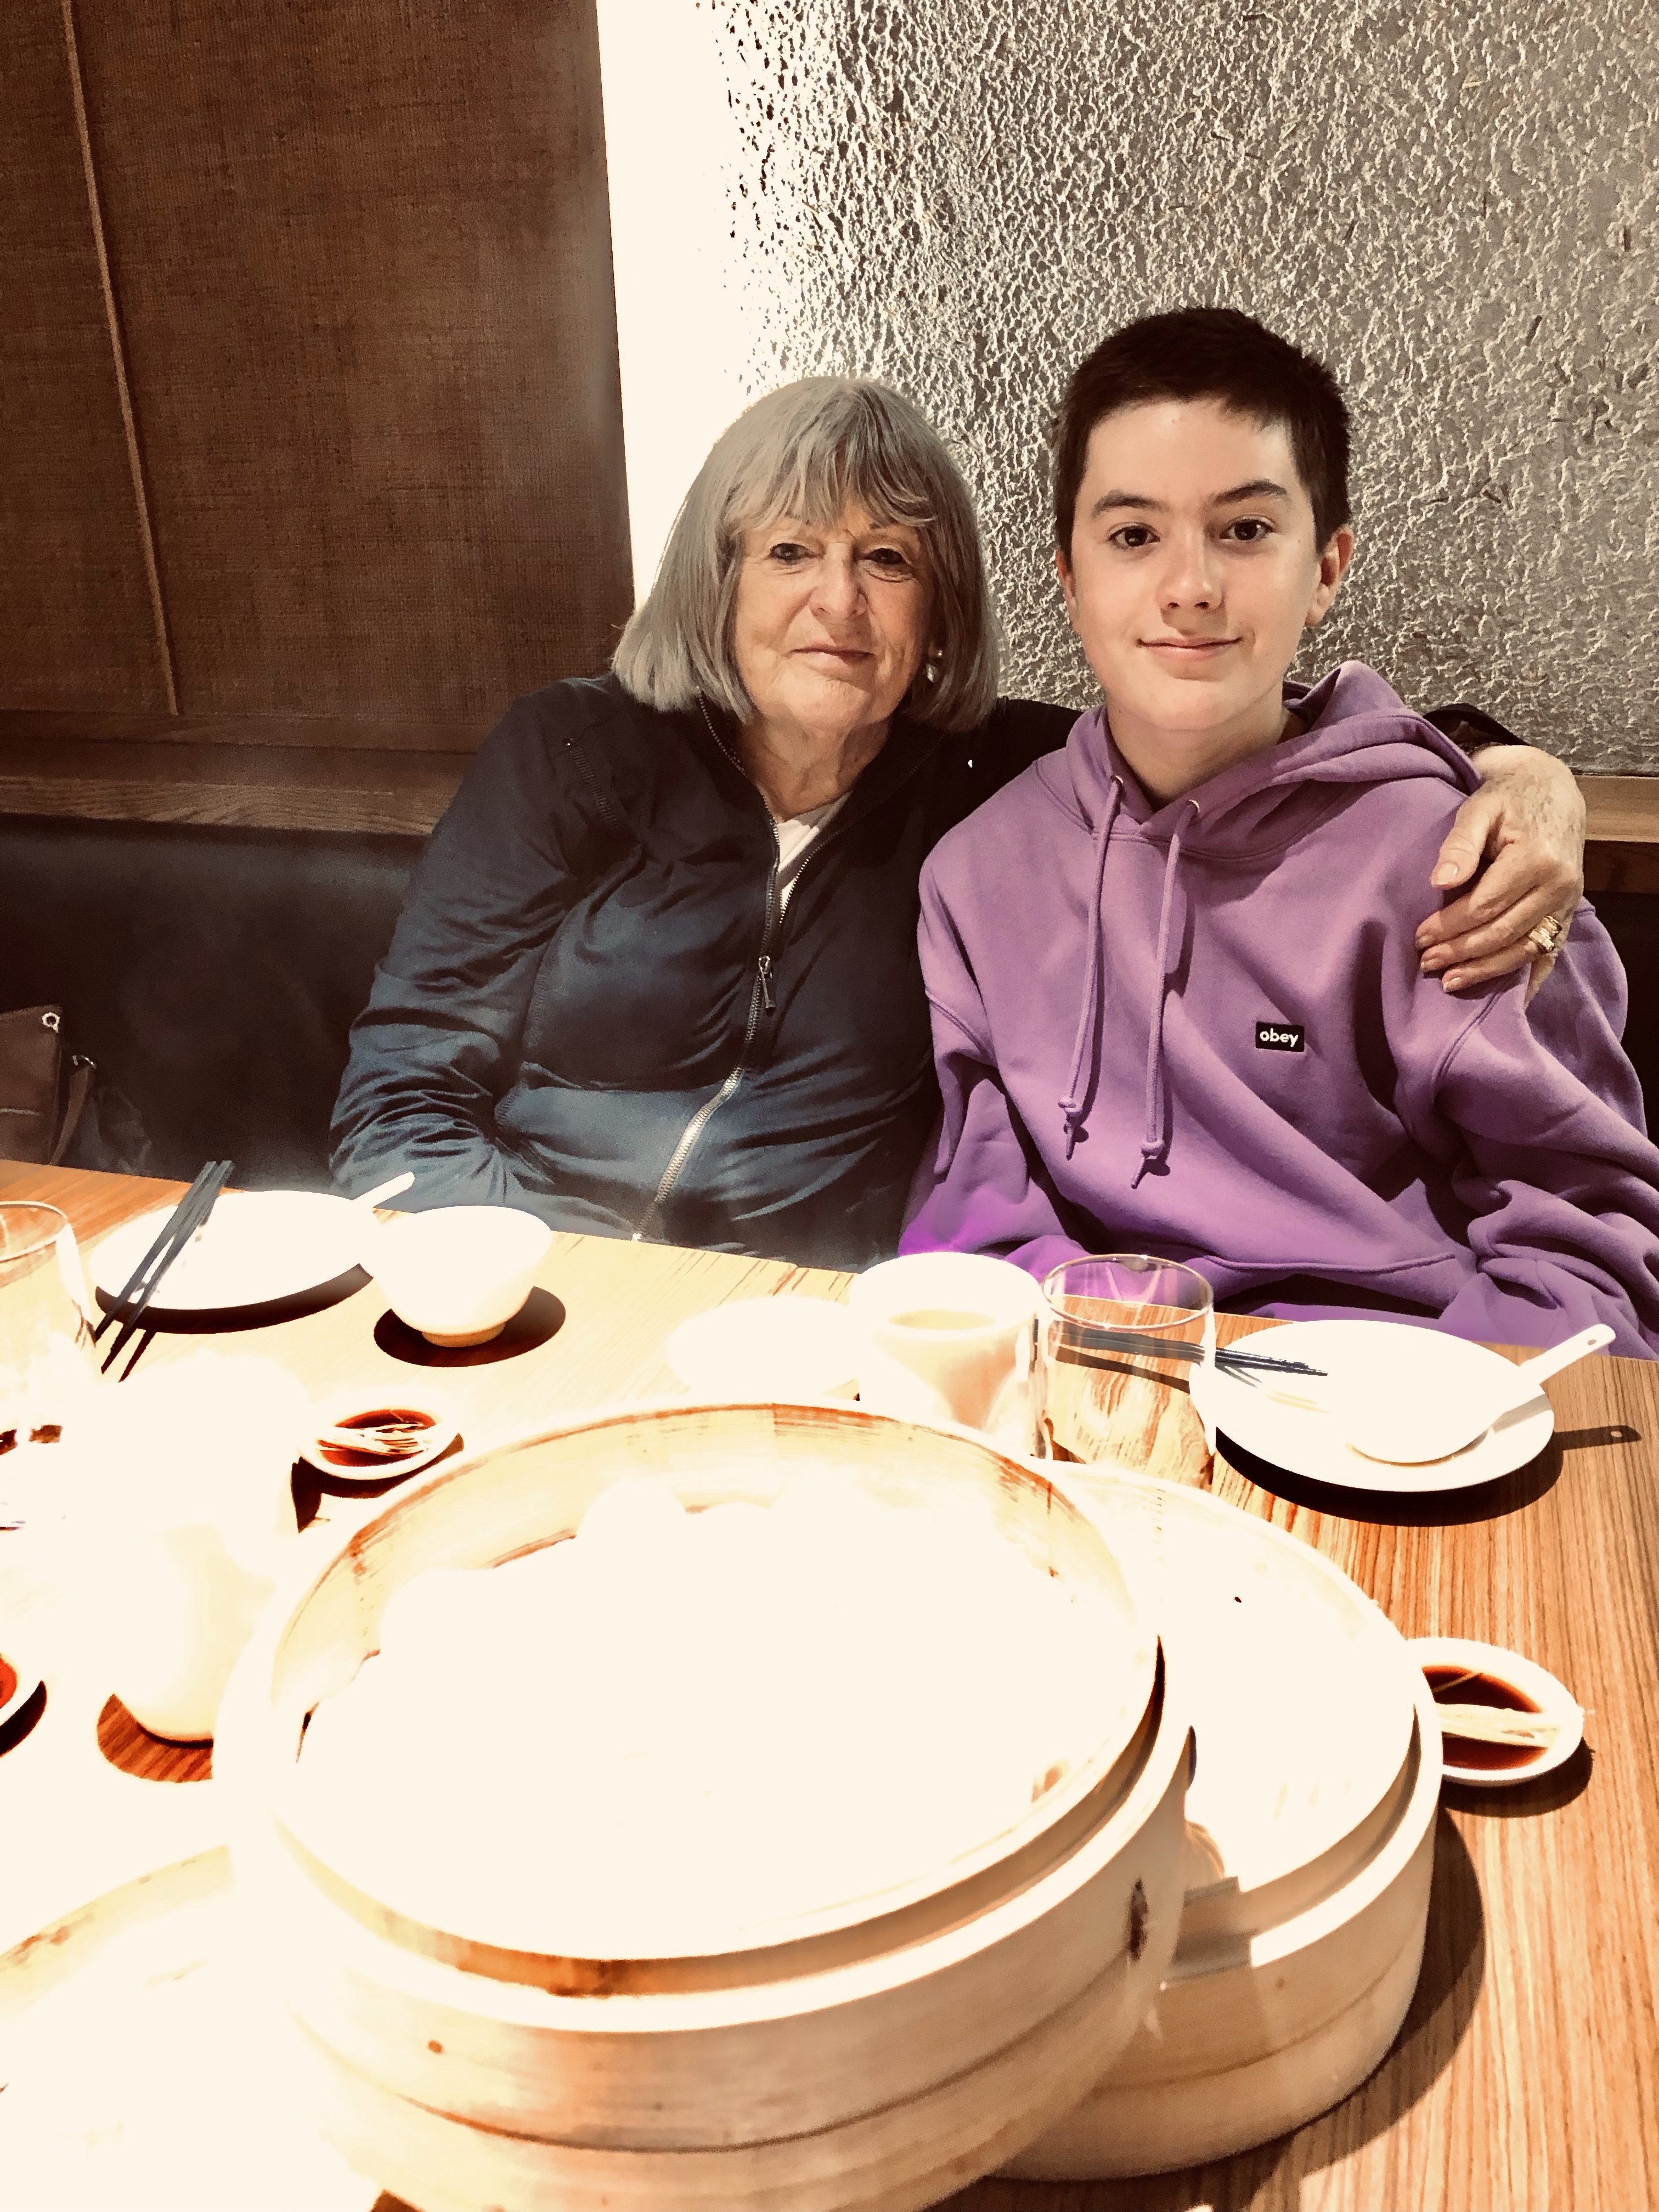
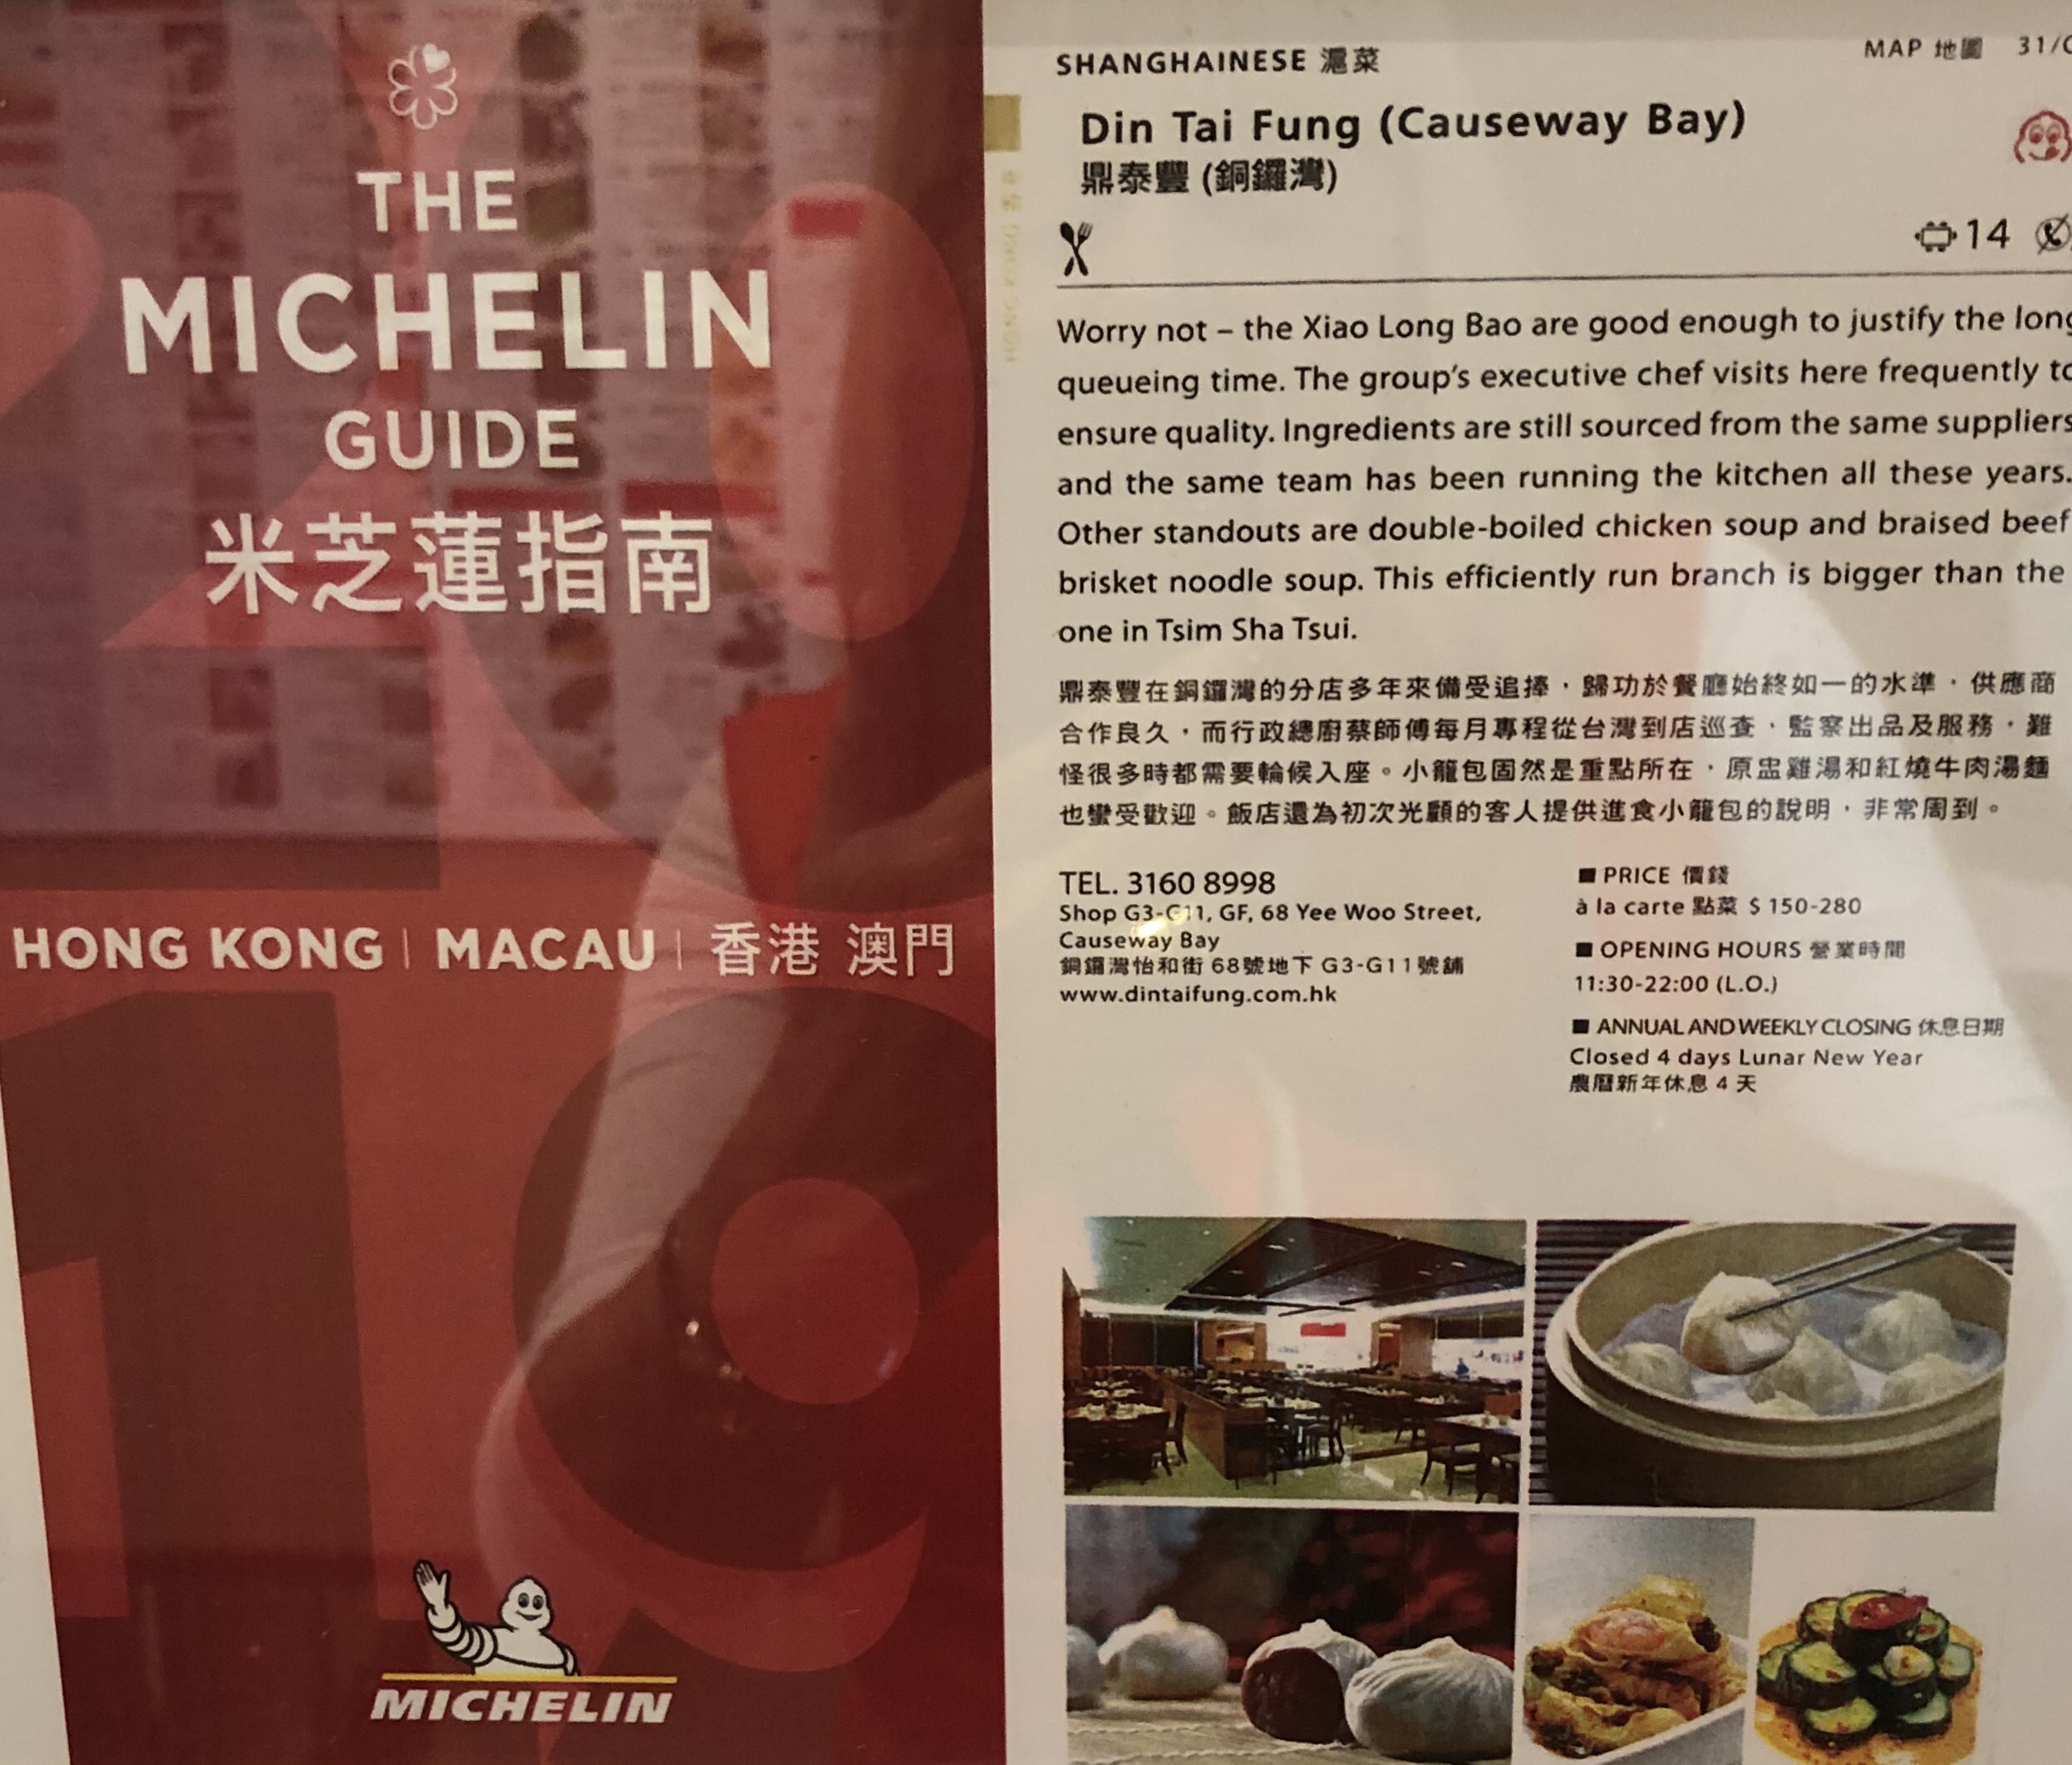
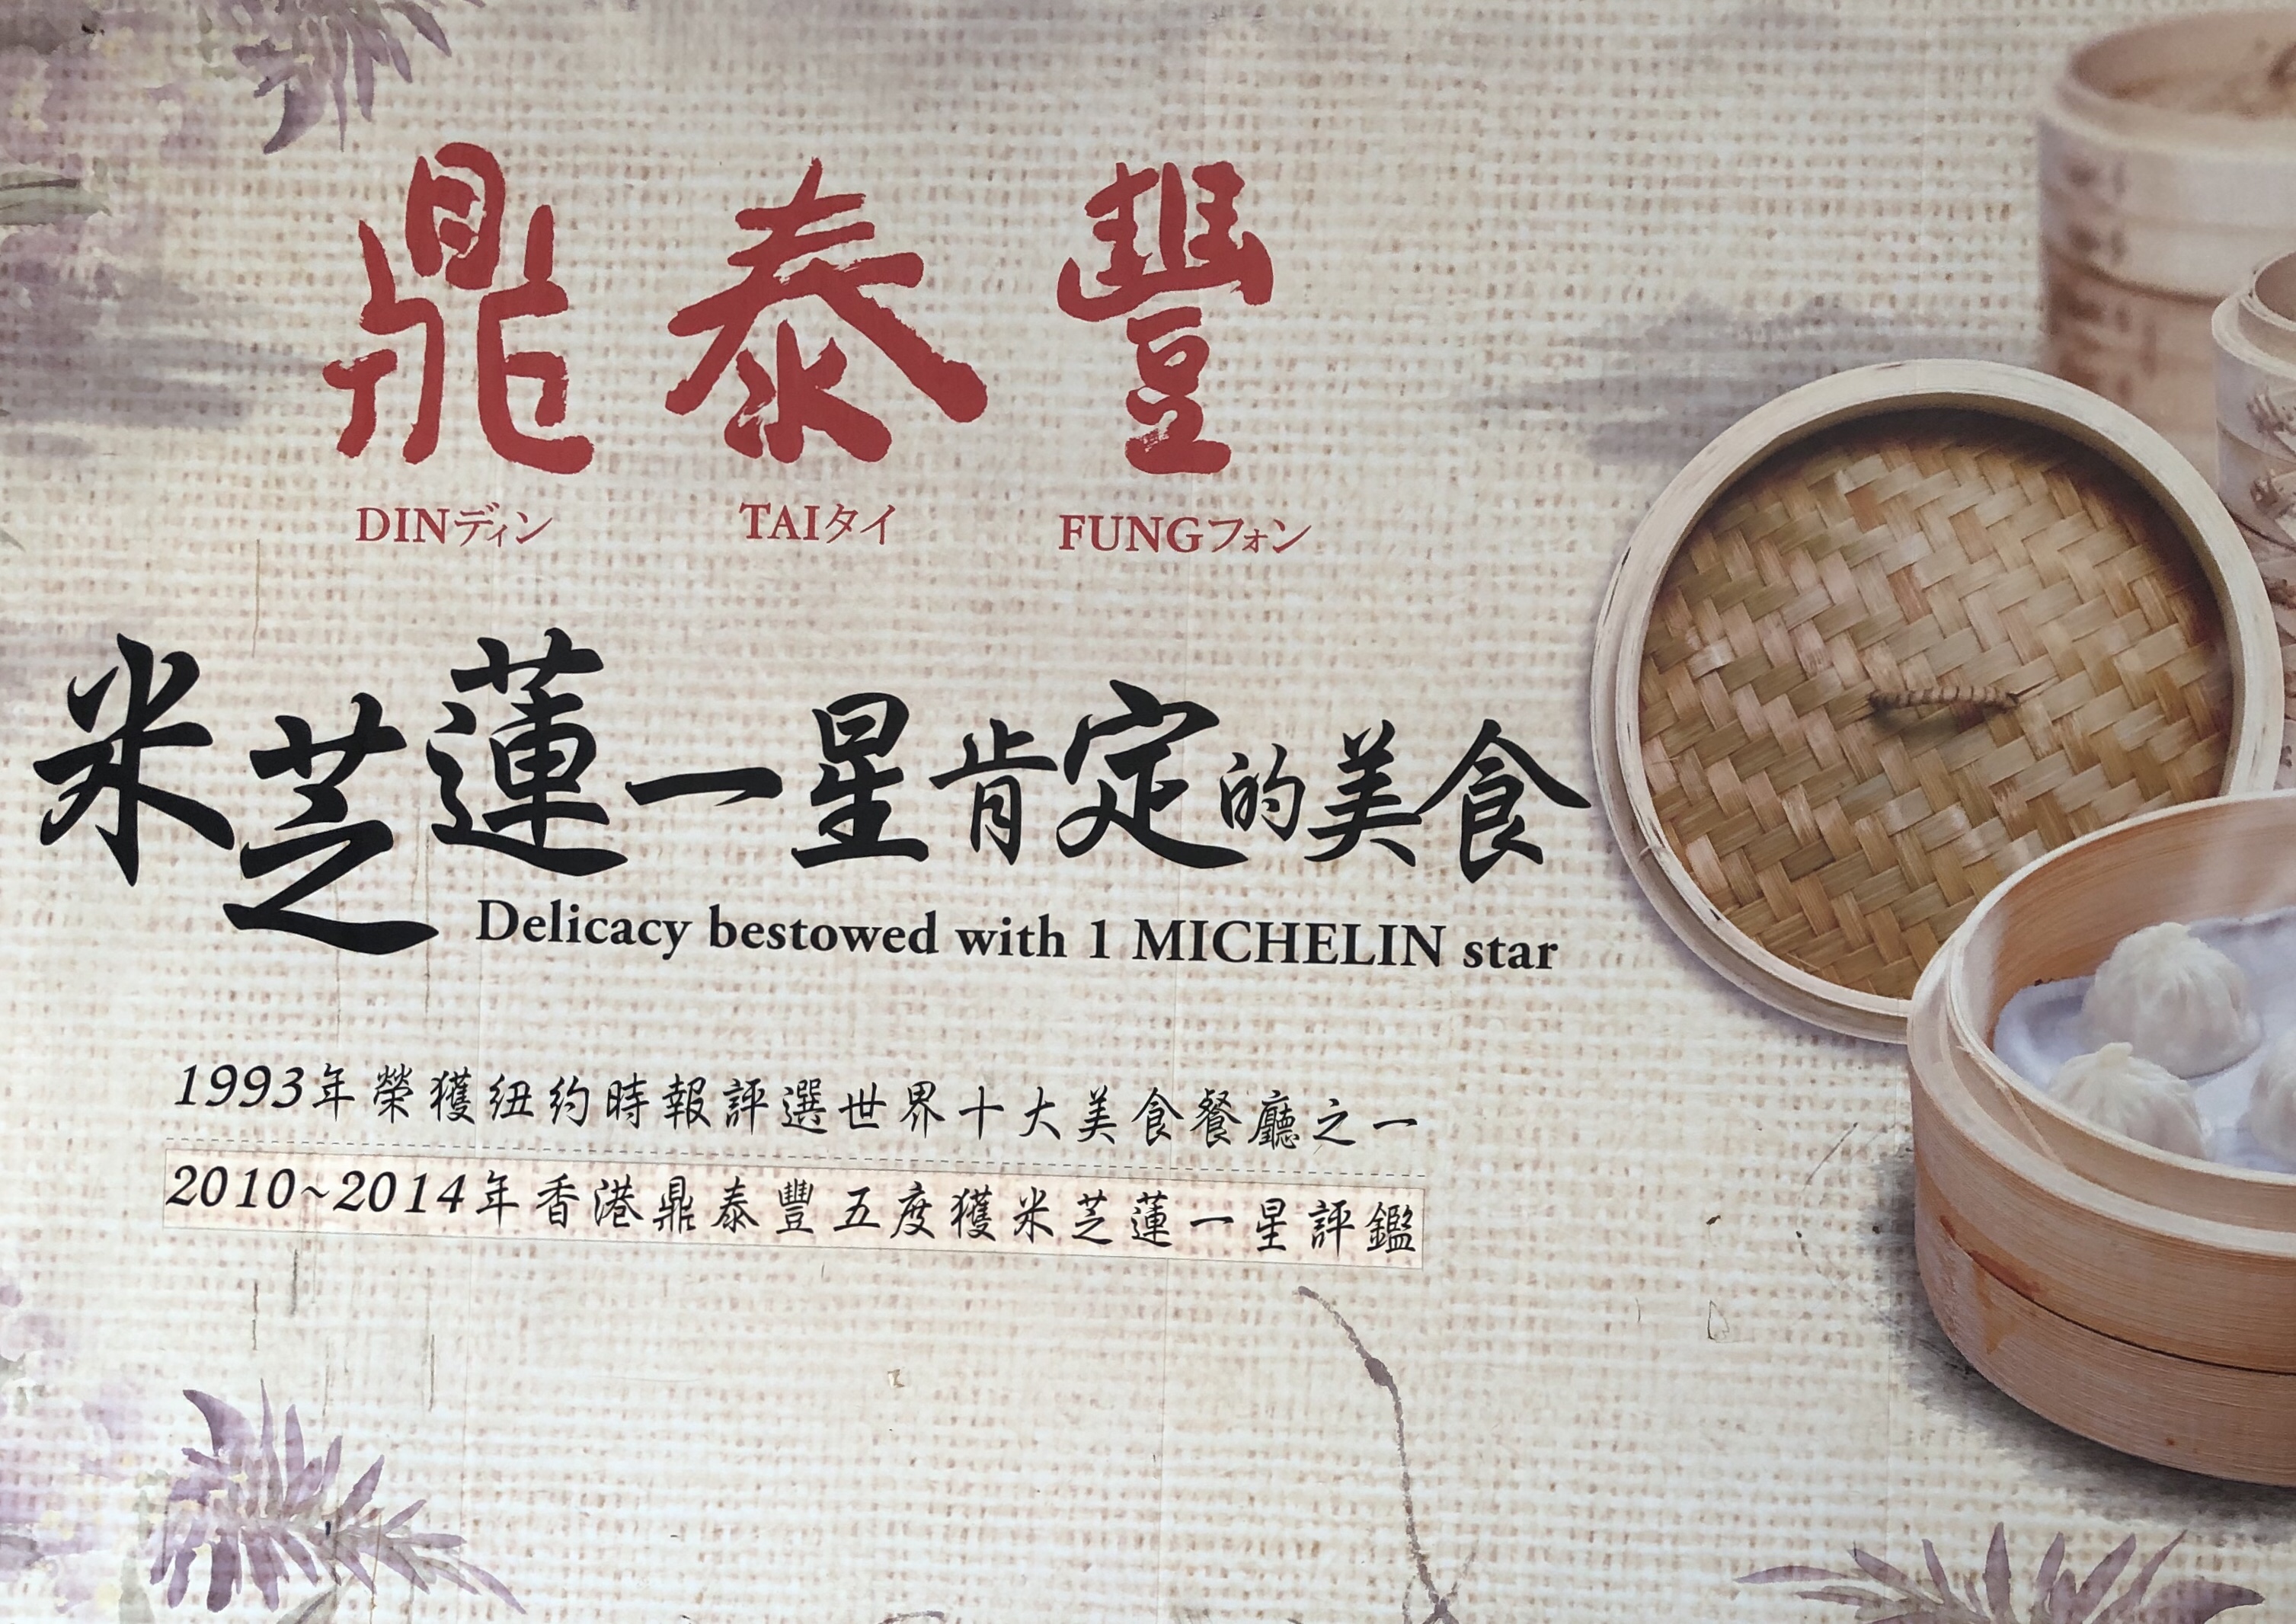
And finally, we ate at Din Tai Fung in Covent Garden London. Din Tai Fung, was started in Taiwan, where we ate many years ago, not realising that it was iconic. Fast forward to 2017 and whilst in Hong Kong I discovered that there was a branch, which indeed held a Michelin star. It is absolutely nothing to look at and is more like a cafeteria, but the dumplings are what makes it extra special. Indeed I was so impressed that on a more recent visit ( pre-pandemic) to Hong Kong I dragged himself along . Since back in London we sampled the establishment in Covent Garden, maybe a little smarter in appearance but food equally good. And so it was that we went there again, this time for our grandson, who had just turned 14. The highlights of his day was a visit to Daunts books to order his years supply of books ( his annual present from us), a visit to Foyles bookshop and then to Din Tai Fung, where he took charge of ordering as he is very much a fan of Dim Sum, and noodles.
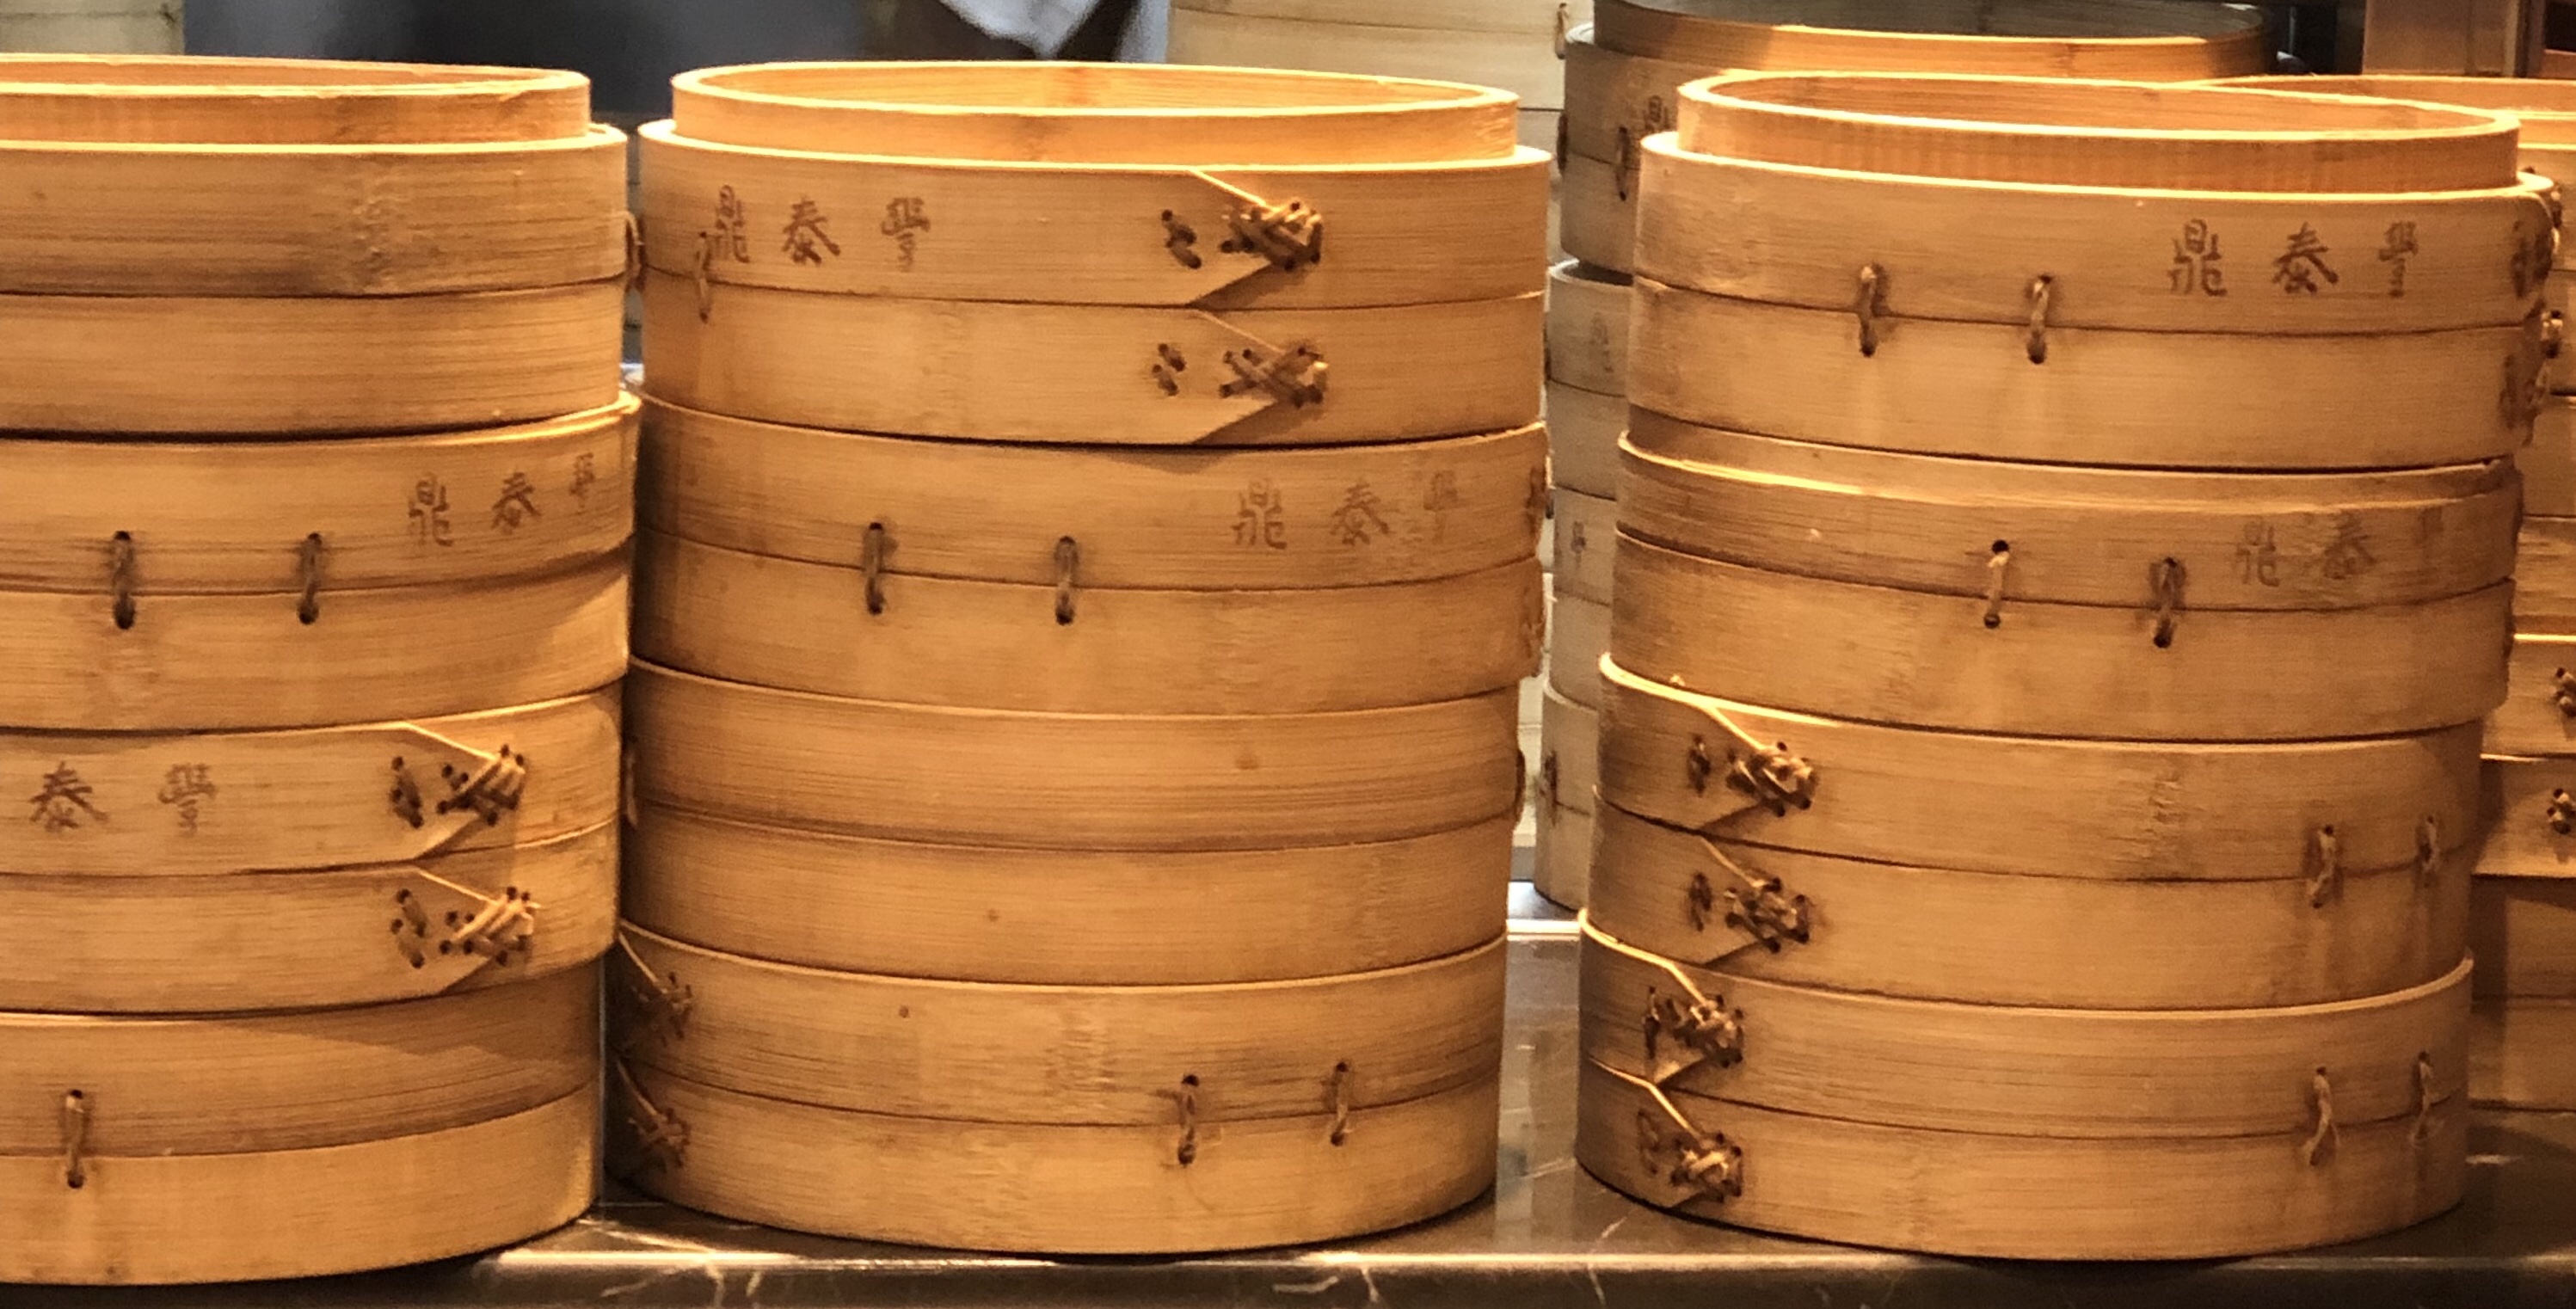
It is the dumplings that are the best, the xiaolongbao that are the piece de resistance. Delicate with 18 folds and in fact there seems to be an army of cooks making them.
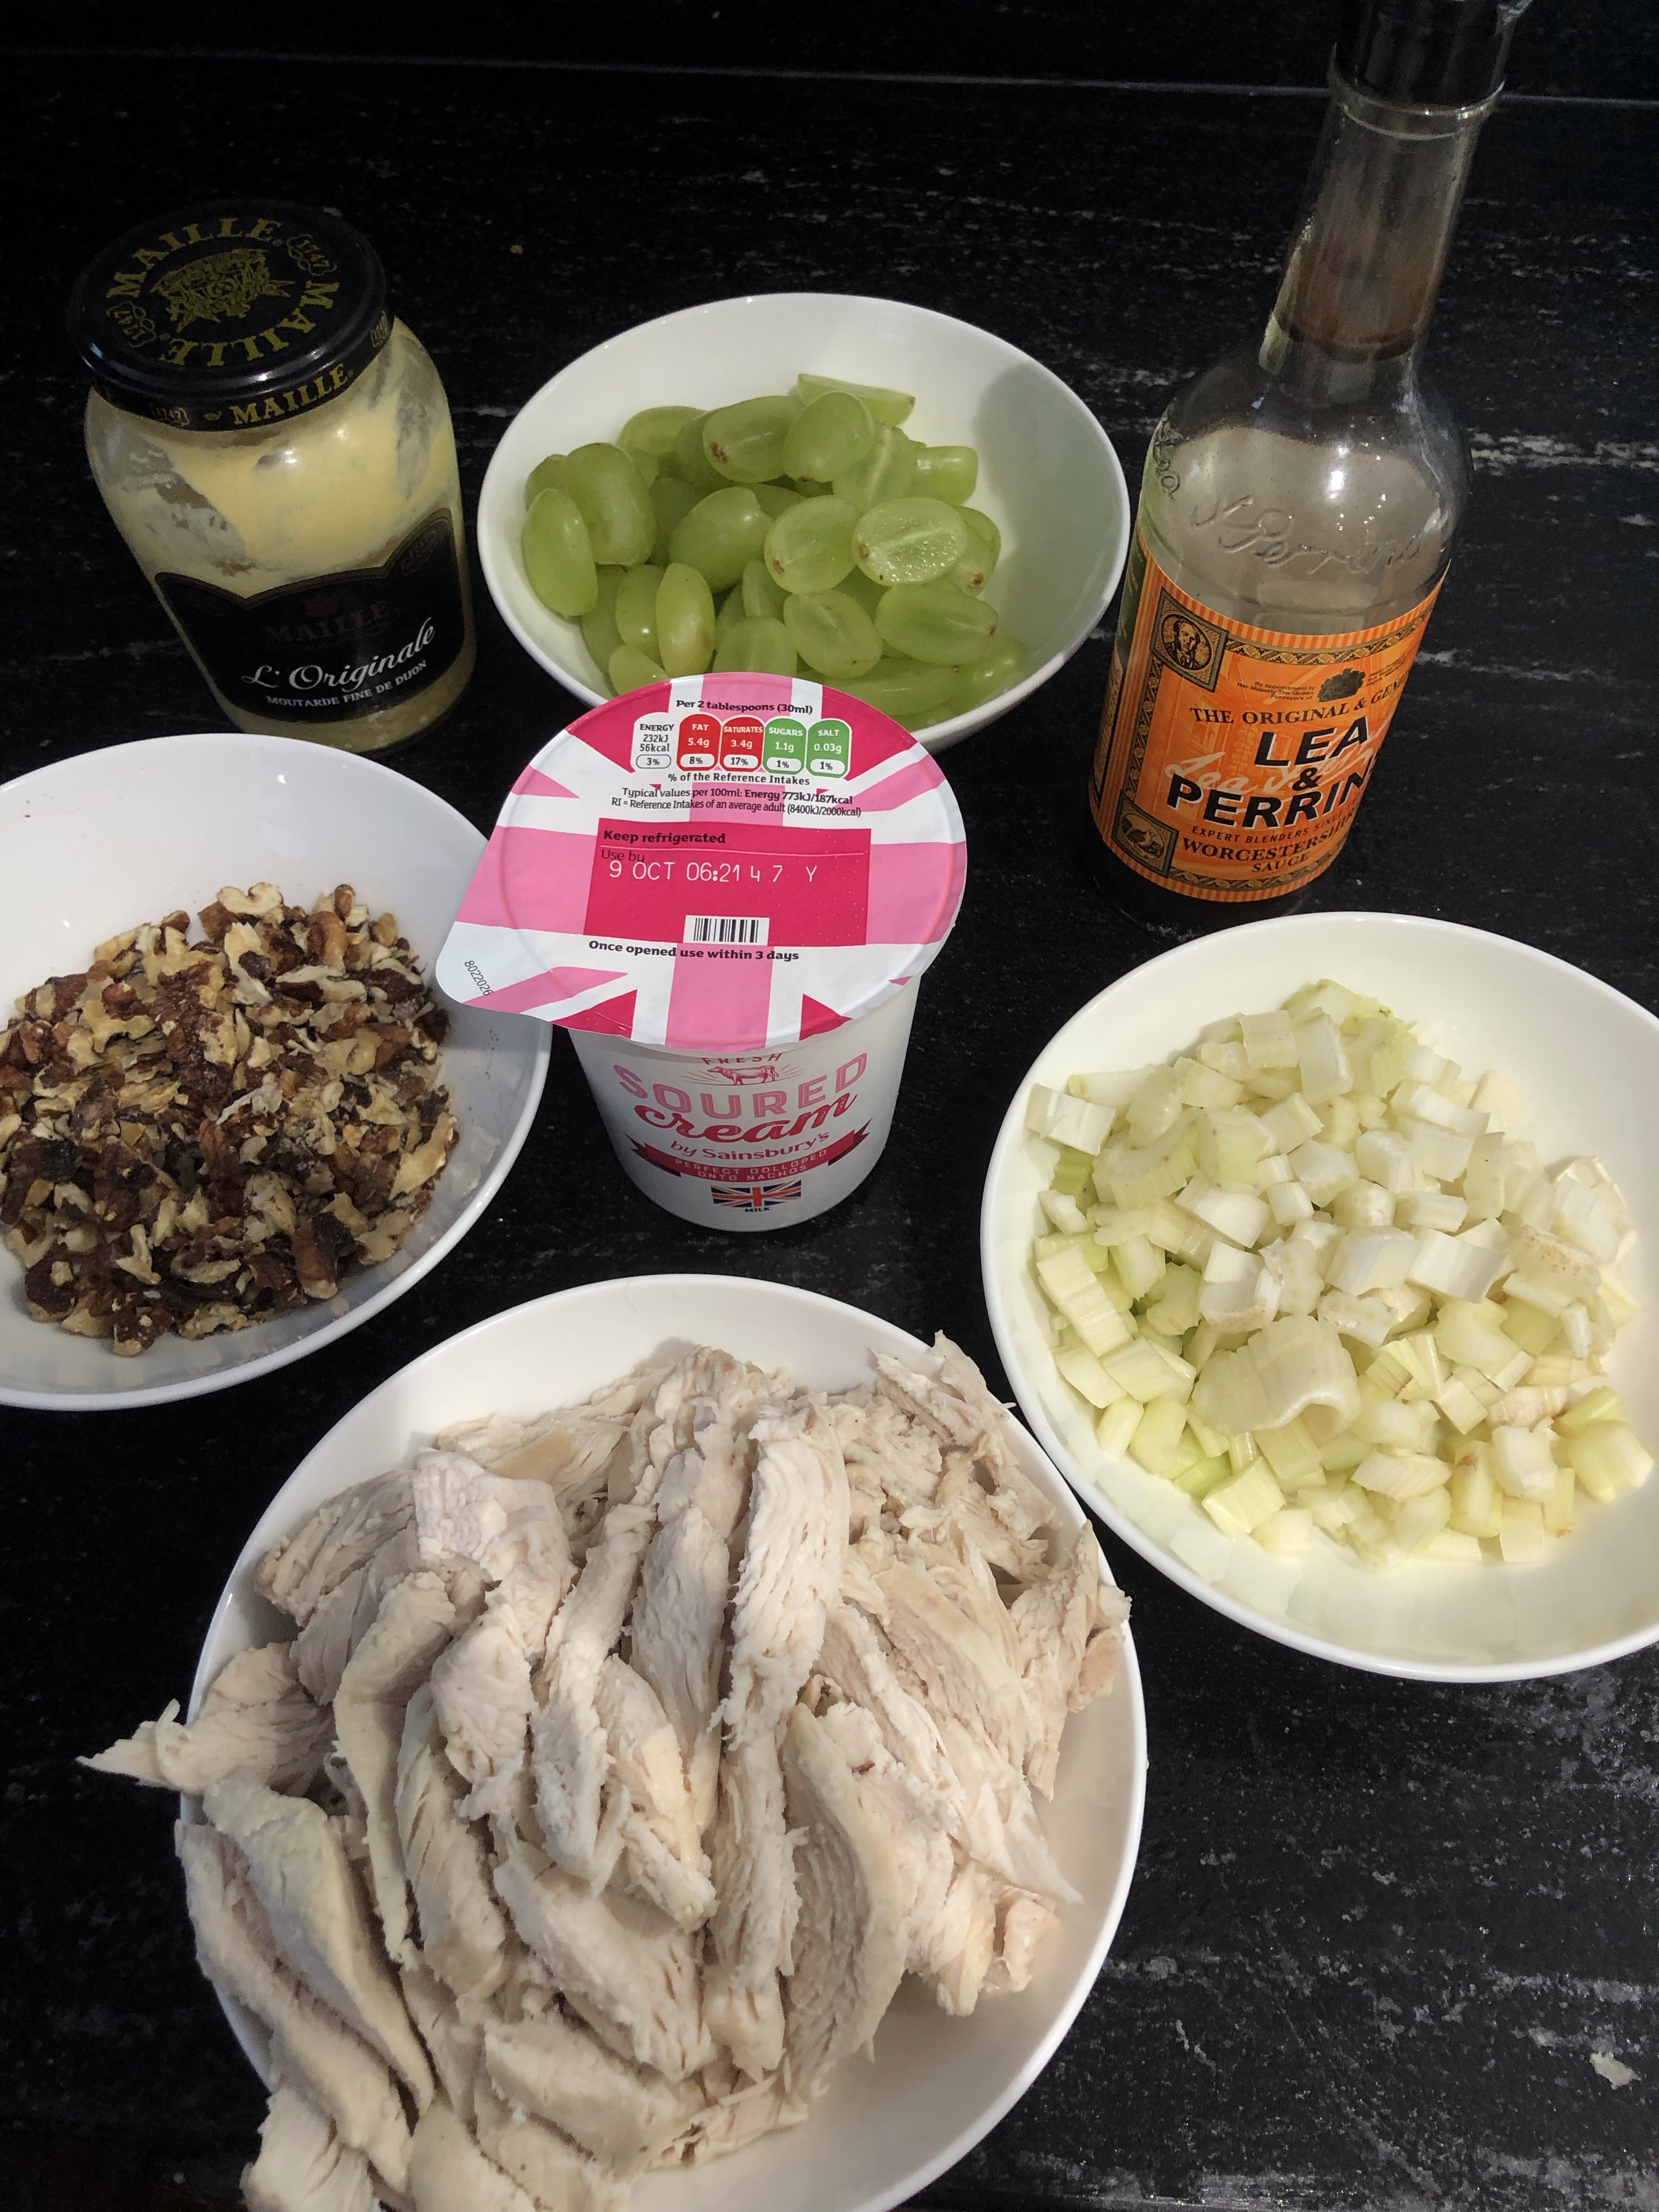
Sometimes the old ones are the good ones. I have recently Culled some of my cook books. I may live to regret it, but went on the principle of, “ if I haven’t ever used that book, or it’s been a very long time since I used that book, or simply it has really gone out of style” then it was time for them to go! Especially as I had several new ones ready to take their place. But as I have said before, I also have a filing system on a totally separate iPad just for recipes, ideas and information. Today, I needed to have dinner/ supper ready before we went out. And so it was on one of my very rare trips to a very small supermarket that I spied green grapes! Bingo! Chicken salad with grapes.
I was given this basic recipe many years ago from a dear friend, who has since died. She made it one day for me for lunch and at times it is the perfect, lunch or supper dish. Make ahead, chill, serve, eat and leftovers for lunch the following day! I’m sure that you have made a variation of this as with Coronation Chicken was popular several years ago, but in case you have forgotten, just like I did, then here it is, one more time.
For 4+ servings
3 cooked skinless chicken breasts, cooked, I cooked mine in some chicken stock, as that way they are juicier. Leave to cool and either shred or cut into chunks
2/3 cup ready made mayonnaise
2/3 cup sour cream or crème fraiche
Small bunch green grapes cut into halves
1/2 cup chopped celery
1/2 cup chopped walnuts or pecans
1tablespoon French mustard
A teaspoon or so of prepared English mustard ( according to taste
A splashed or two of Worcestershire sauce.
Very simply mix together the sauce ingredients, then carefully add the chicken, grapes and nuts. TASTE, add sal and pepper to taste.
This keeps well boxed until ready to use , serve on a bed of lettuce.
I have to admit that I am not a baker. I love to cook but baking is not my forté. However, as a Mom, I did always turn out birthday cakes be it for the kids or for Himself.
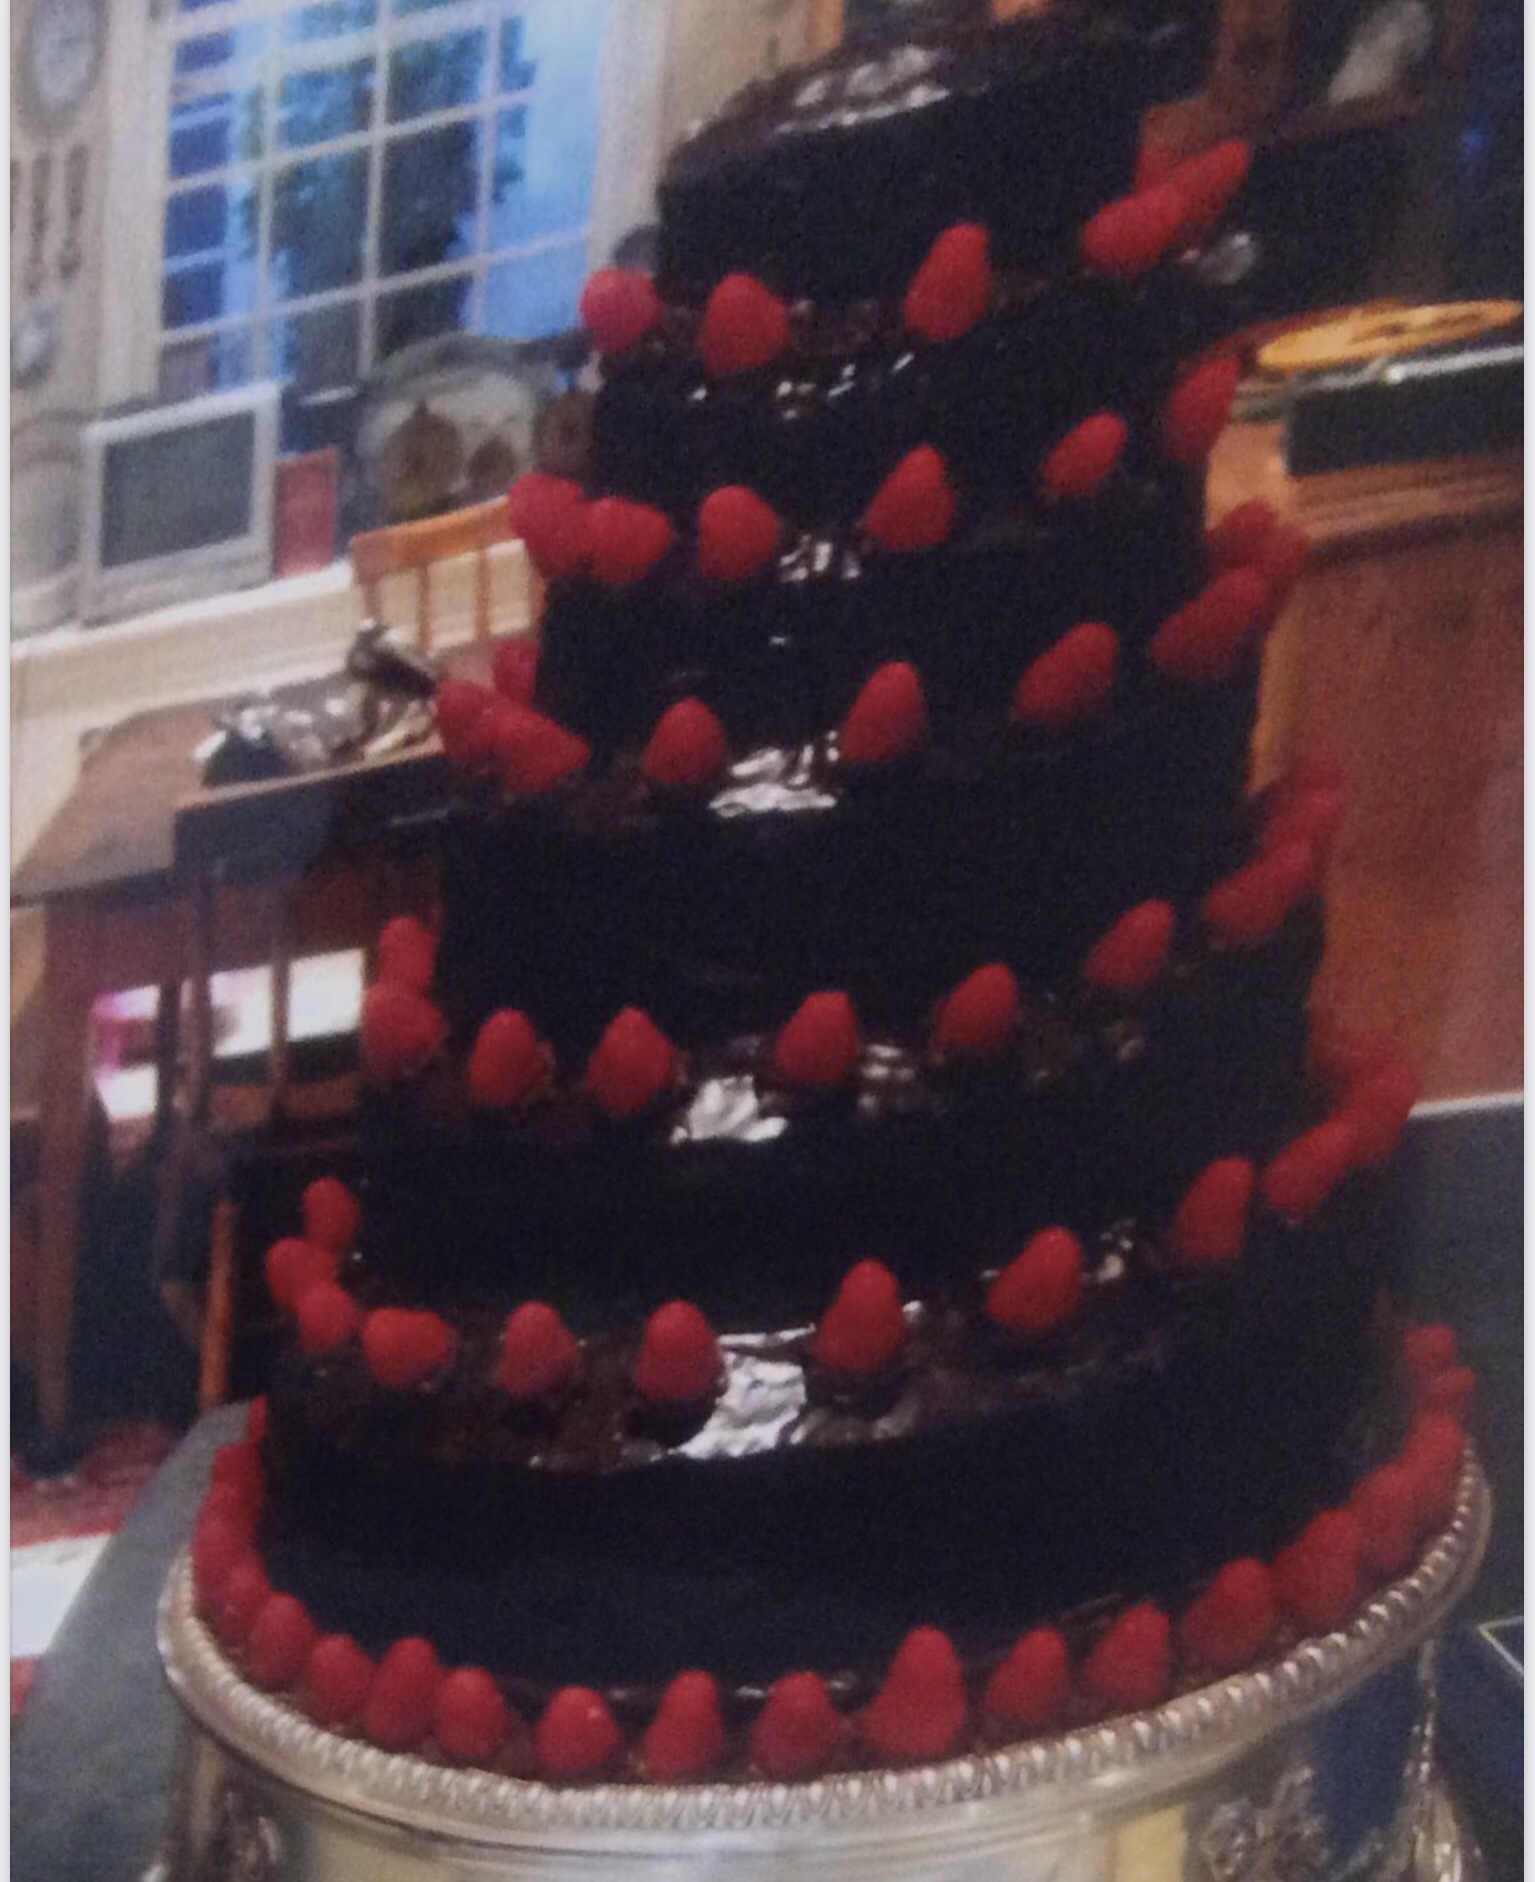
A chocolate train for my youngest first birthday, a Barbie doll or an igloo. But my go to cake for all such occasions was a chocolate cake, almost bordering on a Saccher Torte from Vienna. Rich to say the least covered in chocolate Ganache. And as such, it was in demand from my eldest for her wedding cake and 8 years later by my son for his.
This actually was a real conundrum, multiplying up the quantities, in huge amounts and how to stop layer upon layer sinking into each other. Masters of invention, stiff plastic discs were imported from Houston, holes drilled and metal rods inserted along with washers to keep them in place. A Herculean task to transport cake from home to reception, but succeeded we did.
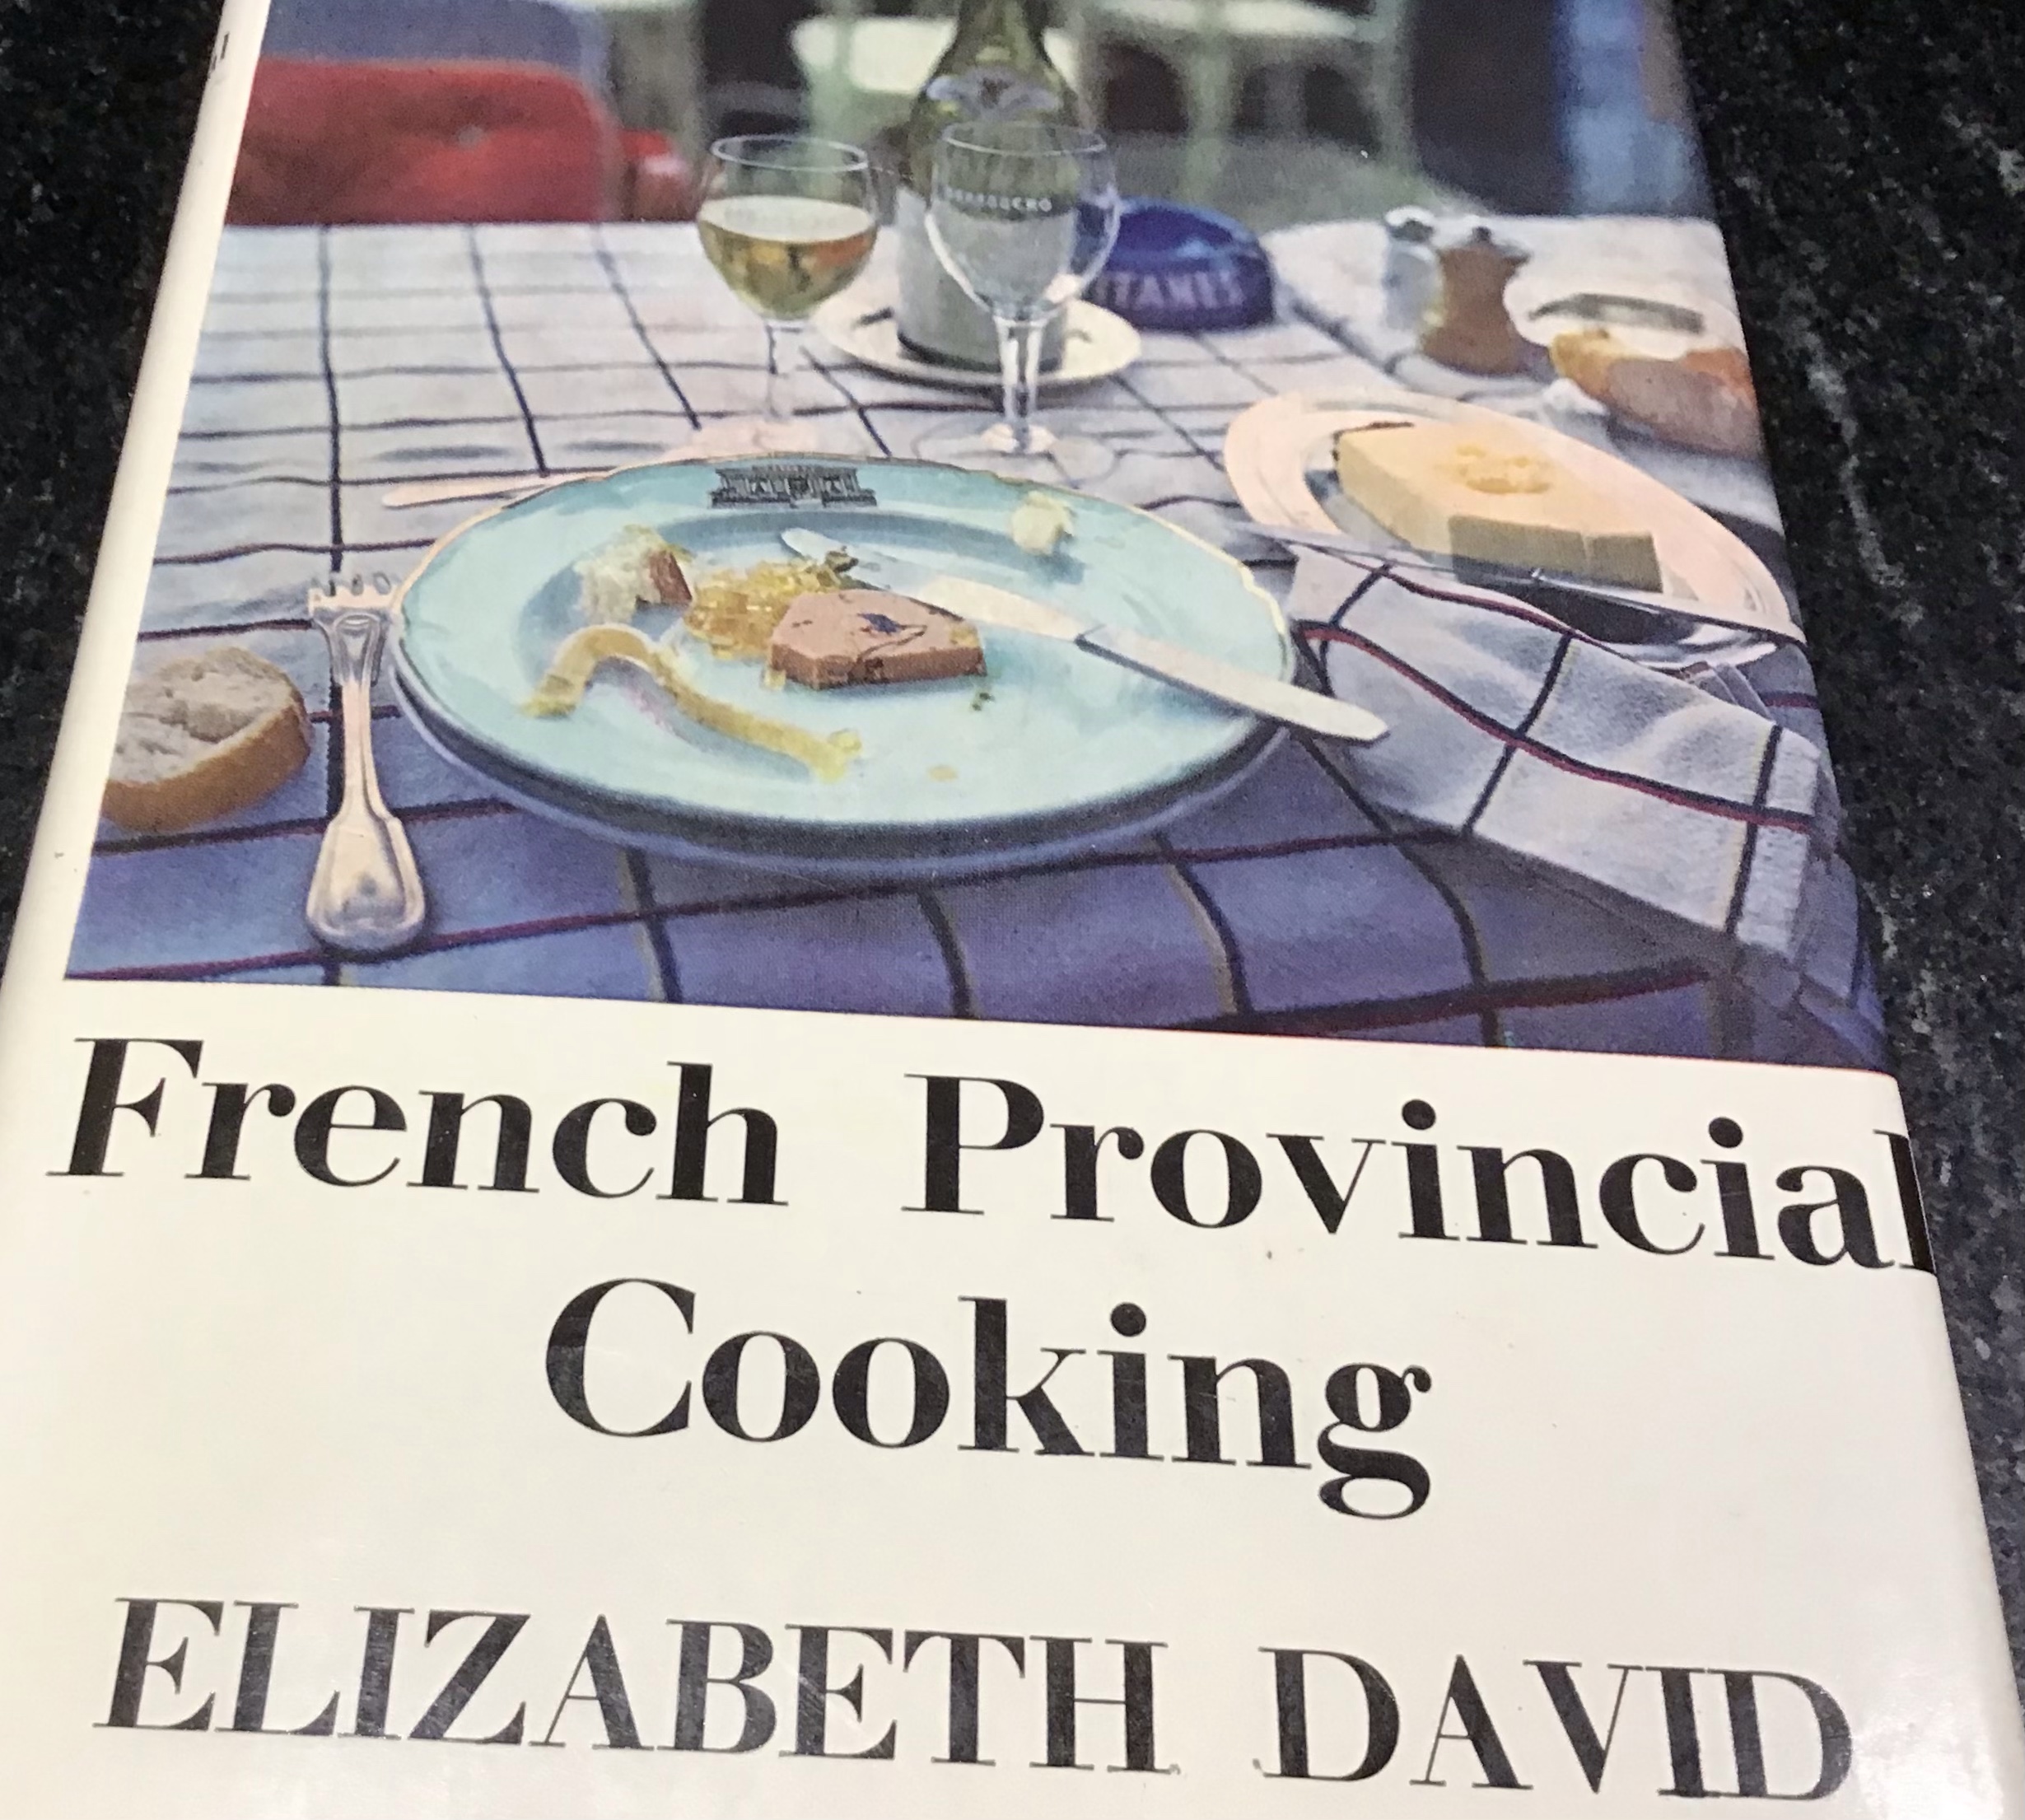
The recipe which was used without fail over several decades was from from Elizabeth David in her 1960 publication of French Provincial Cooking. Hers was always the “Go to” book for she was the authority on French cooking, no pictures or photographs but somehow she inspired a generation, me included.
However, this year I have sinned, I have deviated from my self imposed routine and made a different cake. My mind was elsewhere but had seen a recipe which I thought was rather nice and so proceeded to make the cake ( chocolate of course). It was perfect, it rose some but not too much, when tested, the skewer came out clean. But when I released the spring form pan, DISASTER, the cake became cracked as in a crevasse ! OH No! To remove the cake from the base of the spring form also proved to be challenge, fortunately I have a large flat kind of pizza pell and this came in very useful. I cut a circle of cardboard and managed to manoeuvre cake onto it. Fast forward enough chocolate ganache was made, chilled and whipped to save the cake from total disaster. After all, when covered with chocolate, crackes and crevasses could no longer be seen!
The basic recipe for this is:-
150 grams ground almonds
225 grams of good dark chocolate ( 75% cocoa)
225 grams soft unsalted butter
200 grams fine caster sugar
6 large eggs, separated
Method is simple:-
Heat oven to 300F/150C, slightly less for fan ovens
Grease a 9” round spring form pan
In a food processor or with an electric whisk beat the eggs and sugar until pale and light, add the egg yolks and marry well
Gently melt the chocolate, this can be done in a microwave, one quick burst at a time
Beat the egg whites until stiff
Pour the molten chocolate into the egg/ butter/ sugar mix and again, marry well
Then carefully fold in the egg white, until there are no white peaks.
Pour into the prepared pan and bake for +/- 45 minutes. A skewer will come out clean when the cake is cooked.
Leave to cool before attempting to remove the spring form and care must be taken. This is where I came a cropper as I didn’t expect the cake to be so fragile, but it is!
Do not despair as melting good dark chocolate in equal quantities of double cream, mixing well, leave to cool and refrigerate, beating until a thick chocolate coating that can be piped/ spread onto the cake, will come to the rescue !
Himself had a birthday recently, and what do you give the man who has everything? Cooking classes! Not one, not two, not three but four of them!
Lesson one, food duly arrived, everything weighed and measured and packaged. Recipe came printed out and with video instructions as well. He is a good pupil, and watched diligently the video .
Indian fusion is the name of the course and is given by Atul Kochher. He has held two Michelin stars and now has several restaurants ( as they all do) with the latest ones, being in London and Marlow Buckinghamshire..
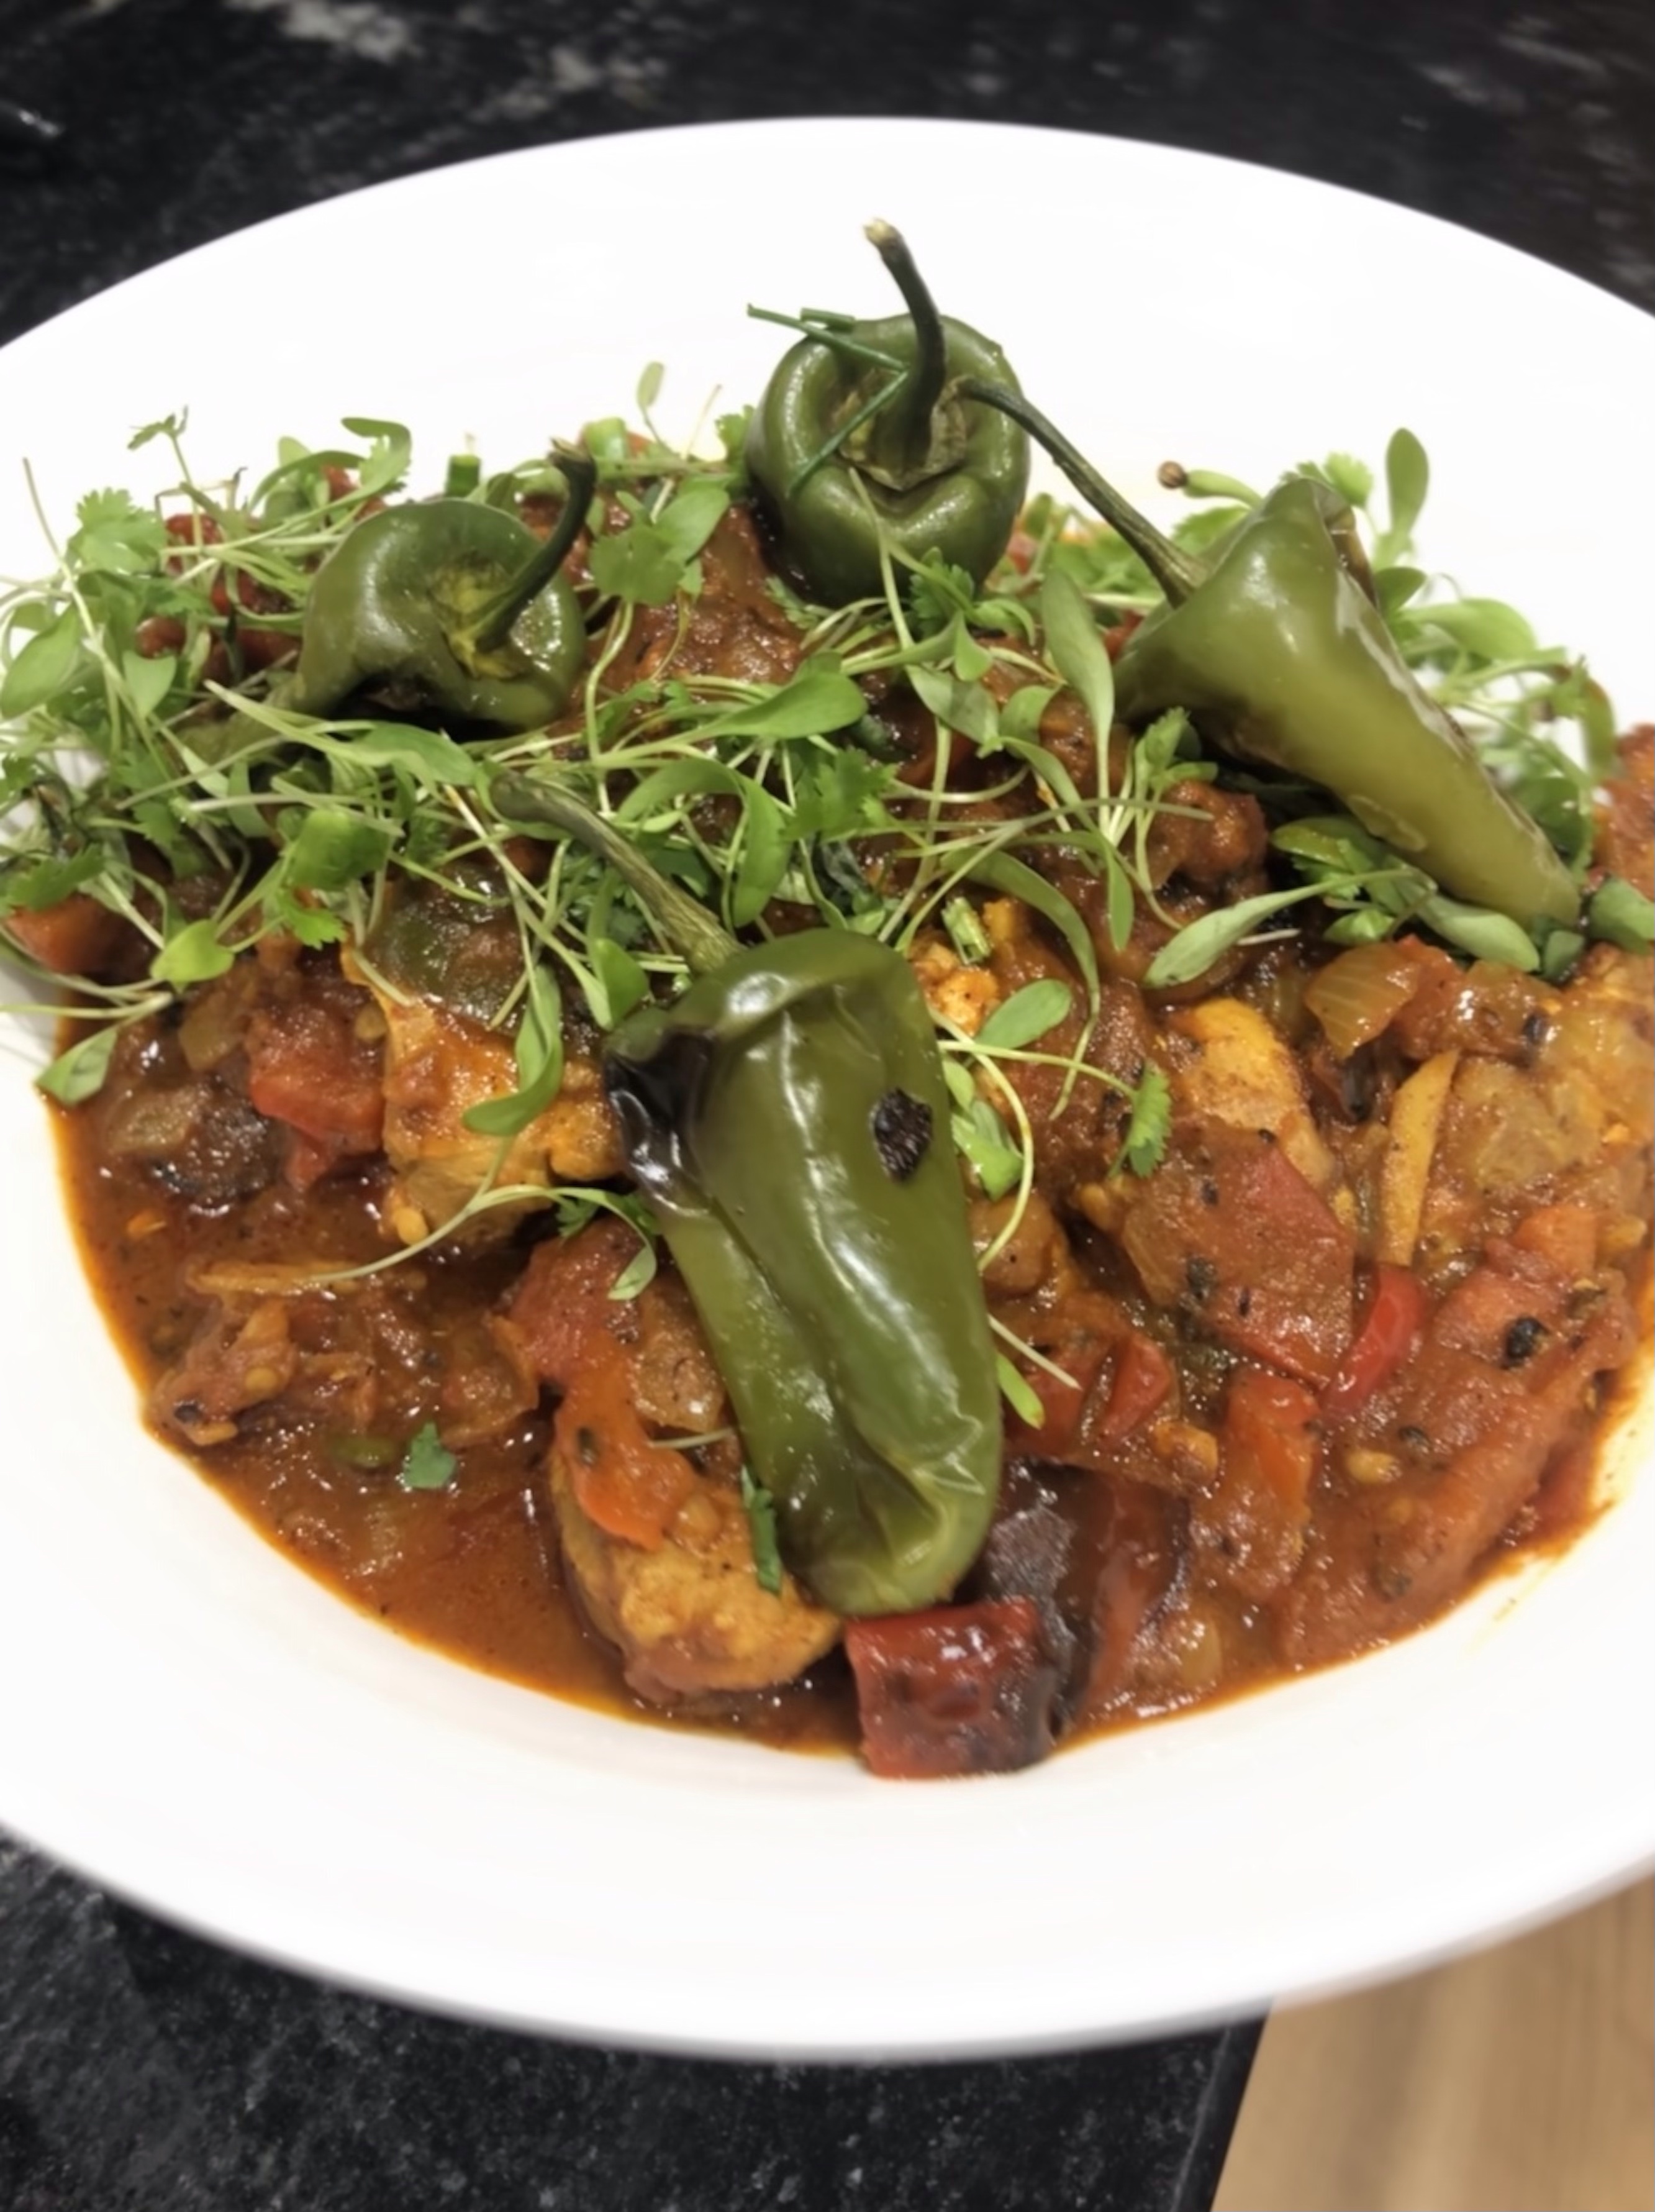
Lesson one , Kadhai Murgh, Courgette Masala and Paratha. There was an enormous quantity of herbs and spices, some of which seemed to be superfluous, as Himself followed all instructions meticulously. The ingredients included chapati flour, grown in the Punjab. Also typical of the Punjab is the big use of ghee and fenugreek leaves.
The courgette masala was particularly interesting and will definitely make it again. Am always looking for alternative vegetable recipes and ideas.
Heat the ghee and add the cumin and black mustard seeds, add the chilli, onion and a pinch of salt. Cook until the onion is soft but not coloured. Add the curry leaves and courgette. Sauté for about 5 minutes. Add the turmeric, chilli powder, Garam masala and the coriander leaves. Add the water and cook for another couple of minutes.
Ease itself and another way of including vegetables into your repertoire.
The paratha was stuffed with dates and I would also make this again.
All in all, it was a great dinner and I am looking forward to the next delivery in a couple of weeks time.
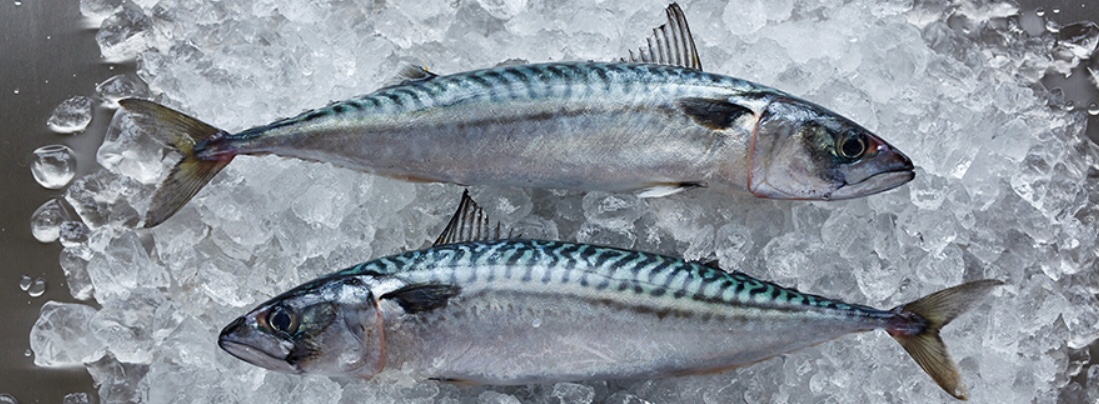
Personally, I don’t like mackerel. I eat almost all fish, but am not keen on smoked haddock although with a poached egg it is ok. Not over keen on Shark, would never choose it but like or love almost everything else. My condemned mans last meal would be Fish and Chips ( though I am very choosy about how it is cooked and the chips have to be triple cooked). Himself ? He likes most things, will try anything as long as there is no fat or gristle ( memories of childhood). And really likes mackerel. it being one of the oily fish, it is really good for you!
The first time I had mackerel was many years ago in Berlin , where himself was studying and myself a mere tourist. Didn’t grab me them and doesn’t grab me now.
However, I am always on the lookout for ideas and inspirations and have recently tried a new one which involves Nduja and chickpeas.
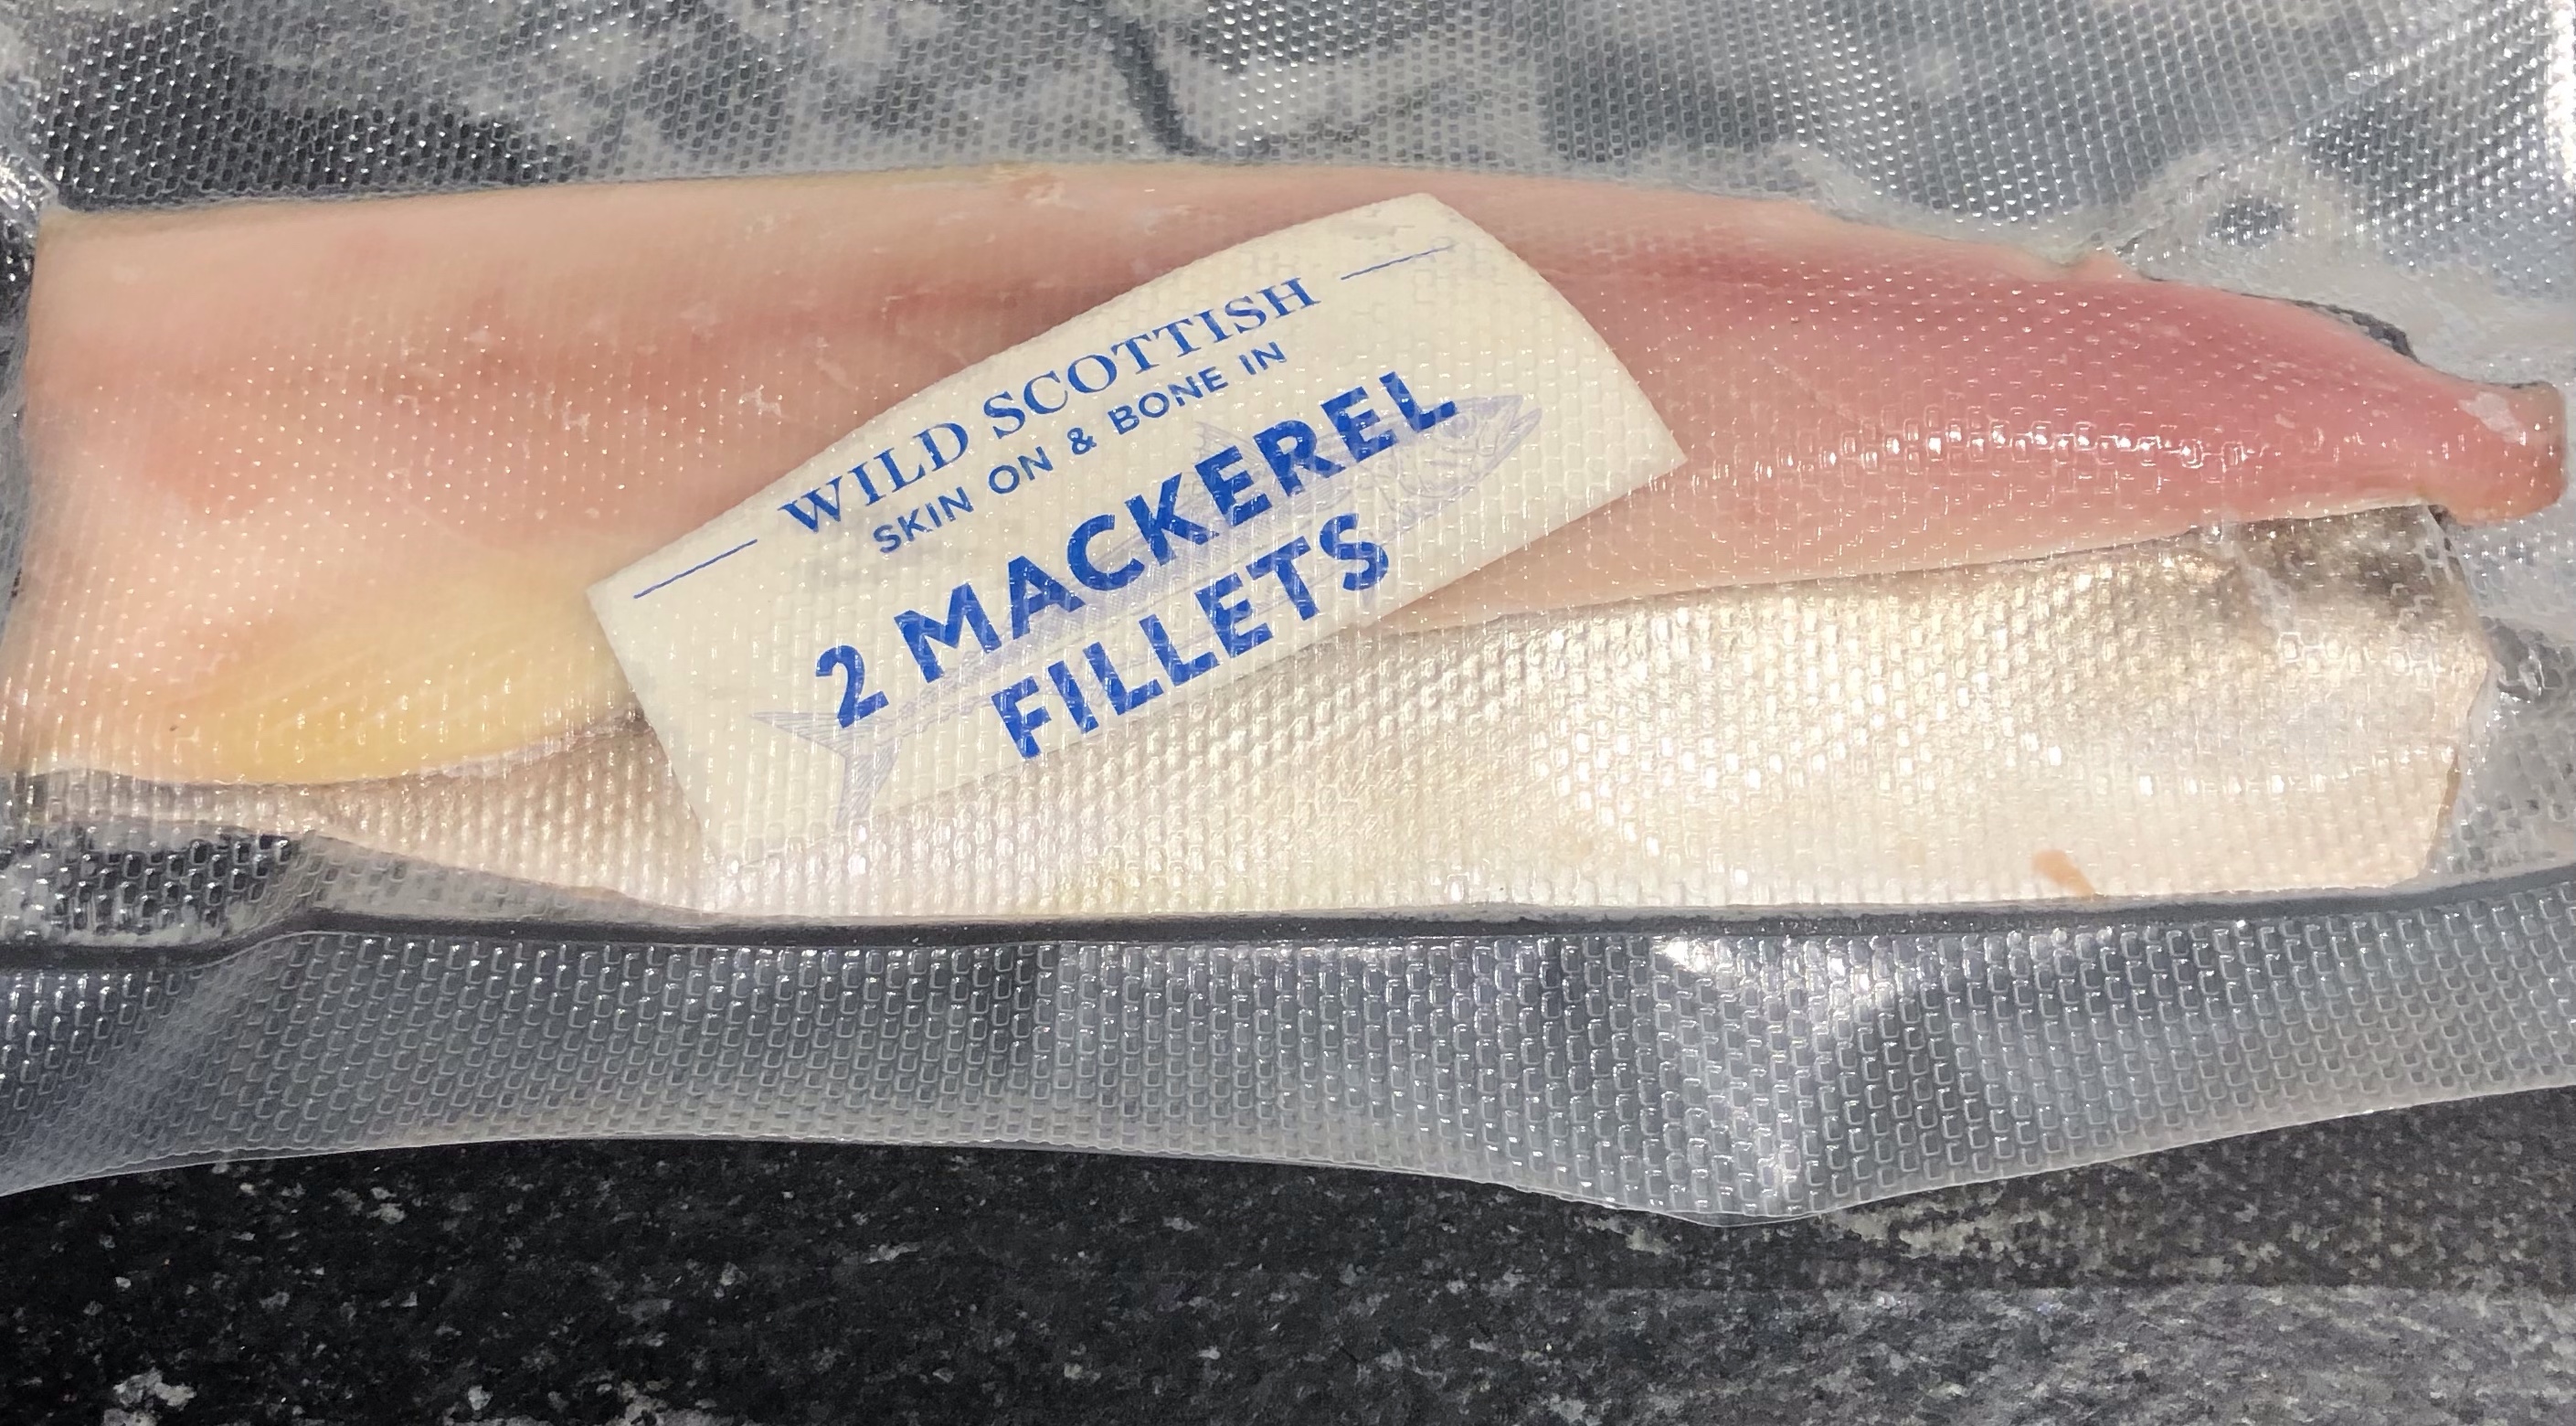
Quiet by chance I had some Nduja in the refrigerator and naturally had all of the other ingredients as well, including the fish.
Nduja is a spicy spreadable sausage from Calabria in southern Italy, though other regions in Spain and France have something similar. The roasted hot chilli peppers give it a deep red colour and a fiery taste and has become popular in the USA and the UK.
For 2 Servings
2 +2 tabs olive oil
Small onion chopped
+/- 75 grams Nduja
a tin of cherry tomatoes or a good handful of fresh cherry tomatoes (I used fresh as I had oodles of them)!
Can chickpeas drained
A couple of cloves of garlic, crushed
Small bunch parsley chopped
1/2 lemon including zest and juice
2 tablespoons paprika
2-4 fillets of mackerel depending on size
Heat 2 tablespoons of the oil and add the onion until, soft but not coloured
Add the garlic and then the Nduja, cook for about 5 minutes breaking it up as it softens.
Add the tomatoes and chickpeas, cook until the tomatoes are soft. Season to taste .
Mix together the parsley and lemon juice and zest.
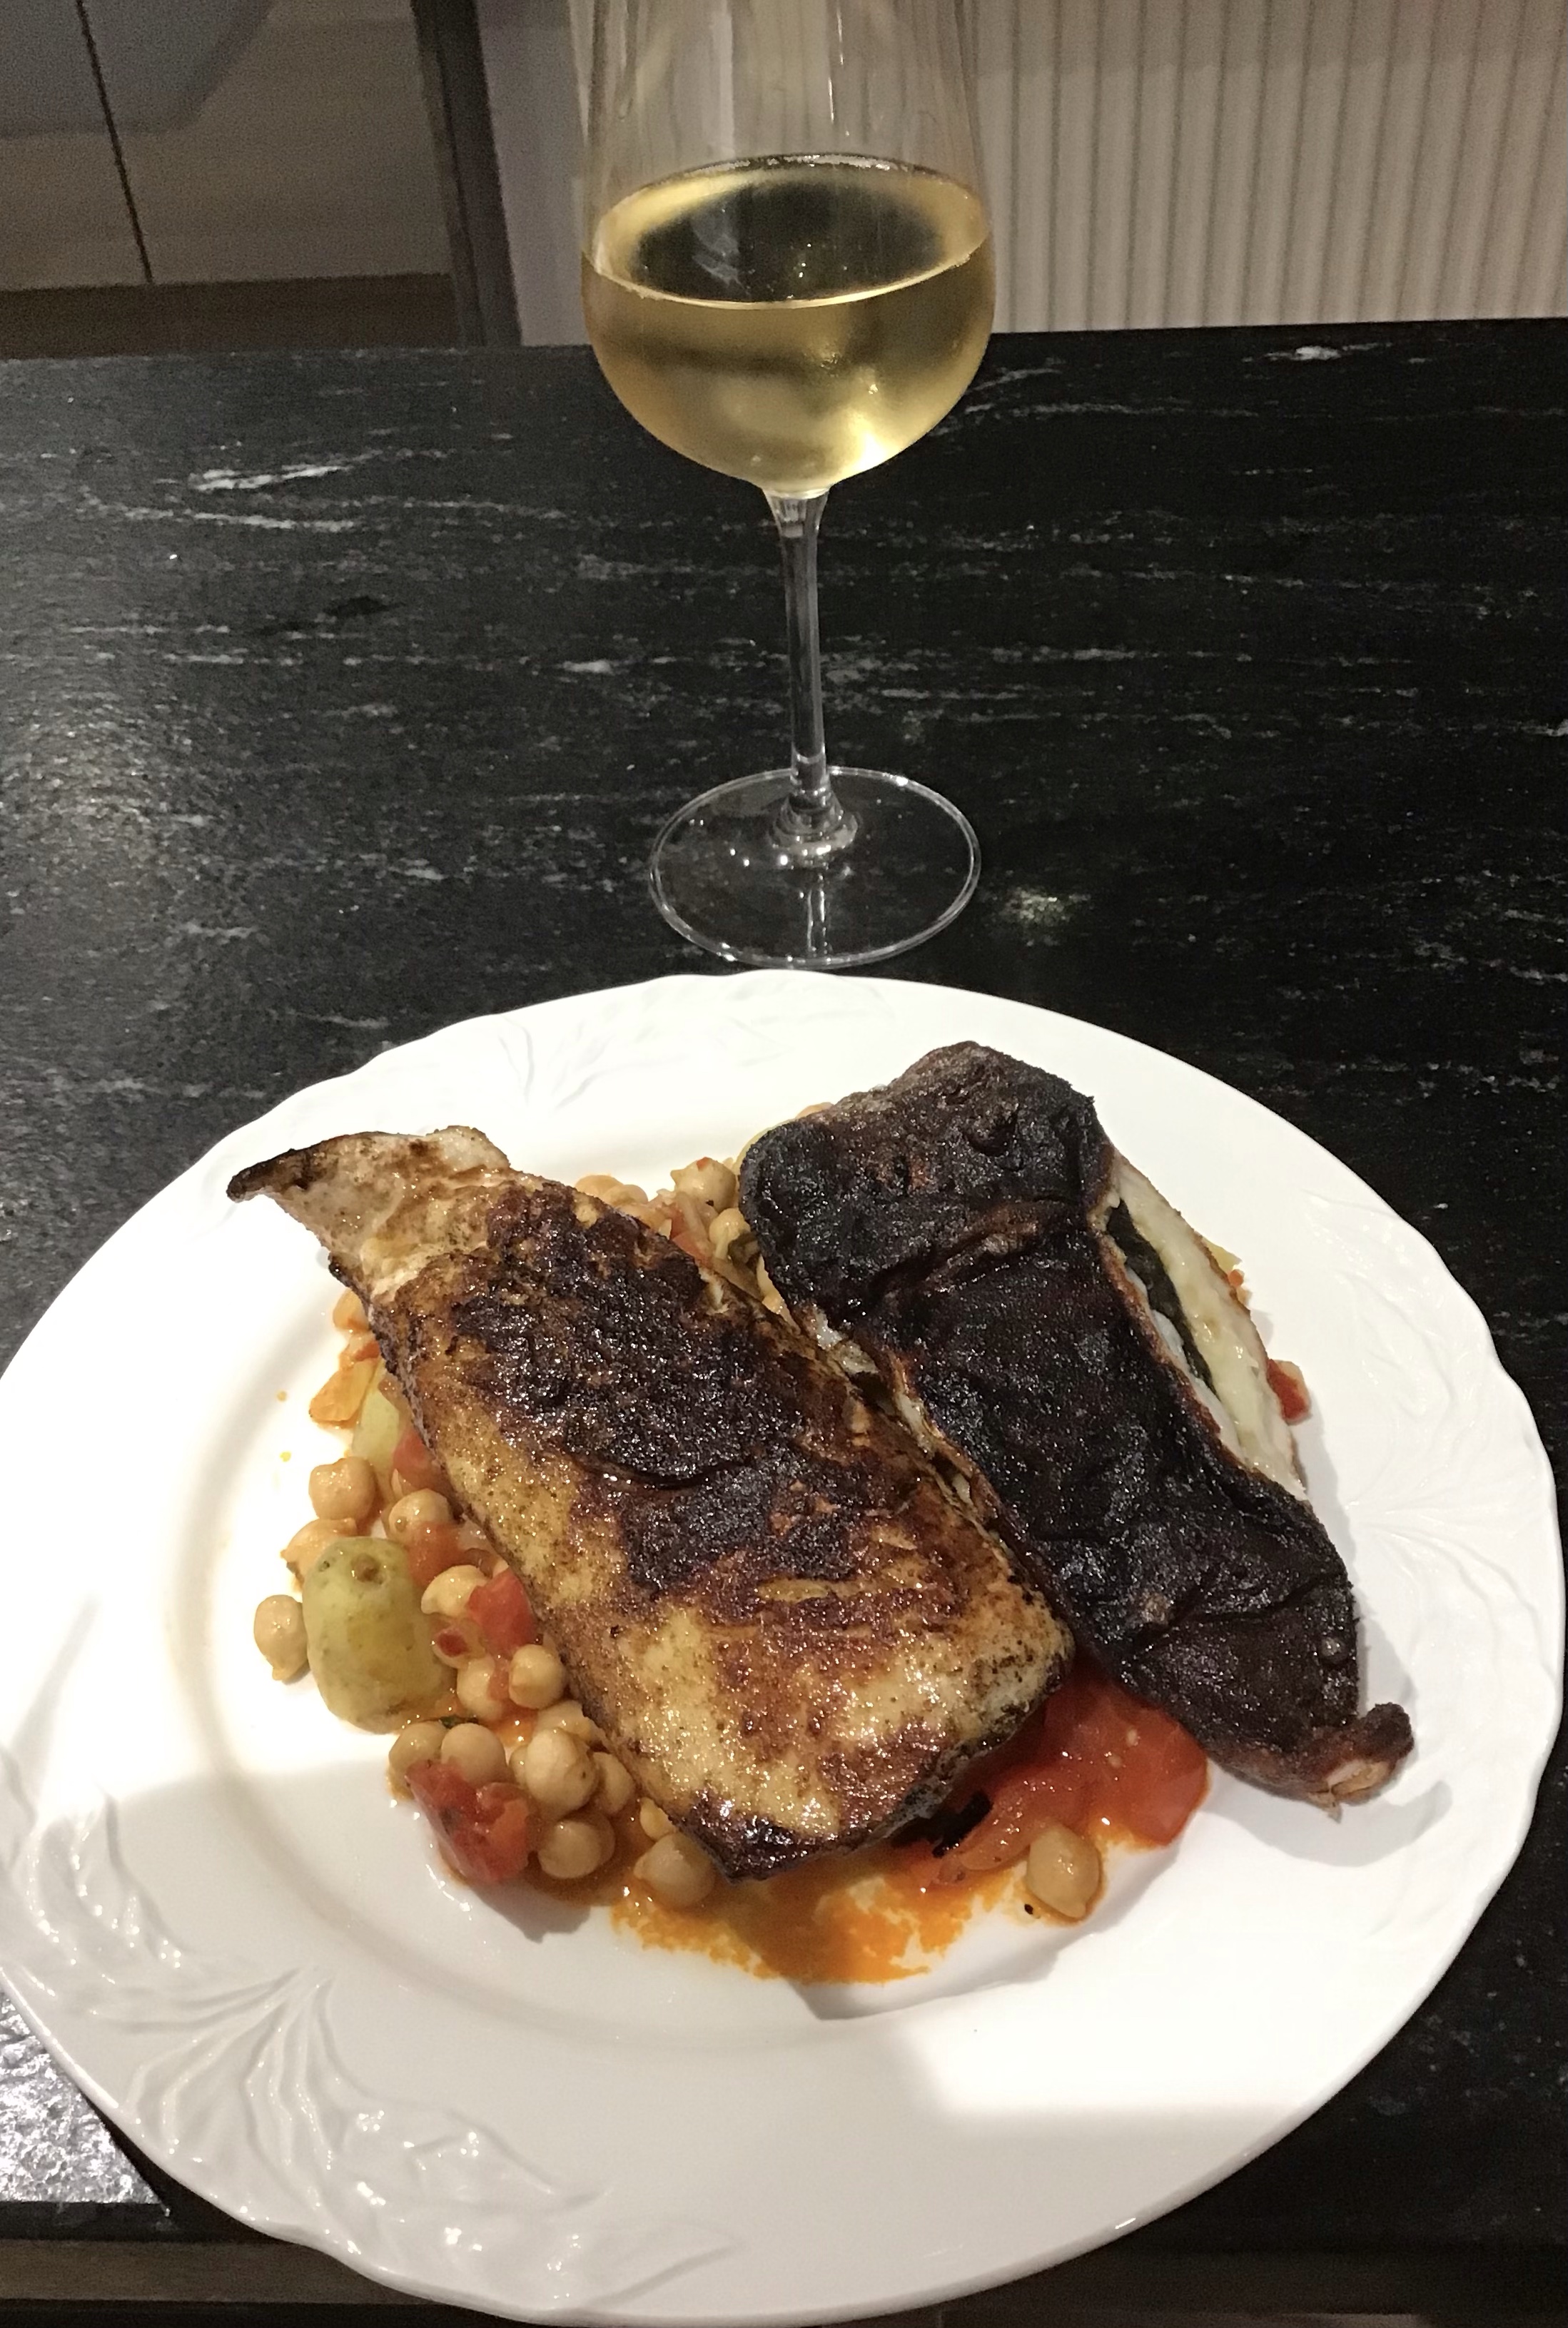
Dust the filets with the paprika
Heat the remaining oil and cook the mackerel skin side down until crisp , quickly flip over and cook for a quick minute.
Spoon the chick pea, tomato mixture onto a plate or a bowl. Top with the fish and then the parsley (oops I forgot to add the parsley)!
So if you like fish then give this one a try. Obviously with a strong tasting fish like mackerel thIs works well, but I really don’t see why it wouldn’t work with other fish as well, especially Salmon. I will give it a try!
Who doesn’t like Broccoli? It would seem many people but the most famous being George H.W.Bush the 41 st President of the USA, though apparently his wife liked it enough to eat his share. Here in our Tower, I think indifferent is the word used for broccoli, though Himself expresses a dislike for purple sprouting broccoli and Kale, whereas son in law dislikes Brussels Sprouts. Each to their own I guess. My own son has always disliked baked beans and willowy blond detests mushrooms. When they were younger and I made Spaghetti Bolognese I would take whatever vegetables were in the refrigerator, blitz them in my food processor and incorporate them into the sauce. My son recently accused me of making my sauce RED, well maybe I did, but it would be the result of carrots and tomatoes!
These days, we occasionally have broccoli but I have to admit not often. However, when I choose my delivery from the lovely Watts Farm, I troll through the vegetable options and will always choose a variety, including broccoli. I have been meaning to try alternative recipes for it and have found one, which I adapted to use other things that were in my refrigerator
For my Broccoli Salad I used
A large head of broccoli, blanched and and cut into small florets
A handful of toasted nuts ( pistachios, peanuts or hazelnuts)
Some chopped mint leaves
Some chopped coriander leaves
Some chopped dates
A squeeze of runny honey
Half teaspoon chilli in oil
Any other salad type ingredients, such as baby tomatoes, spring onions, chopped celery.
For the dressing
2 tablespoons lime juice ( bottled is ok)
Pinch salt
1tsp caster sugar
1tablespoon rice vinegar
A piece of fresh ginger about a thumb length
50 mls sesame oil ( or olive)
Throw all of the dressing ingredients into a blender or hand blender and whizz until well blended.
Mix together all of the salad ingredients, and toss with about half of the dressing, serving the rest on the side.
Some useful information:-
A good source of Vitamin C
Useful amounts of beta carotene which the body converts to Vitamin A
Some folate, iron and potassium
The darker the florets and stem the better the Vitamin C content
Much better to steam, stir fry or microwave to retain most of the vitamin C
Another year, another Birthday, but in the same restaurant, albeit several years apart but weirdly enough with some of the same dishes still on the menu! Is this complacency or is it because these dishes are just so good that they can not be removed from the menu. To my mind it is the latter!
A few years ago we ate at Dinner for dinner, en Famille, at the Chefs table but this time we ate at Dinner for lunch and just Himself and Myself. The service is just as good ( he sneezed and tissues appeared by his side, my handbag was on the floor, a table hook appeared, with apologies and bag was duly hooked onto table). And the food? We took the lunch menu and yes the dishes that were on the menu last time, were just as wonderful as before.
We started with Hay Smoked Salmon, which had its inspiration from 1730 and was served with Gentleman’s Relish.
Next came the pièce de resistance. The Meat Fruit from the 13th -15th century. When is a Clementine not a Clementine? When it is a meat fruit. This wonderful concoction looks like a Clementine but is in fact chicken liver parfait.
Duck and Turnip from absolutely ages ago written about in the edible History of Pompeii Ref Apicius
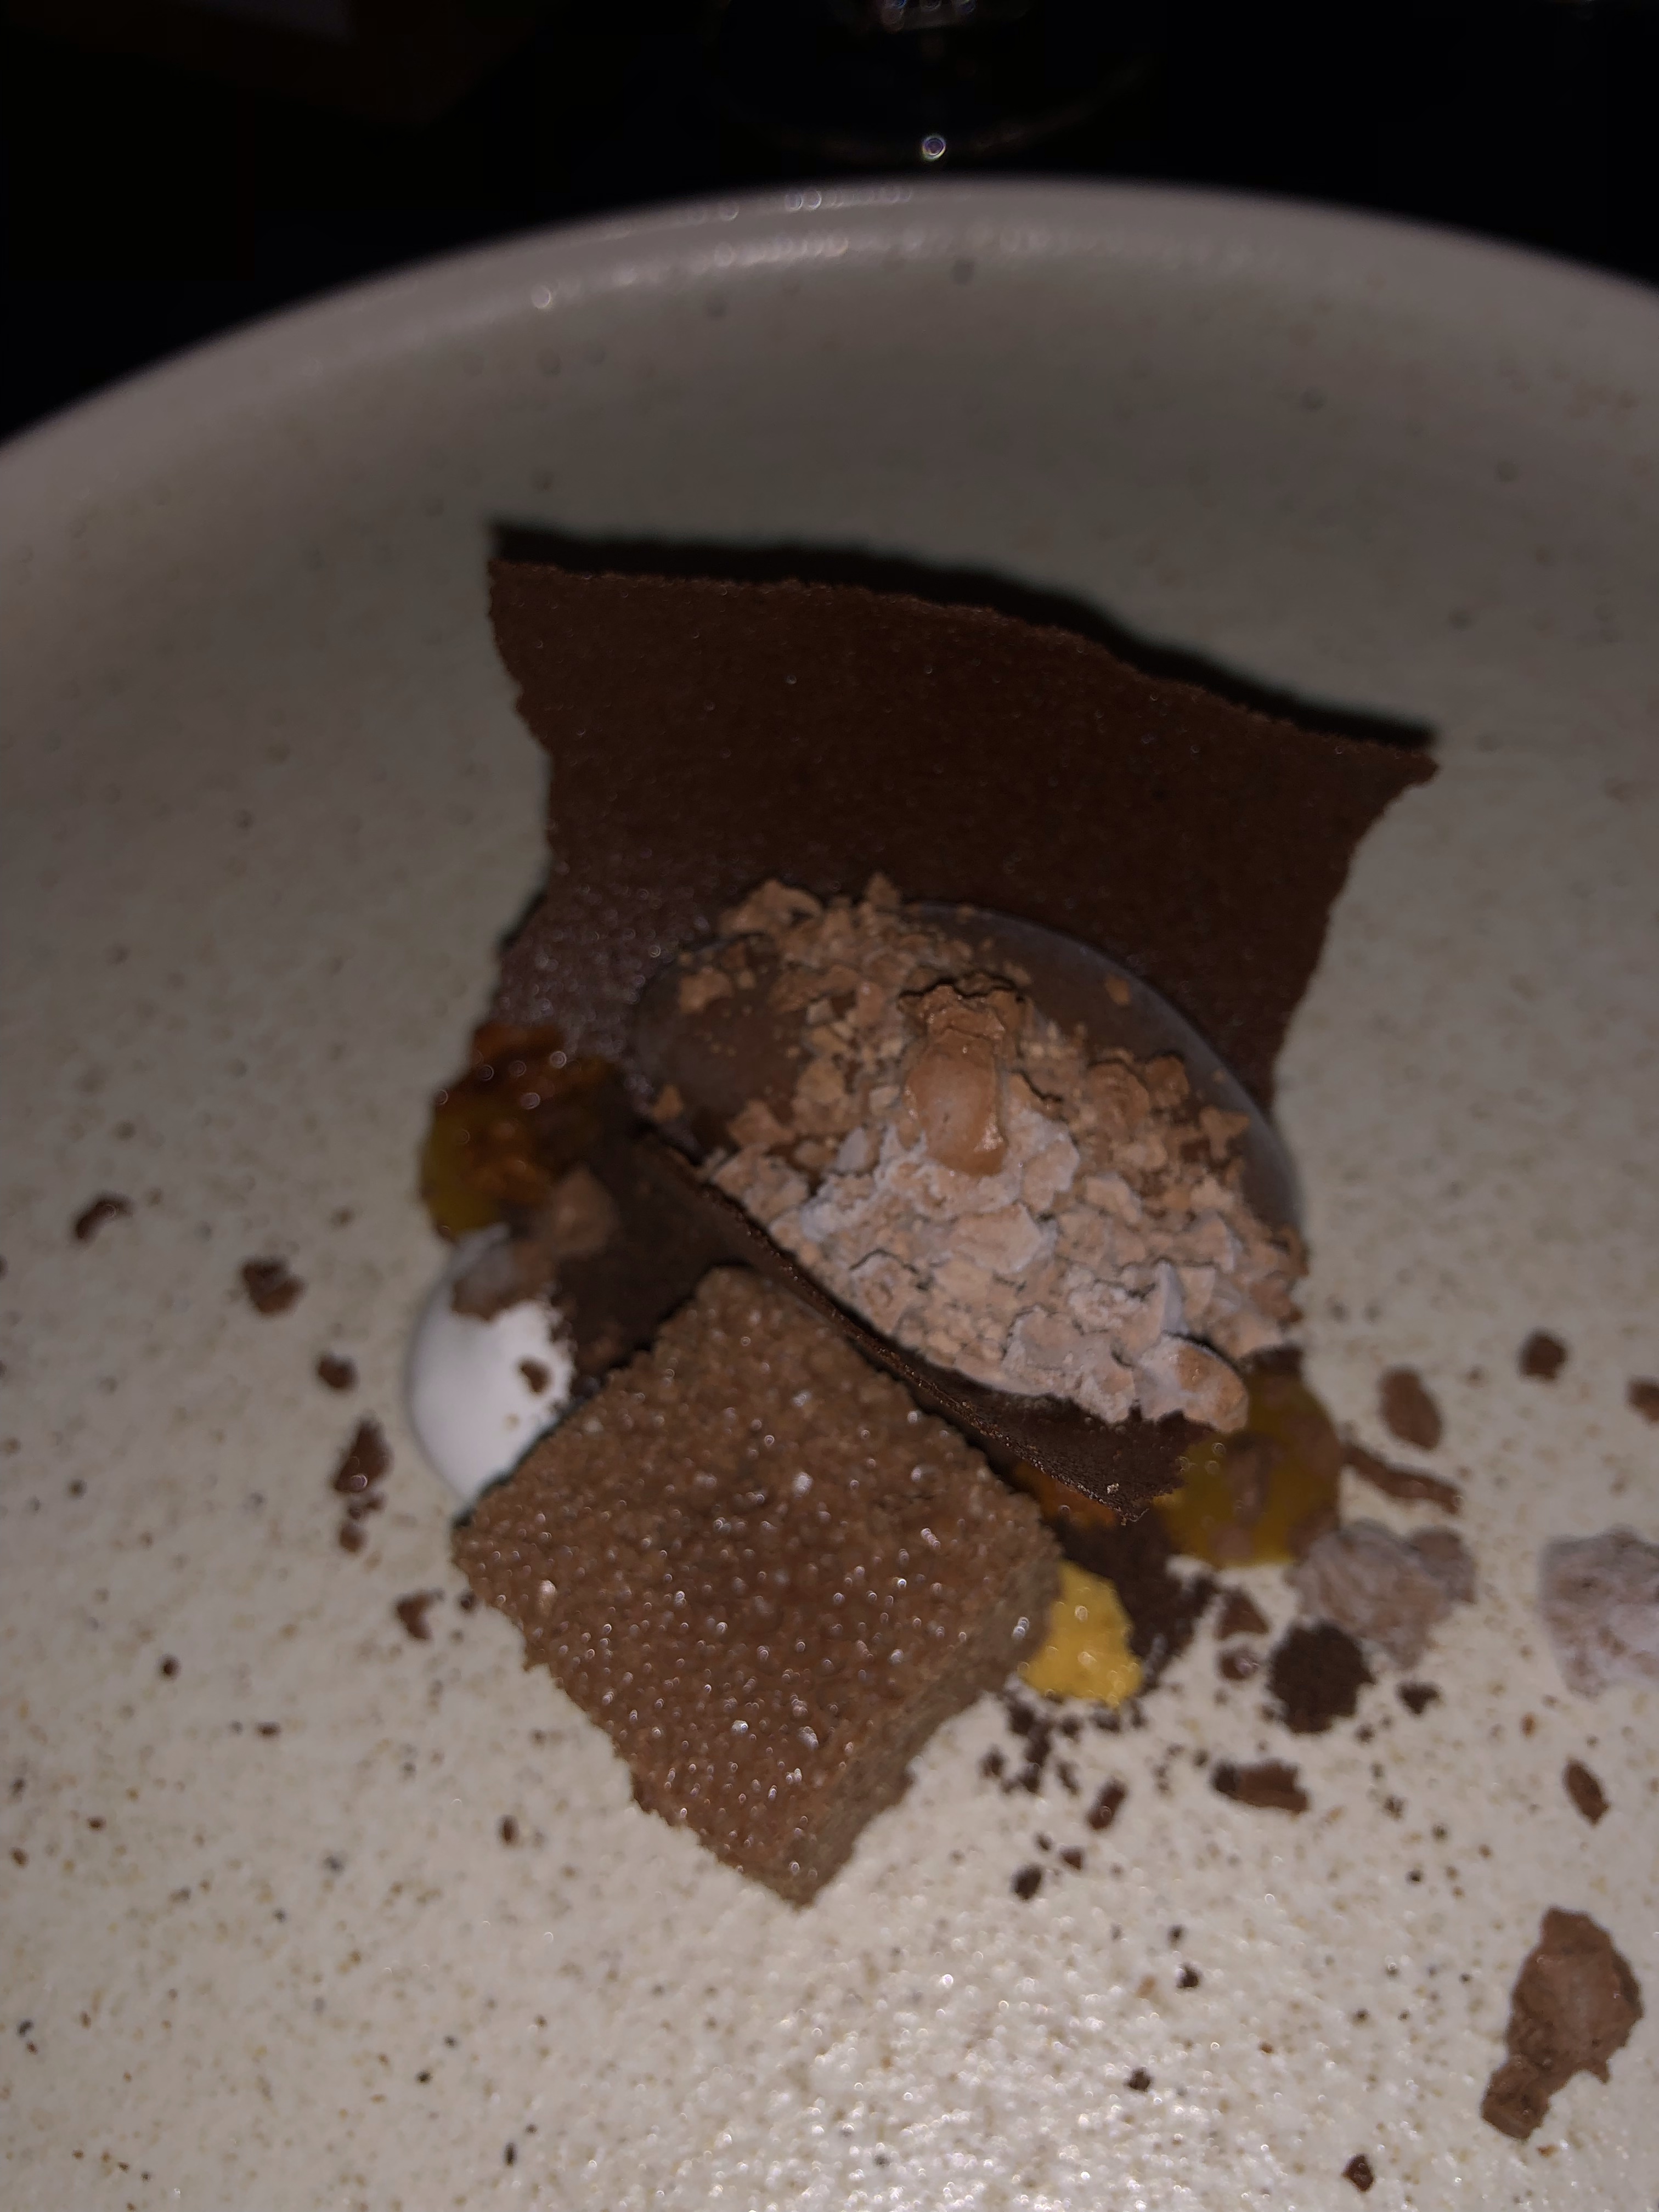
Of course Heston being Heston, he is not satisfied with one Pièce de Resistance but there are two. The second being the Tipsy Cake. This dates from the early 1800’s as in the English Cookery Book by J.H.Walsh. I don’t often eat dessert, but this is absolutely DIVINE. A kind of Brioche in its own little cocotte with I think a hot crème anglaise and hot roasted pineapple, Umm Umm !
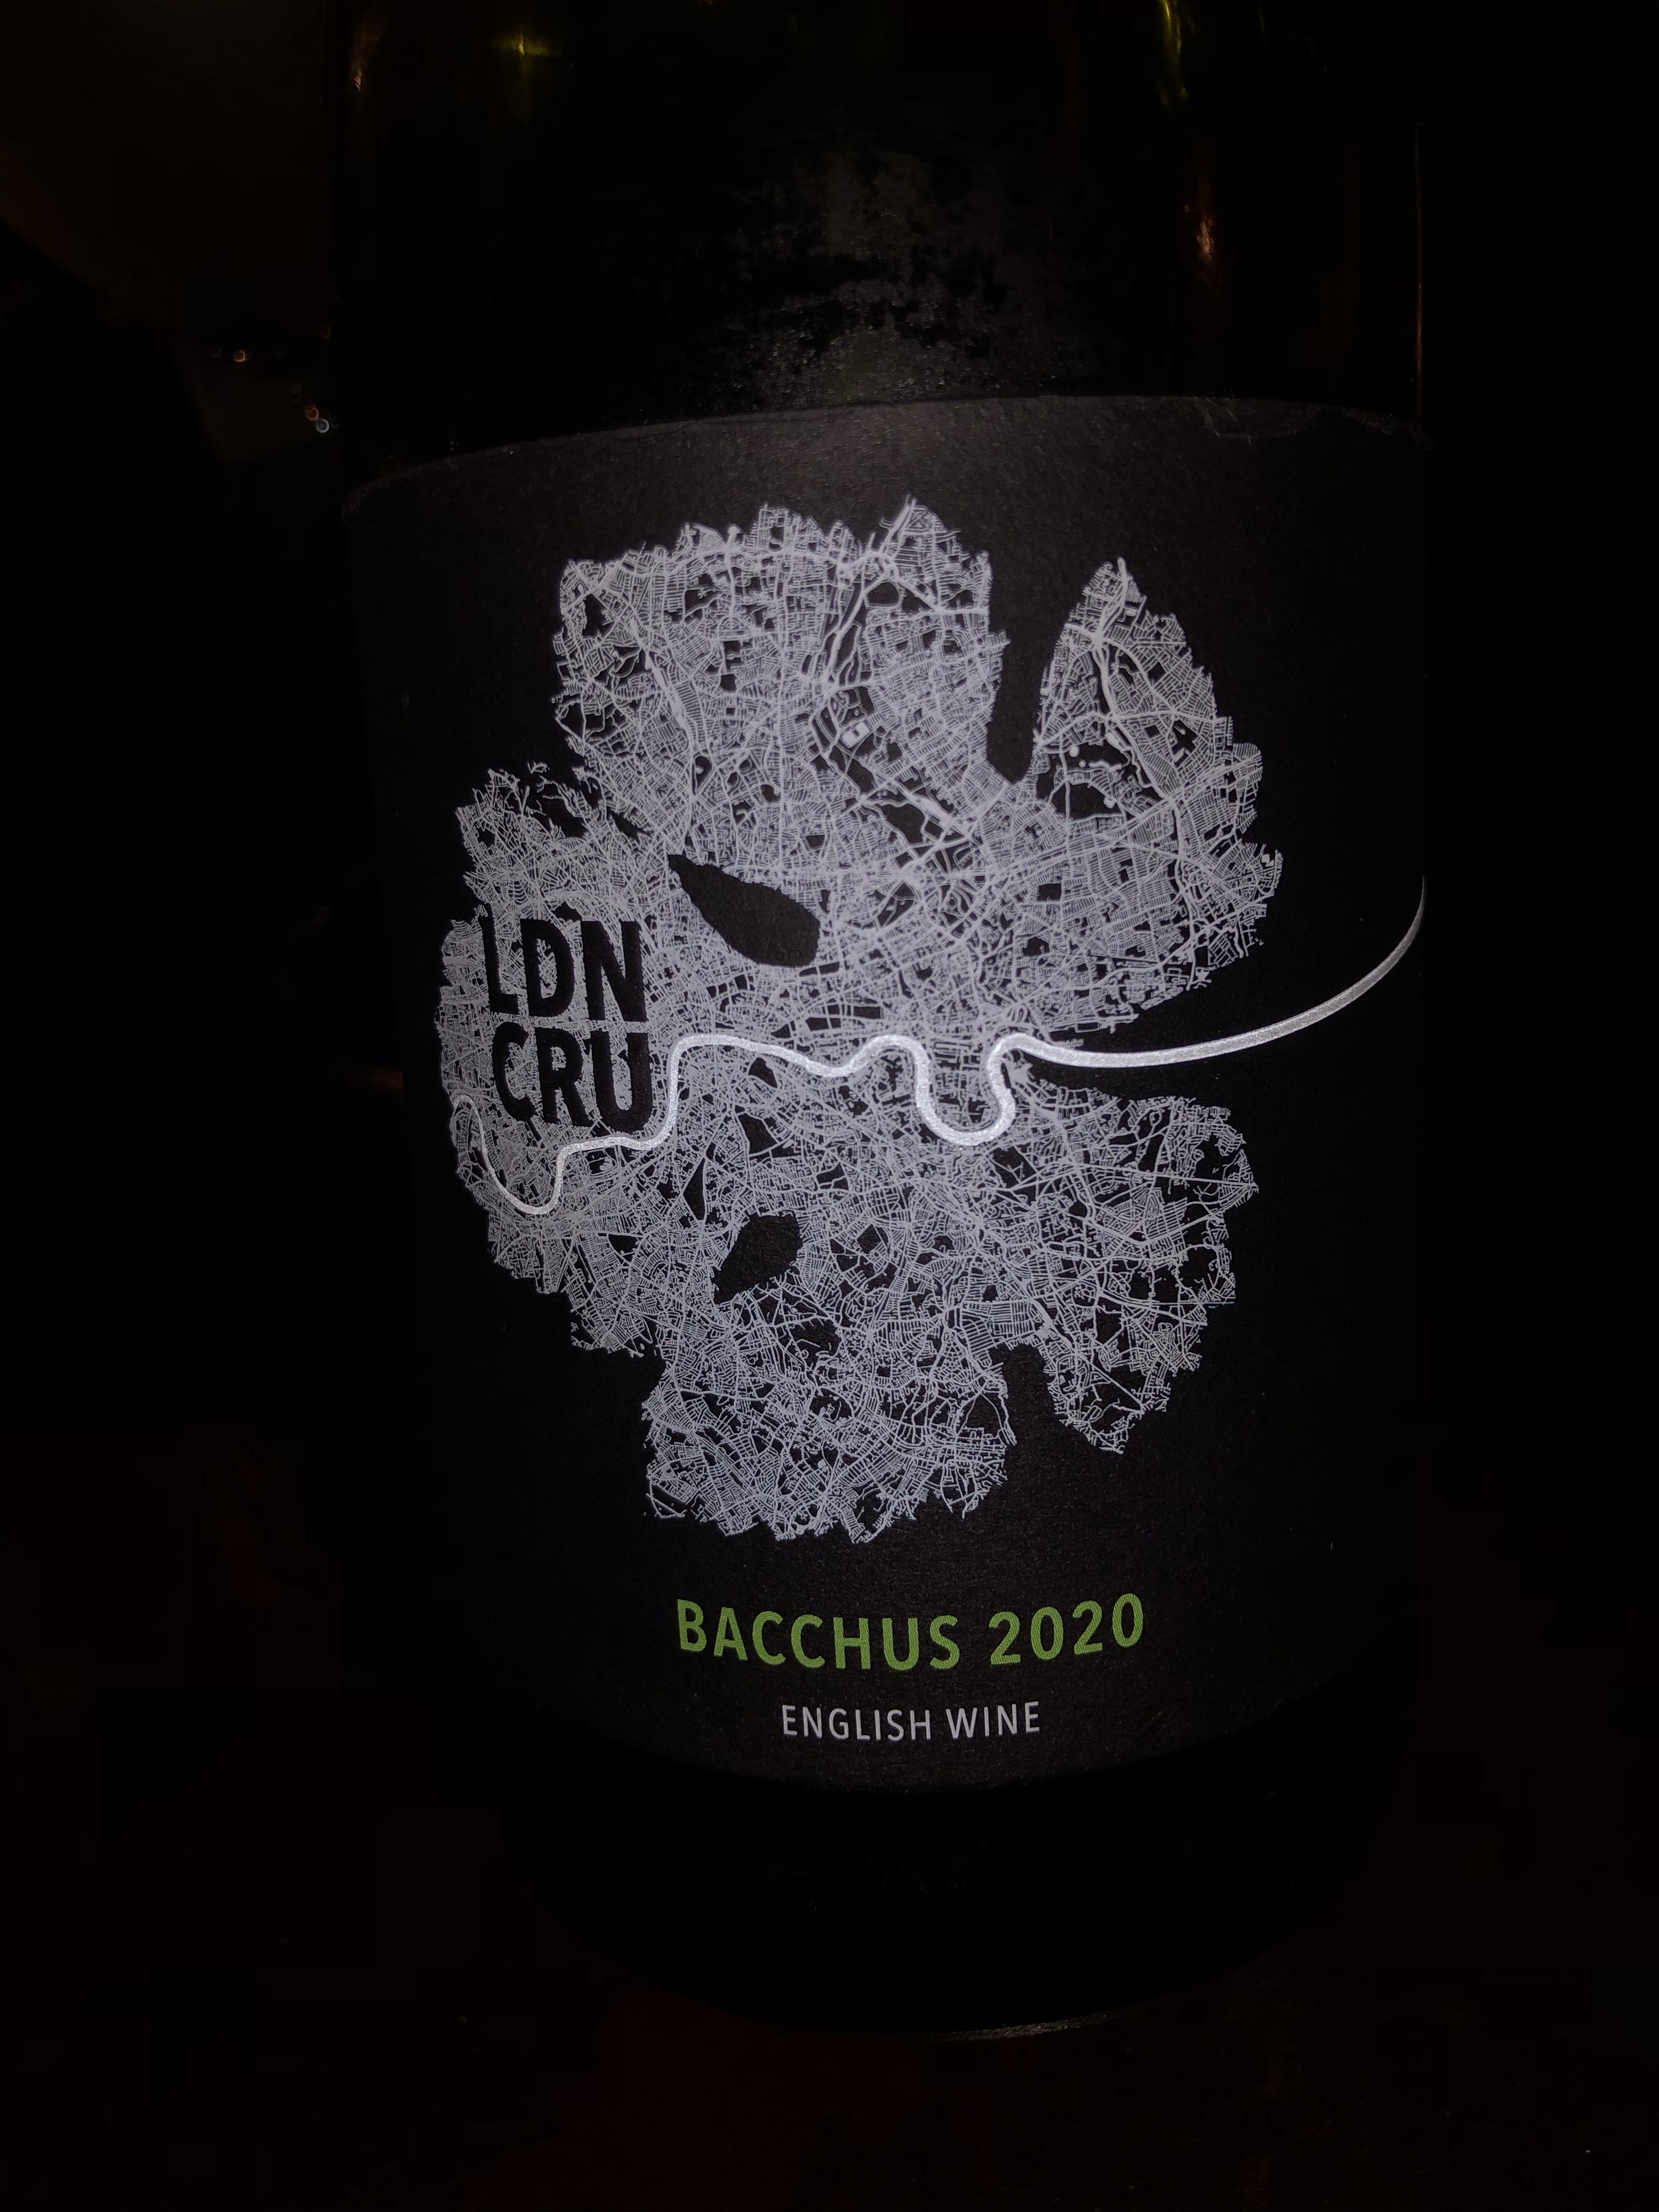
Himself also discovered a red wine which , we decided it was very tasty.( I did have a sip).
Gentleman’s relish was a 19 th century gentry’s favourite and was called Patum Peperium. Why? A play on words, Patum for paste or pate and Pererium from Greek for pepper. The fact that it is made with lots of anchovies and garlic and butter is indeed neither here nor there !Maybe a 19th Century version of Anchovy butter?
To make your own relish you will need
2 cloves garlic peeled
About 25-30 anchovy fillets, best to buy tops quality Ortiz is the best
150 grams unsalted butter softened
Pinch chilli flakes
A good grind of good black pepper
1/4 tsp cayenne pepper
Dash of Worcestershire sauce
1/4 tsp dried thyme.
Simply blend all of the above either in a mortar and pestle, with a hand blender or in an electric blender, until smooth . Put in a pot, you can refrigerate it but take it out before using to soften, spread on toast, add to Welsh Rarebit, add to Caesar Salad dressing, put onto grilled fish, stuff mushrooms and so many options! And of course the exact recipe is a closely guarded secret. At Dinner it is a bit of a hybrid as they mix it with fine mayonnaise.
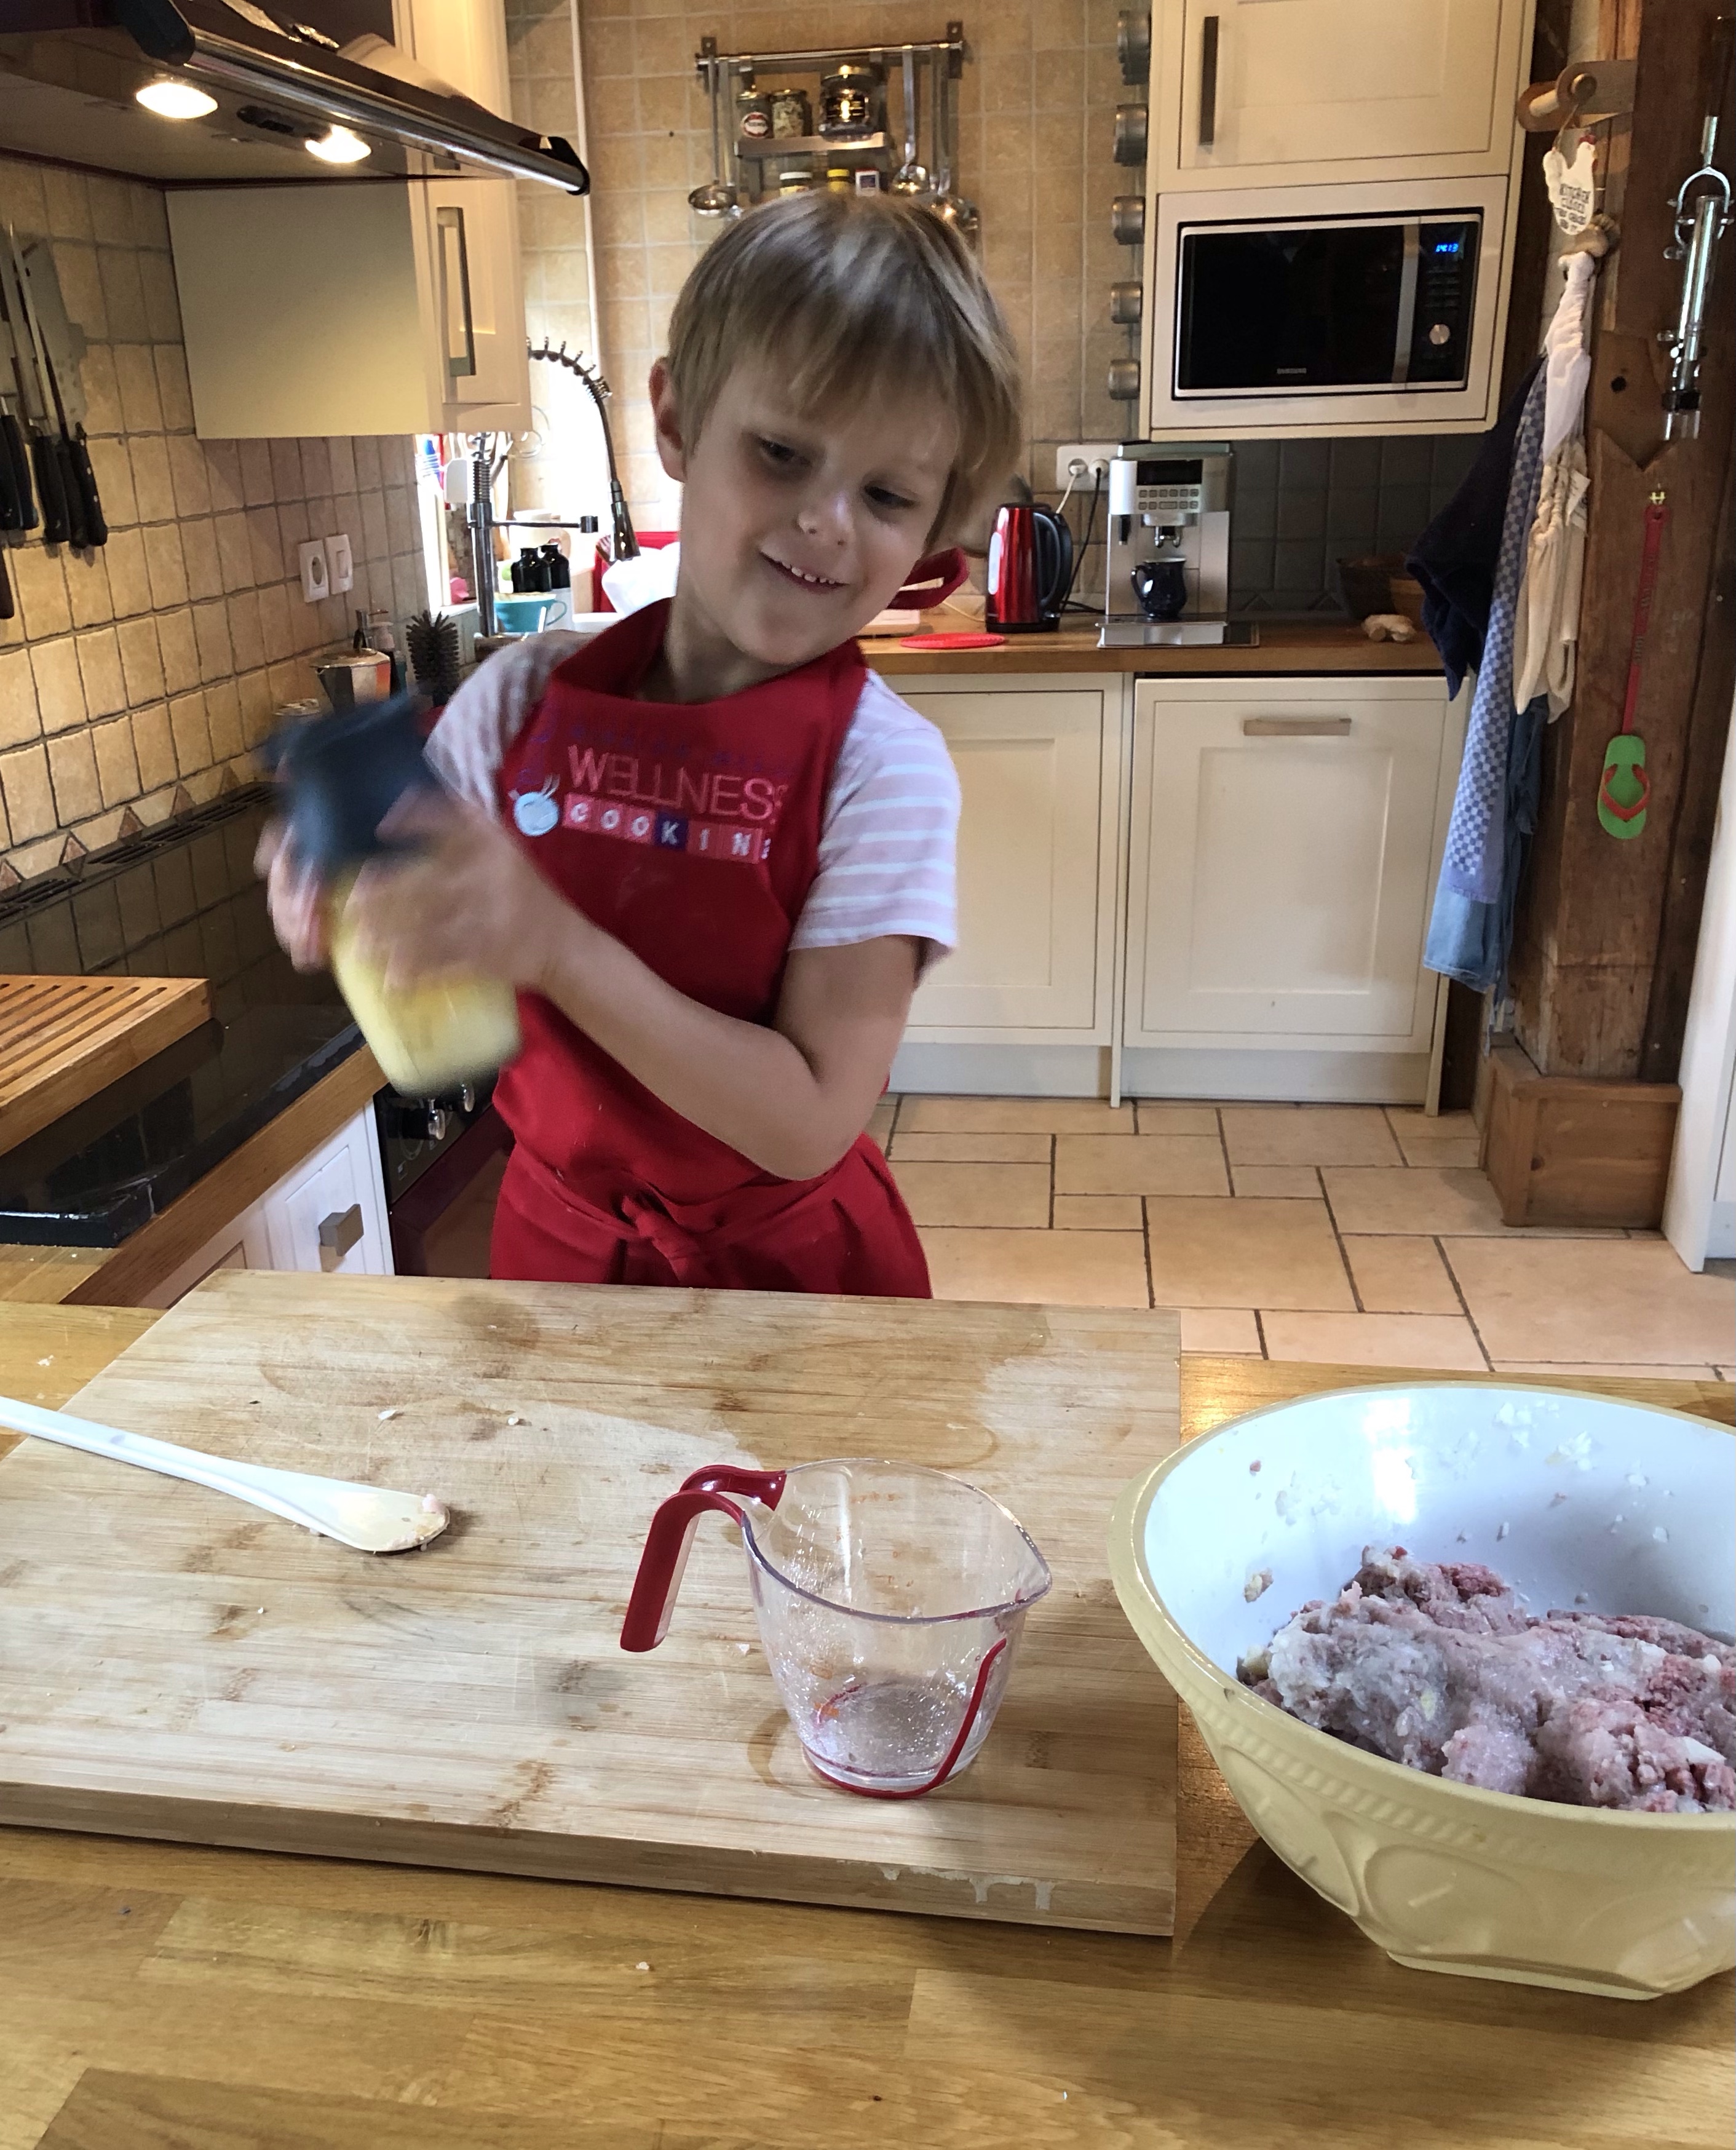
Once again this week I have been let off the cooking duties ( well almost), as the two youngest of the houseguests Sam 6 and Tess 11 decided that they would cook. Sam was desperate to cook meat ball sandwiches and Tess with her copy of “One Tray Bakes” wanted to make the Strawberry Shortcakes.
I had done my research regarding the meatballs and had saved in my electronic filing system the recipe for IKEA MEATBALLS! IKEA has been making meat balls for nearly 40 years and now have four different kinds. They added the vegetarian version along with the chicken version in 2015, and the salmon and cod version in 2018. In 2019 they started experimenting with a plant based protein version as well. But come what may we or rather Sam was going to make the meat version.
IKEA meat balls
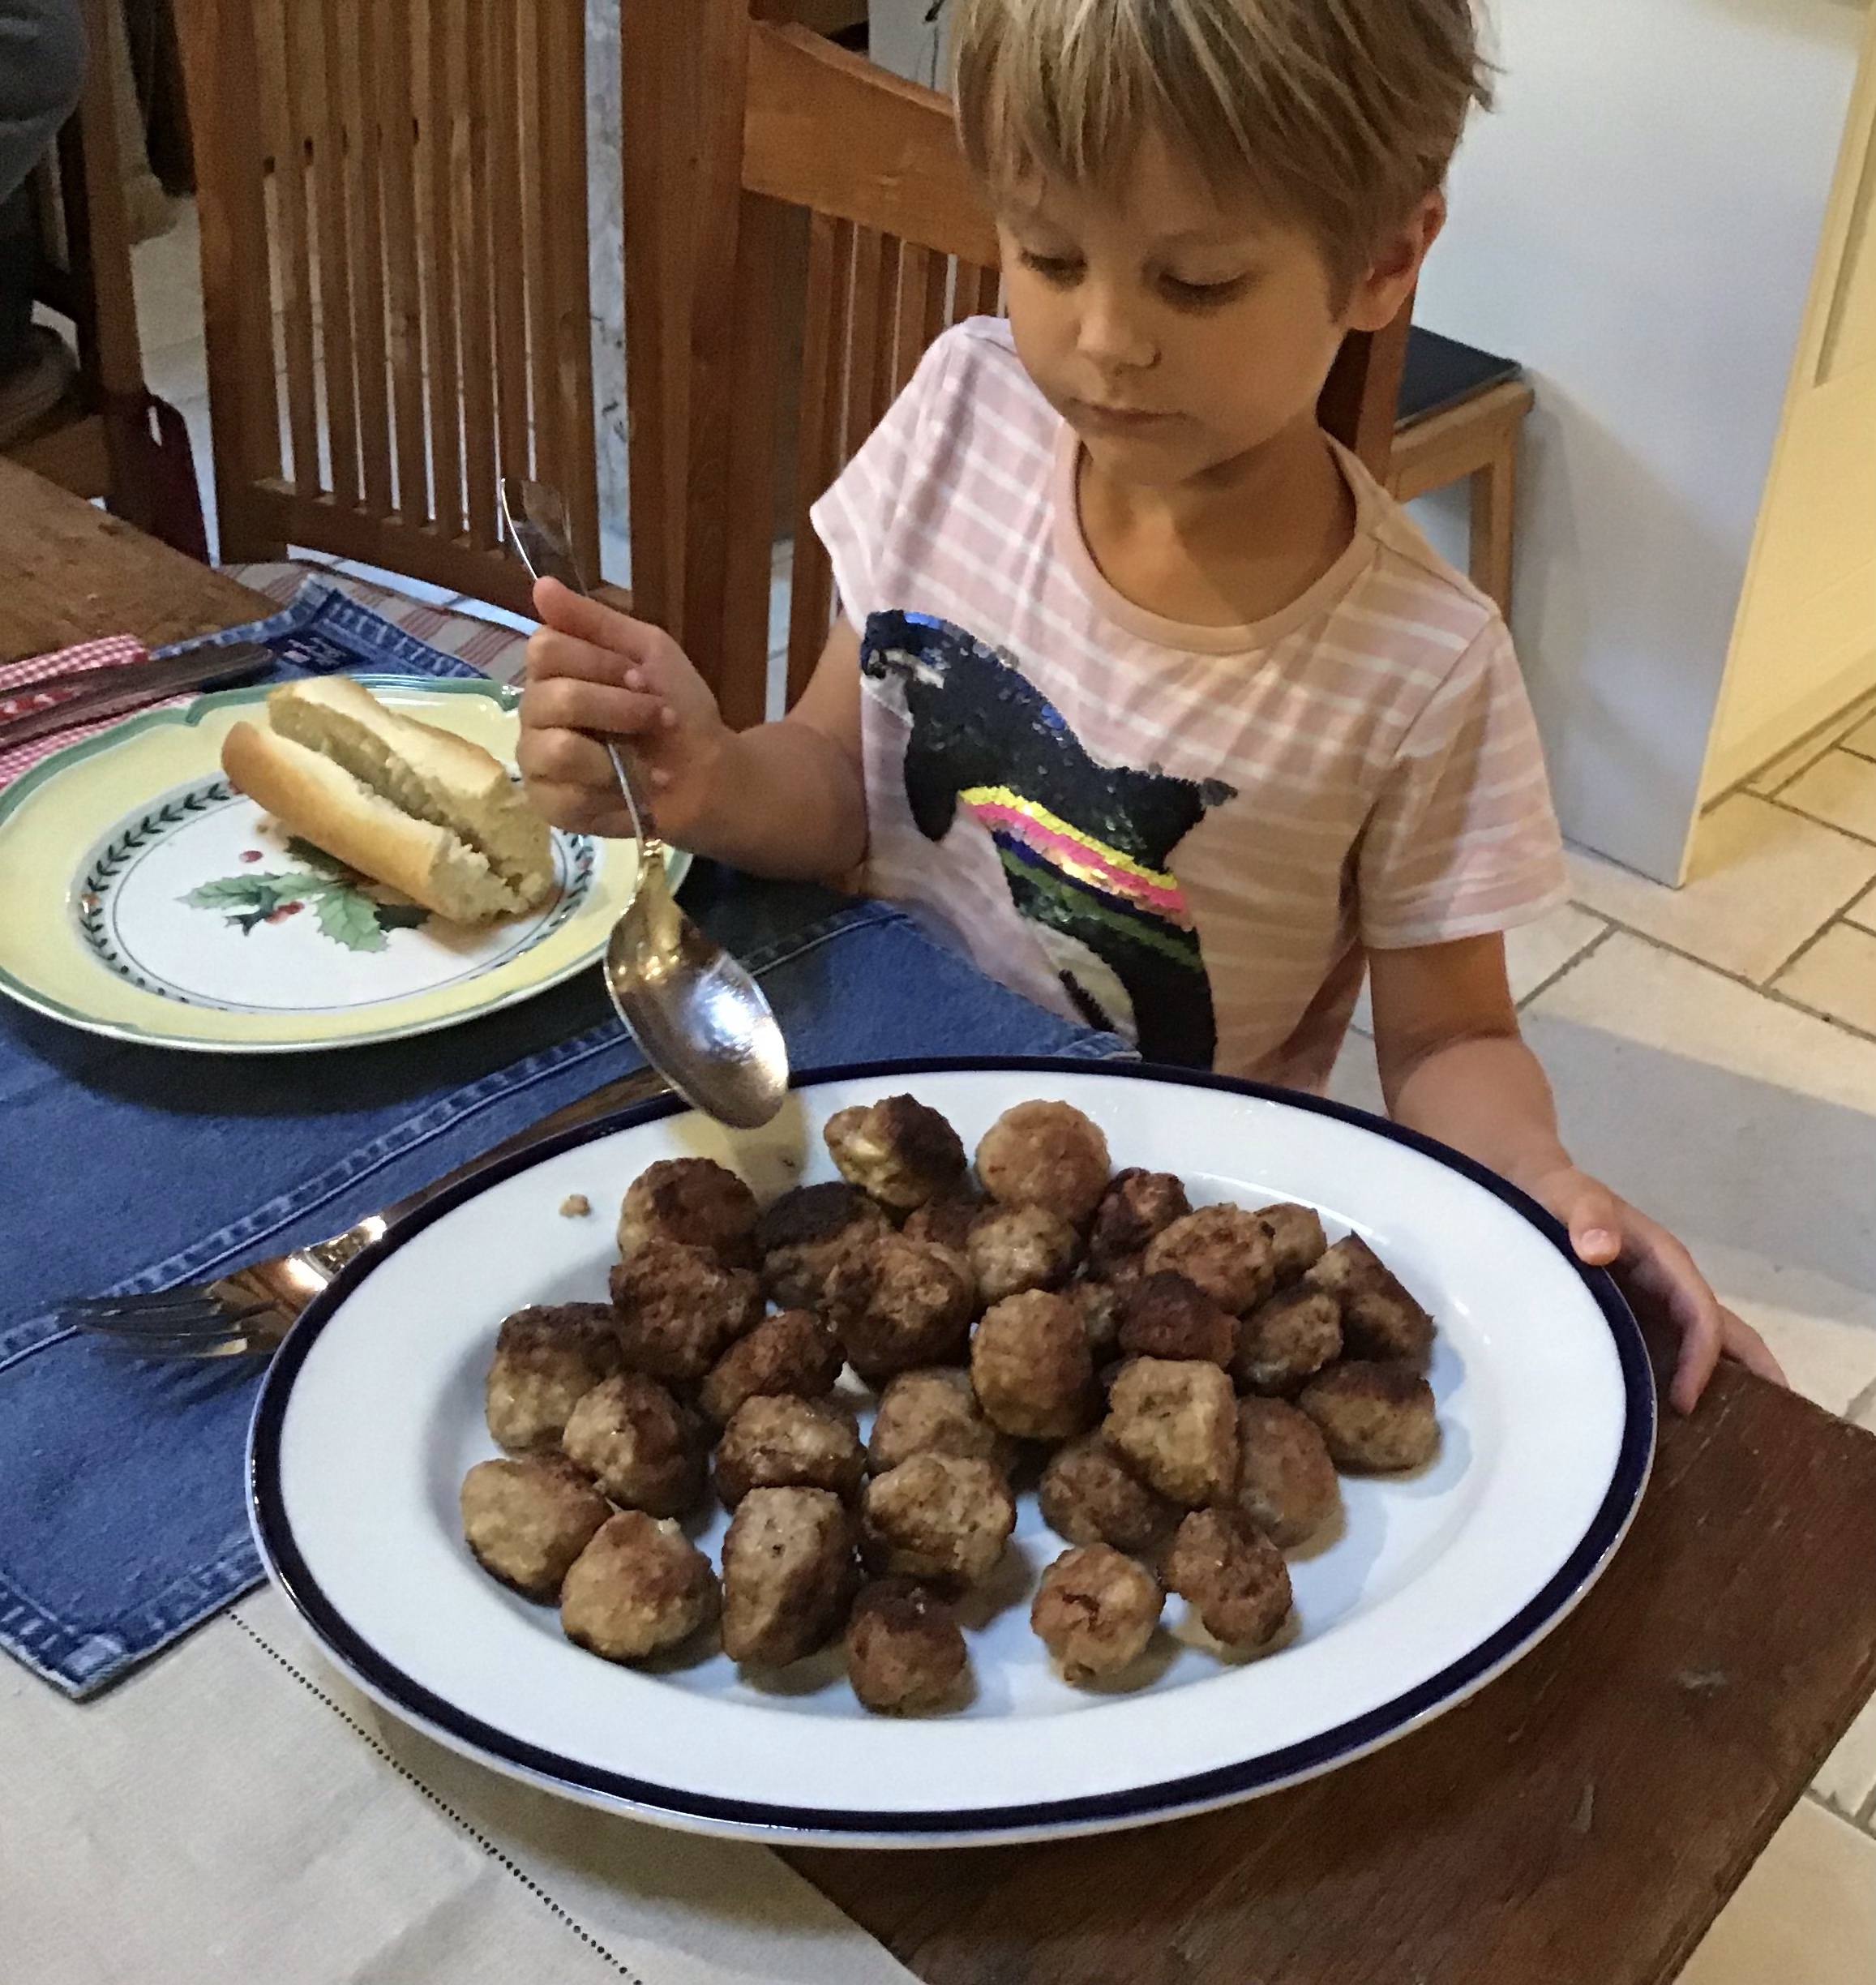
I rummaged in my freezer and came up with minced beef and Turkey breast. The IKEA meat version called for a combination of pork and beef but Turkey and Beef would have to suffice, after all it was Sunday afternoon and no grocery stores were open. This quantity makes between 35 and 40 meatballs. We actually made 38, which meant Sam having to use his 7 x table to work out how many we each could have! (5 each and three remaining ).
500 grams minced beef
500 grams minced pork/chicken or Turkey
1large onion finely chopped
2-3 minced cloves garlic
2-3 eggs
A splodge of milk if too stiff.
150 grams breadcrumbs, I used panko crumbs
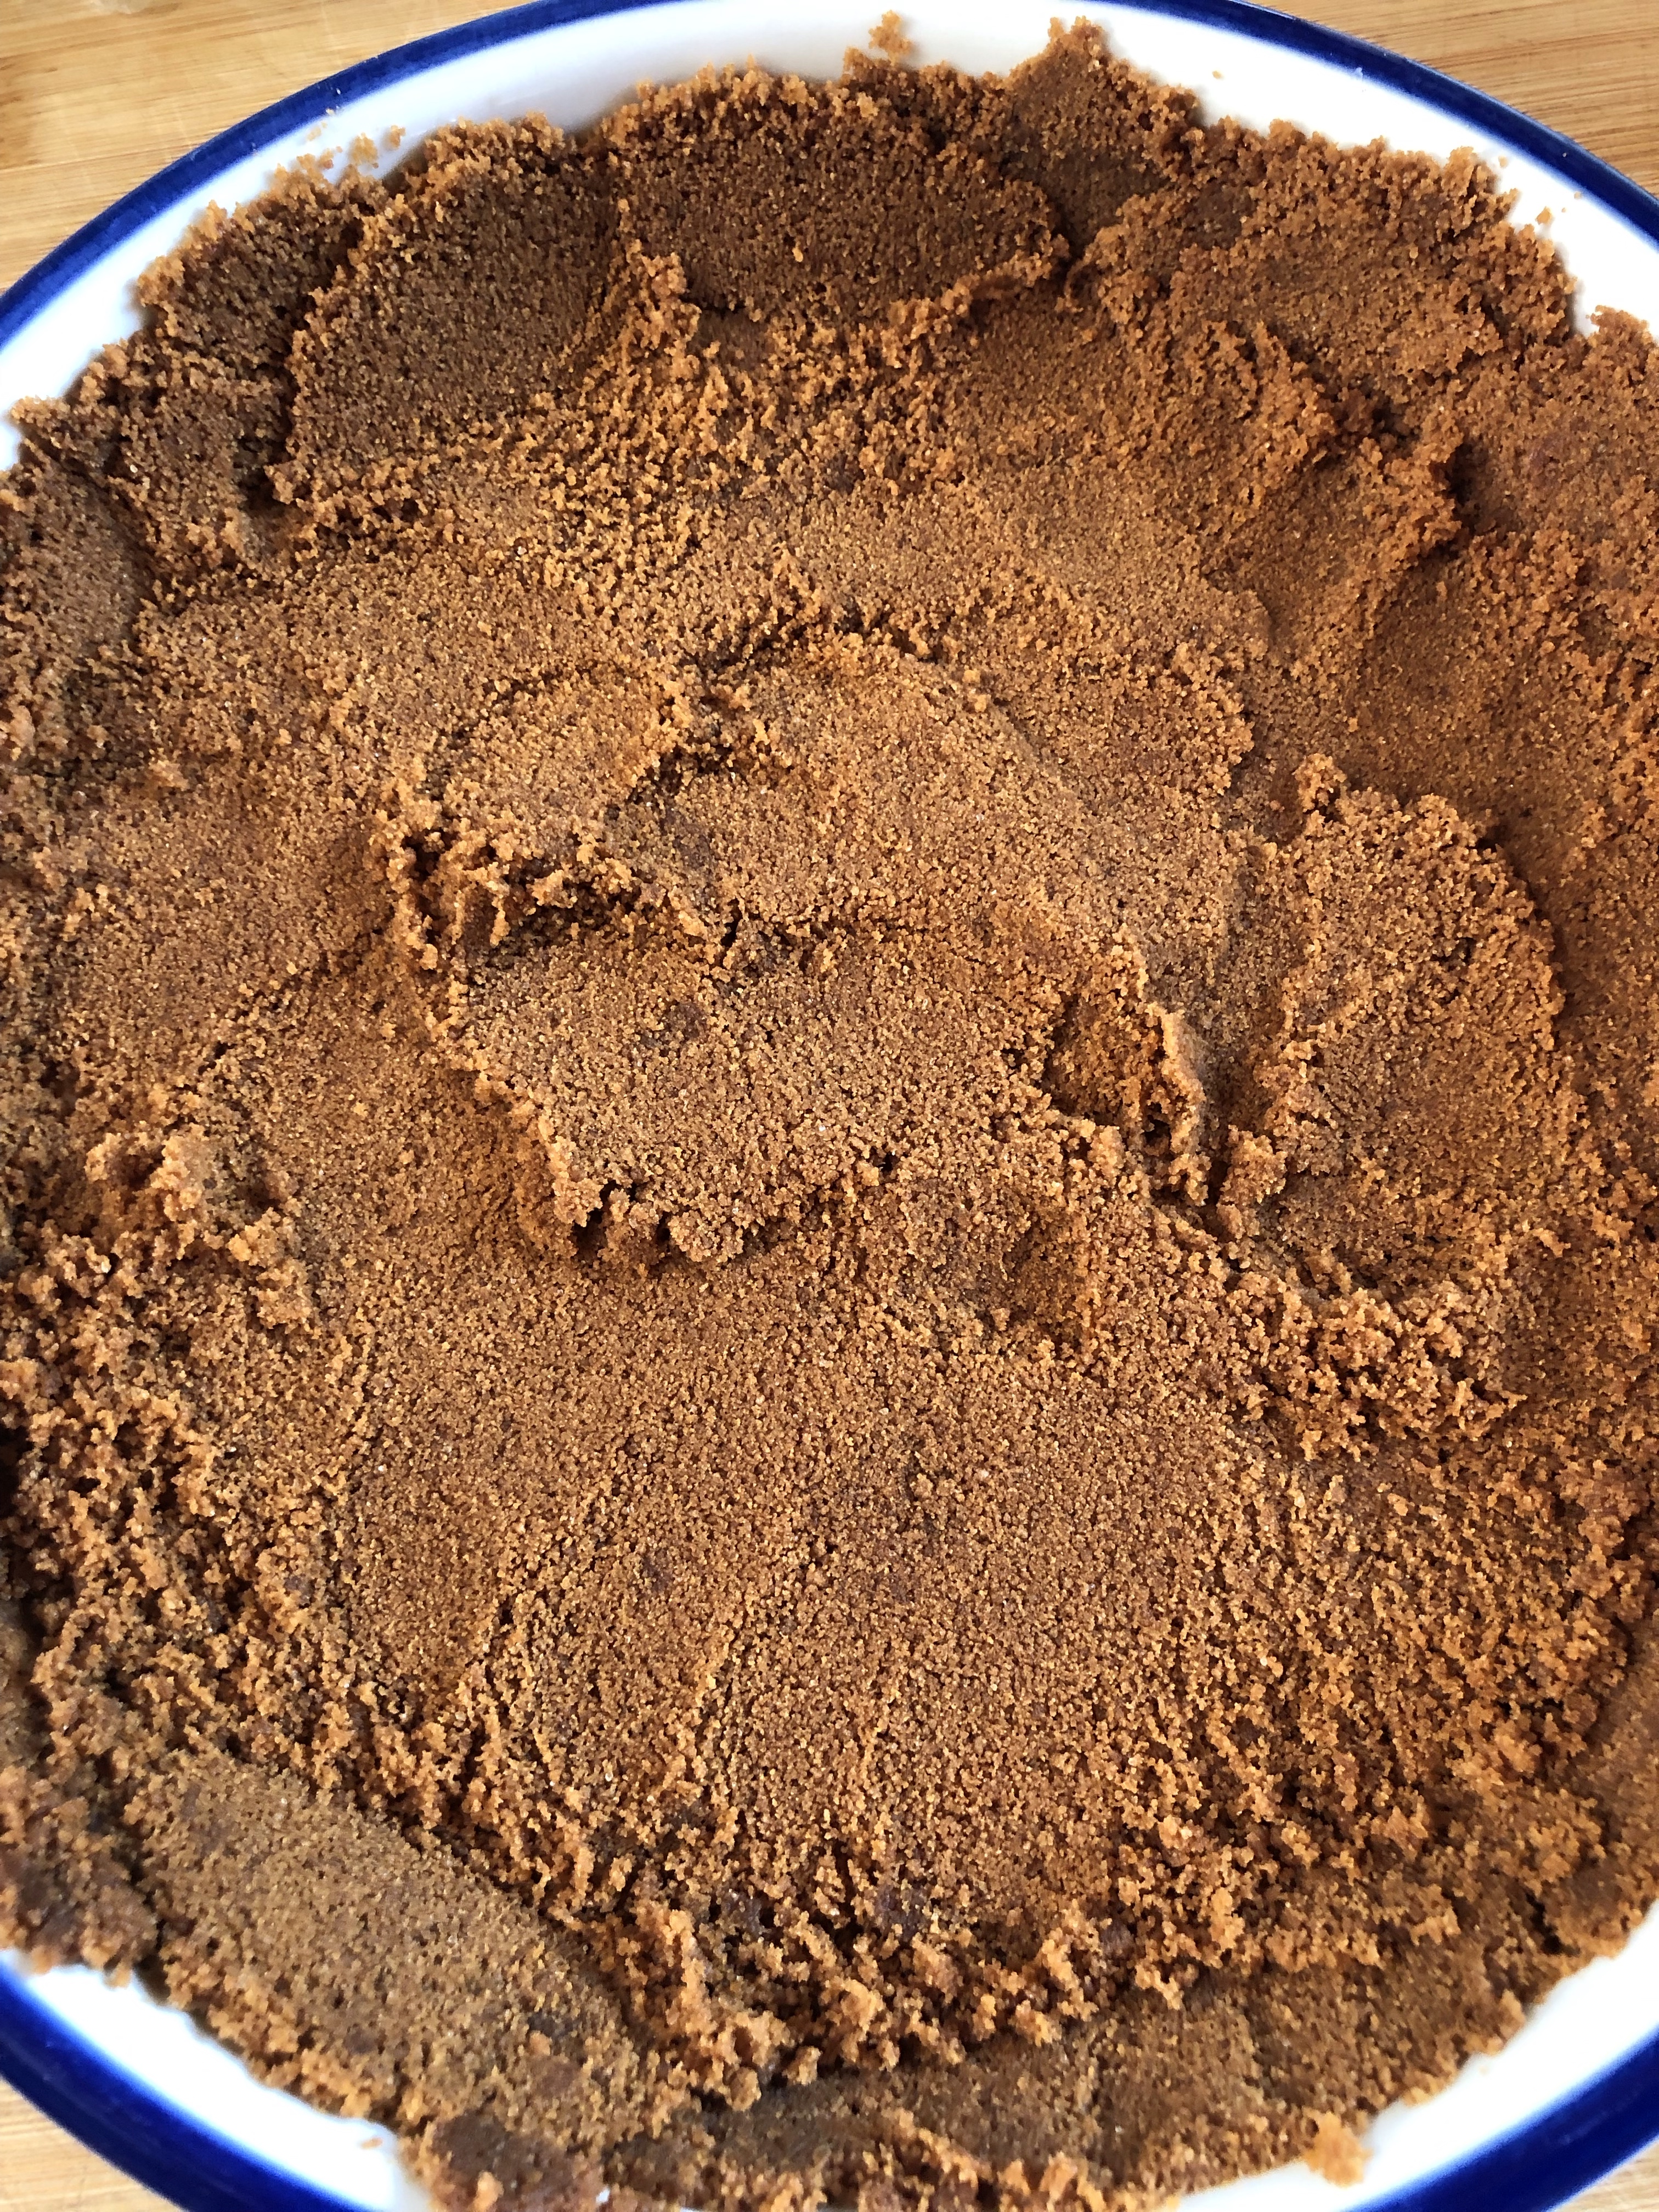
Simply mix all together, it is absolutely better to stick your hands and and mix
Using a spoon or even an ice cream scoop, scoop out the mixture and roll into balls about the size of a golf ball
Roll in some flour and put on a baking tray, try not to let them touch as they will stick together.
At this point they may be placed in the refrigerator for 1-2 hours.
Heat some oil in a frying pan and carefully fry them just until light brown on all sides
Place back onto the baking tray and bake at 180C for 20-30 minutes
IKEA meatballs are always served with a cream sauce and this can be made easily by
40 grams butter
1 tablespoons of cornflour
300 mls beef stock
200 mls crème fraiche or sour cream, or double cream
1/4 cup soya sauce
A good dollop of Dijon mustard
Melt the butter
Stir in cornflour
Pour in the stock and stir, if it goes lumpy, whisk
Add the cream, mustard and soya sauce,
bring to the boil
Taste, serve over the meatballs or as in our case on our meatballs, on French bread.
Meanwhile Miss Tess was eager to make her dessert. But first things first, we are at altitude, and so the recipe needs adapting, altering the oven temperature, the amount of sugar, the amount of baking powder and liquid. Once that was done, it was easy sailing . She was eager to ‘Do it her way’ but a few corrections to instructions were needed ( like pre heat the oven ). The end result was excellent and much appreciated. Due to the distinct lack of berries ( read absolutely NONE, no strawberries, raspberries,blackberries, red currants, black currants, not even white currants or gooseberries! NADA, ZILCH, NICHTS! ) raspberry jam and whipped cream had to suffice. I would like to say that these delights were much more in the way of American Biscuits than English scones or Shortcakes, but that does not distract from their yummiest! The recipe and instructions are adapted from the book.
350 grms flour
1tsp baking powder
2 tablespoons caster sugar
1/2 tsp bicarbonate of soda
125 grms chilled unsalted butter cut into chunks
275 mls milk or buttermilk or sour milk
To serve
Cream and berries or jam
The absolute simplest way to make these is to put everything, except the milk into a food processor. Switch on and process and it will form breadcrumbs look-a- like. With the machine running pour in the milk and it will go thump thump and form a ball.
Scrap out onto a floured board, knead slightly to form a ball and roll out gently to about an inch thick. Cut into rounds about 2-3” , place on a greased baking tray ( or a non stick one) and bake at 220 C for about 15 minutes until golden brown. Put on a wire rack to cool.
Best eaten the day they are made, but then again, why would there be any left!
This week, it would seem that we have been more or less taking it in turns to create in the kitchen.
Himself was left home alone whilst #1 daughter, kids and I decamped down the mountain to the beautiful lakeside town of Annecy. It is in an amazing setting, with a huge lake and the whole is surrounded by mountains and hills. The downside is, as it is so beautiful, both in winter and summer is that it is a huge tourist attraction. Summer is particularly bad and more so this year because the French are also Staycationing ! ( Les Vacances en places). Consequently, there are the locals who wish to enjoy their wonderful town, lake, mountains and beaches, and the visitors who wish to do the same.
Parking proved to be a nightmare, all Complet! The French and Belgians are very apt to do as they please in these circumstances, and that is Double Park! Which of course adds to the chaos! And then the almost extinct priorité à droite. Which is really very interesting, as in the middle of the old town there are lots of minor crossroads, all of which have to give way to each other! The end result ? GRIDLOCK !
Abandoning our sortie into town, we headed to the beach where said daughter was interviewing and taking part in Freediving. Another first though a challenge with the French Electric charging point, in which we succeeded, before beach and diving ( not me you understand,); I was happy to ‘ Babysit’ on dry land.
Meanwhile, himself taught himself how to make crumble, which was much admired followed by Miss Tess making a Key Lime Pie and then a Pad Thai for dinner!
A true Key Lime Pie is made with what Americans call Key Limes, which are in fact more like Mexican limes, they are smaller and nowhere near as green as the limes that we find in Europe and are best used when the skin has turned a dull yellow. Beware they do contain many more pips. Another feature of the typical Key Lime Pie is the base, again traditionally made with Graham crackers crushed ( akin to Digestives) but can also be made with Speculoos, ginger nuts etc. Some recipes also say a pastry base, but this is a bit contentious to my mind. Key Lime pie is never green ( do not use green colouring) and is always made with condensed milk, as fresh milk was unavailable in the Florida Keys until about 1930. In 2006 , Key Lime Pie was made the official Pie of the State of Florida! And was winner
For a Nine inch pie/ Flan tin
Following on from Tess my 11 year old granddaughter I decided also to make a Key Lime pie. She made hers in an oblong 9×13” pan. But I opted for the more traditional pie or flan pan.
For the Base
10 Oz of Speculoos, or any other biscuits such as digestives or ginger nuts, crushed
75 grms unsalted butter, melted
1 tablespoon caster sugar ( optional as the biscuits are already fairly sweet)
For the Filling
4 large egg yolks
6 Oz / 3/4Cup of Lime juice, bottled is fine
1 large can (400 grms) of sweetened condensed milk
Grated zest of 2 limes ( optional)
Heat the oven to 190 C.
Crush the biscuits and mix with the sugar and melted butter. Press into the pie dish including the sides. ( a pan with a loose bottom is good and an easy way to extract the pie from the pan when ready to serve.)
Speculoos crushed in a food processor and then pressed into a pie dish
Bake the crust for about 12 minutes only and in the meantime prepare the filling, by beating together the Lime Juice, condensed milk and the egg yolks, along with the lime zest if using. Pour into the crumb case and bake on the middle shelf for about another 20-25 minutes. It should be set round the edges and have a slight wobble in the middle.
Remove from the oven and leave to cool before refrigerating, and serve with whipped cream and lime zest or thin slices of lime.
I just saw a recipe for Key Lime pie that needed no cooking whatsoever! Firstly it used a shop bought base and secondly the condensed milk was then incorporated with Cool Whip. For the uninitiated, cool whip is an American product that to my mind is just awful, but Hey Ho, who am I to judge .
Kraft CoolWhip’s first ingredient is water, followed by hydrogenated vegetable oil, high fructose corn syrup, corn syrup, and — finally — skim milk. From its name, you would think that the cream part of this “whipped topping” would appear higher on the list. Alas, CoolWhipis mostly just syrupy oil.